Natural Nest Reloaded
In the project, we refurbished a three-room apartment in Berlin Lichterfelde. Again, our main source of materials was natural, and, this time, we really wanted to dive deep into the topic of natural materials. We were especially interested in products and brands already out there and wanted to see if they were sustainable. Therefore, we created our own sustainability framework at the end of the project to be able to easily score products and have an easier way to compare them. An article of our framework and scoring system will be published soon in our journal.
We further wanted to figure out how much we could renovate ourselves in this project, so we looked for DIY-friendly methods and materials, which we could later recommend to more people who are handy and want to renovate their apartments.

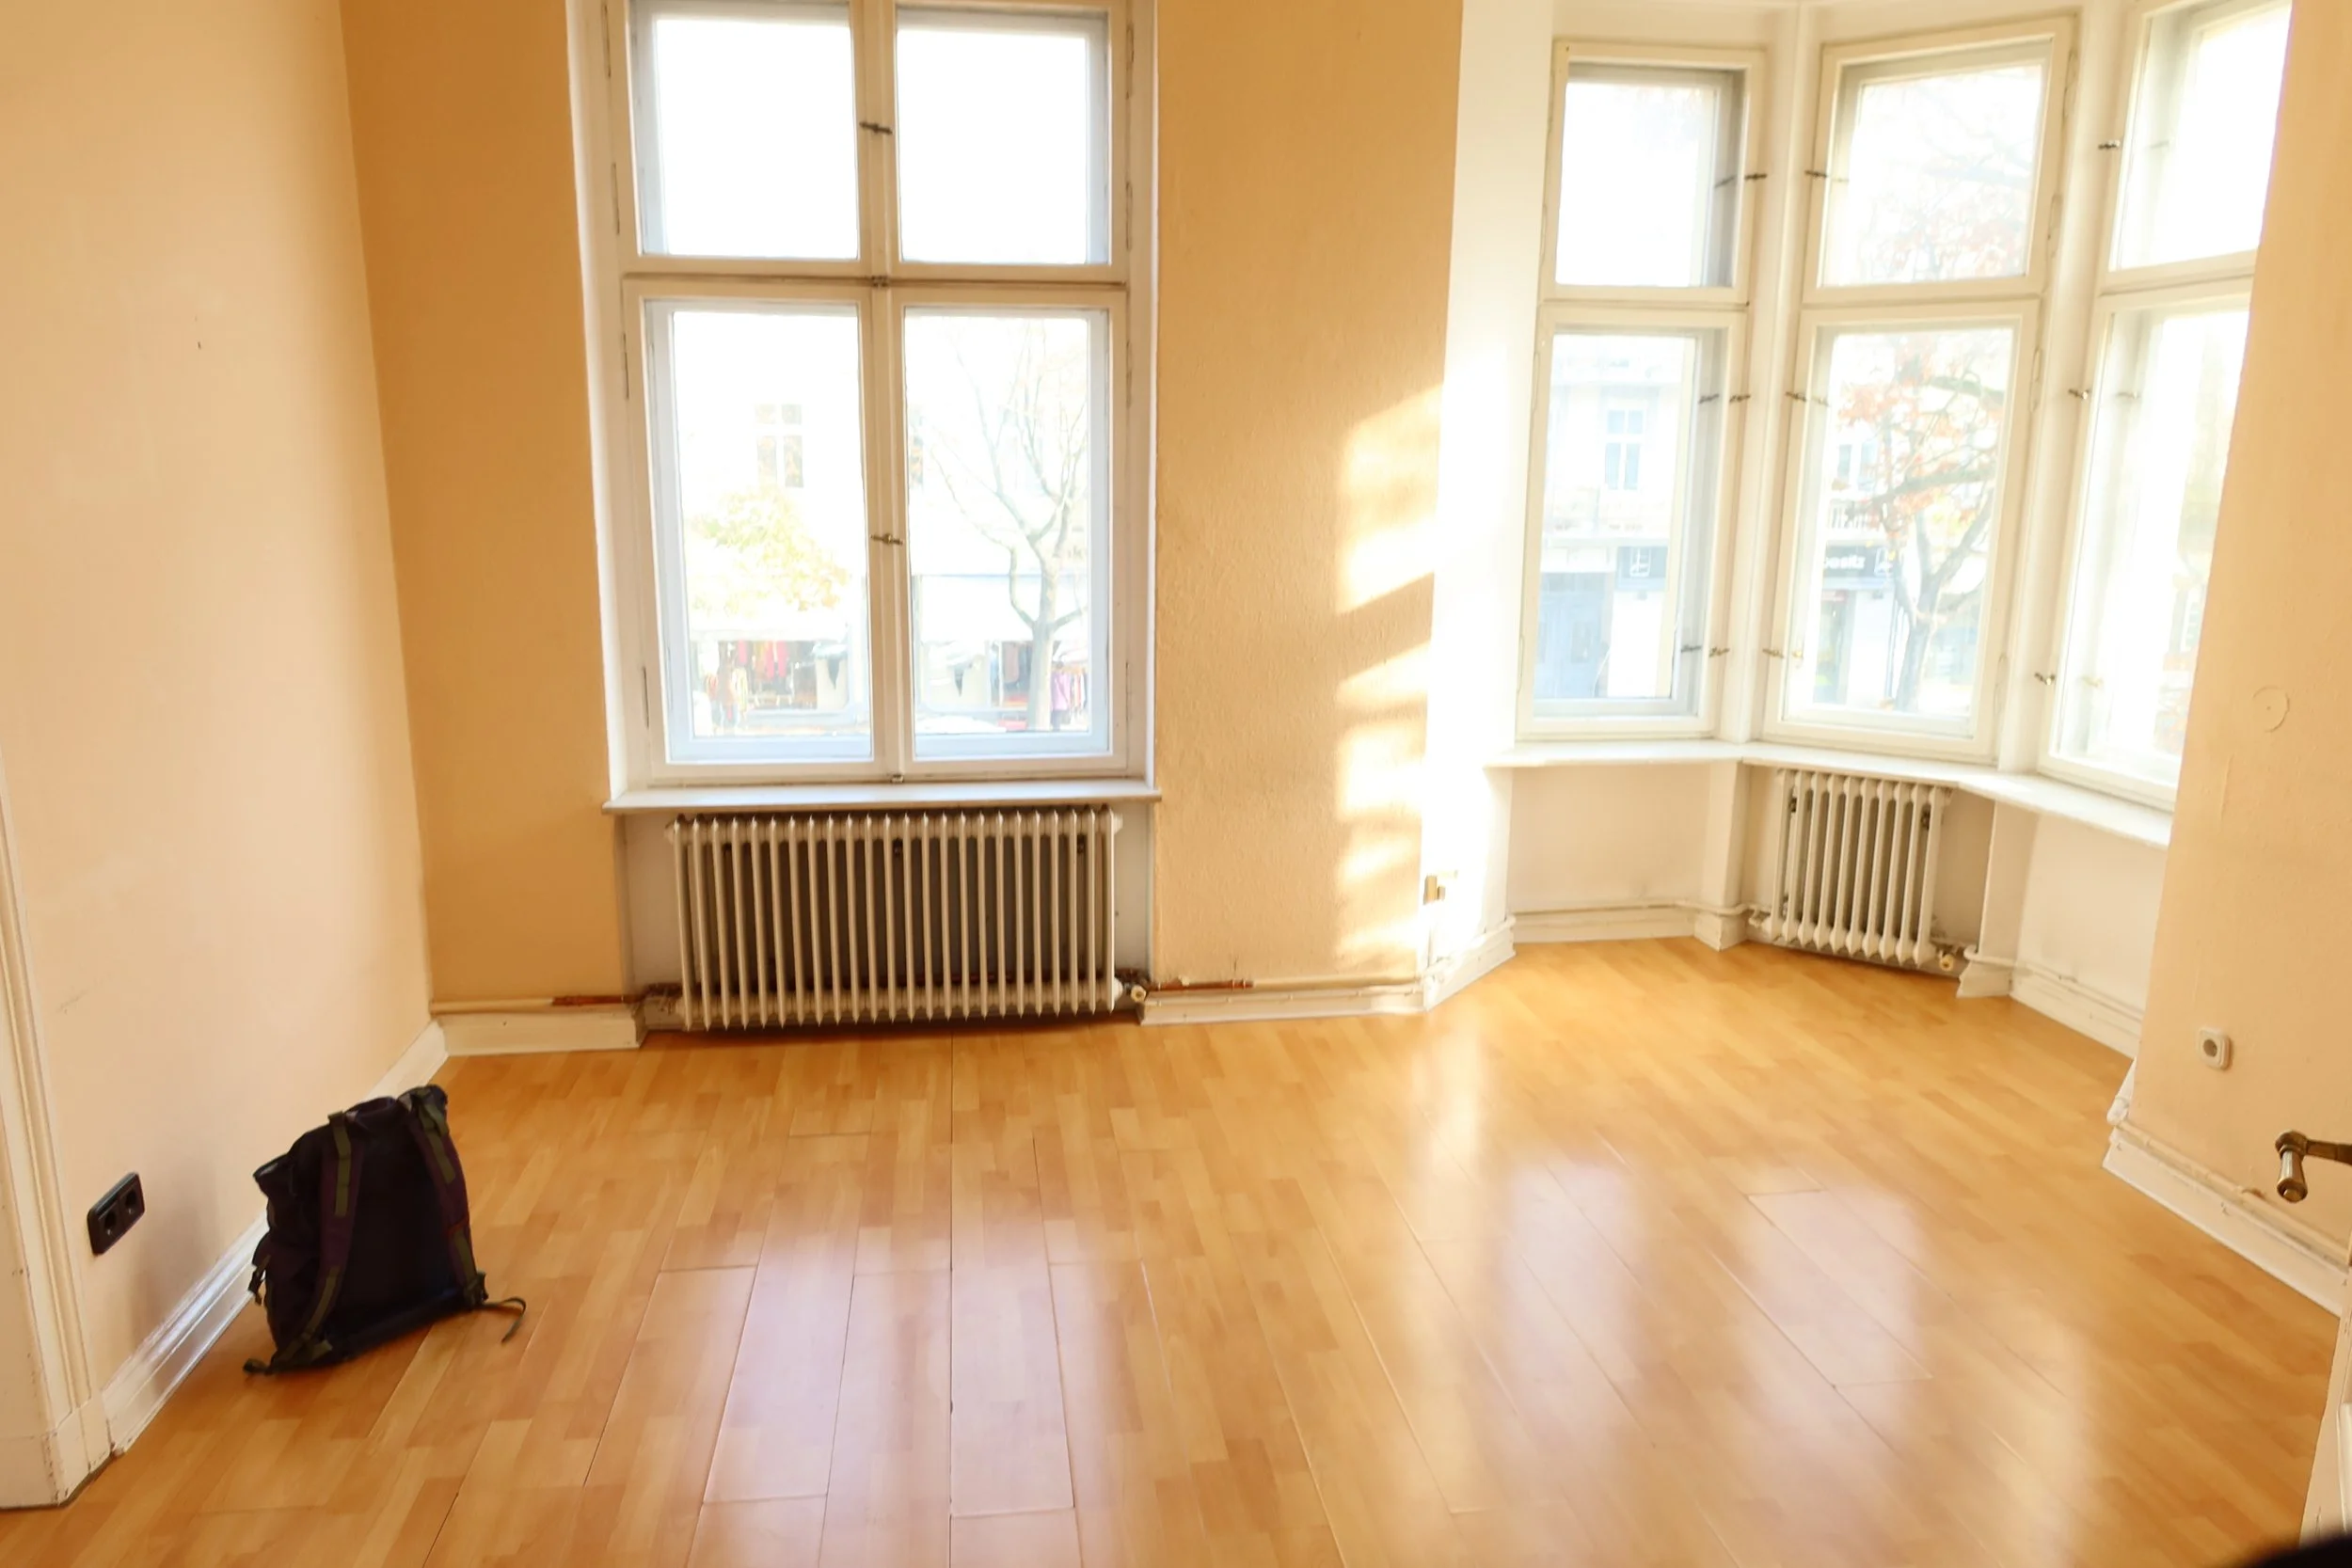
Before
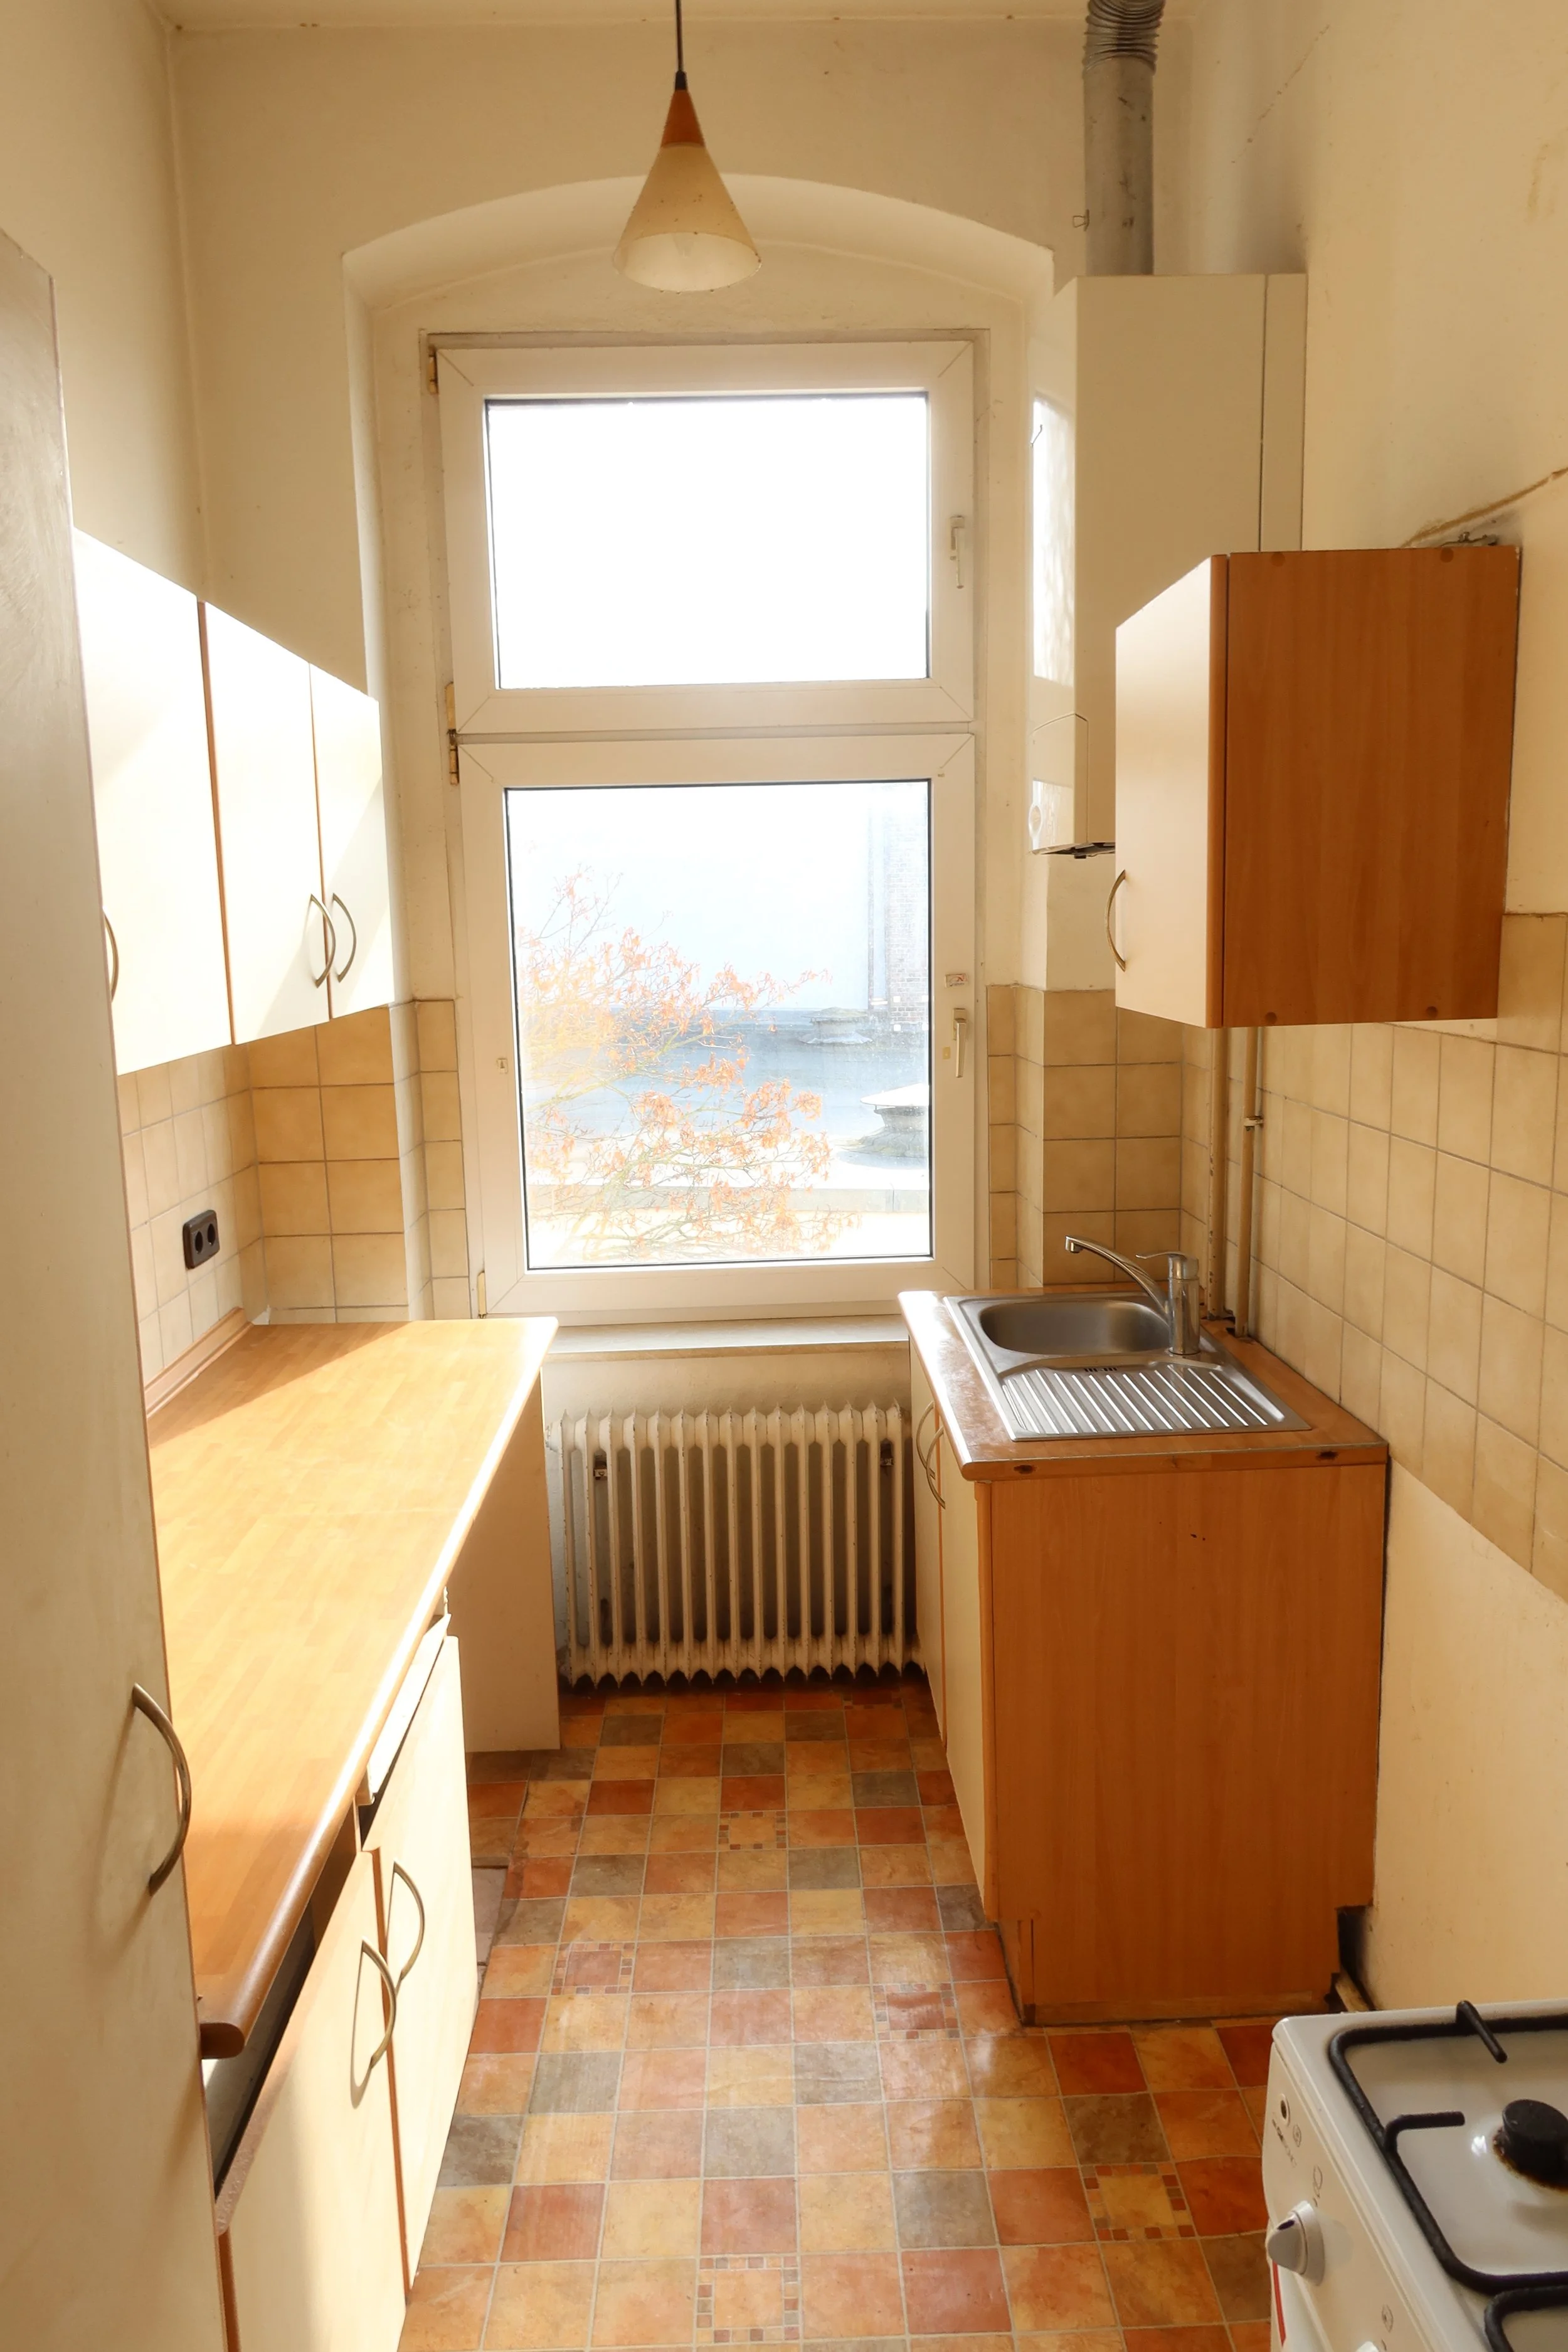
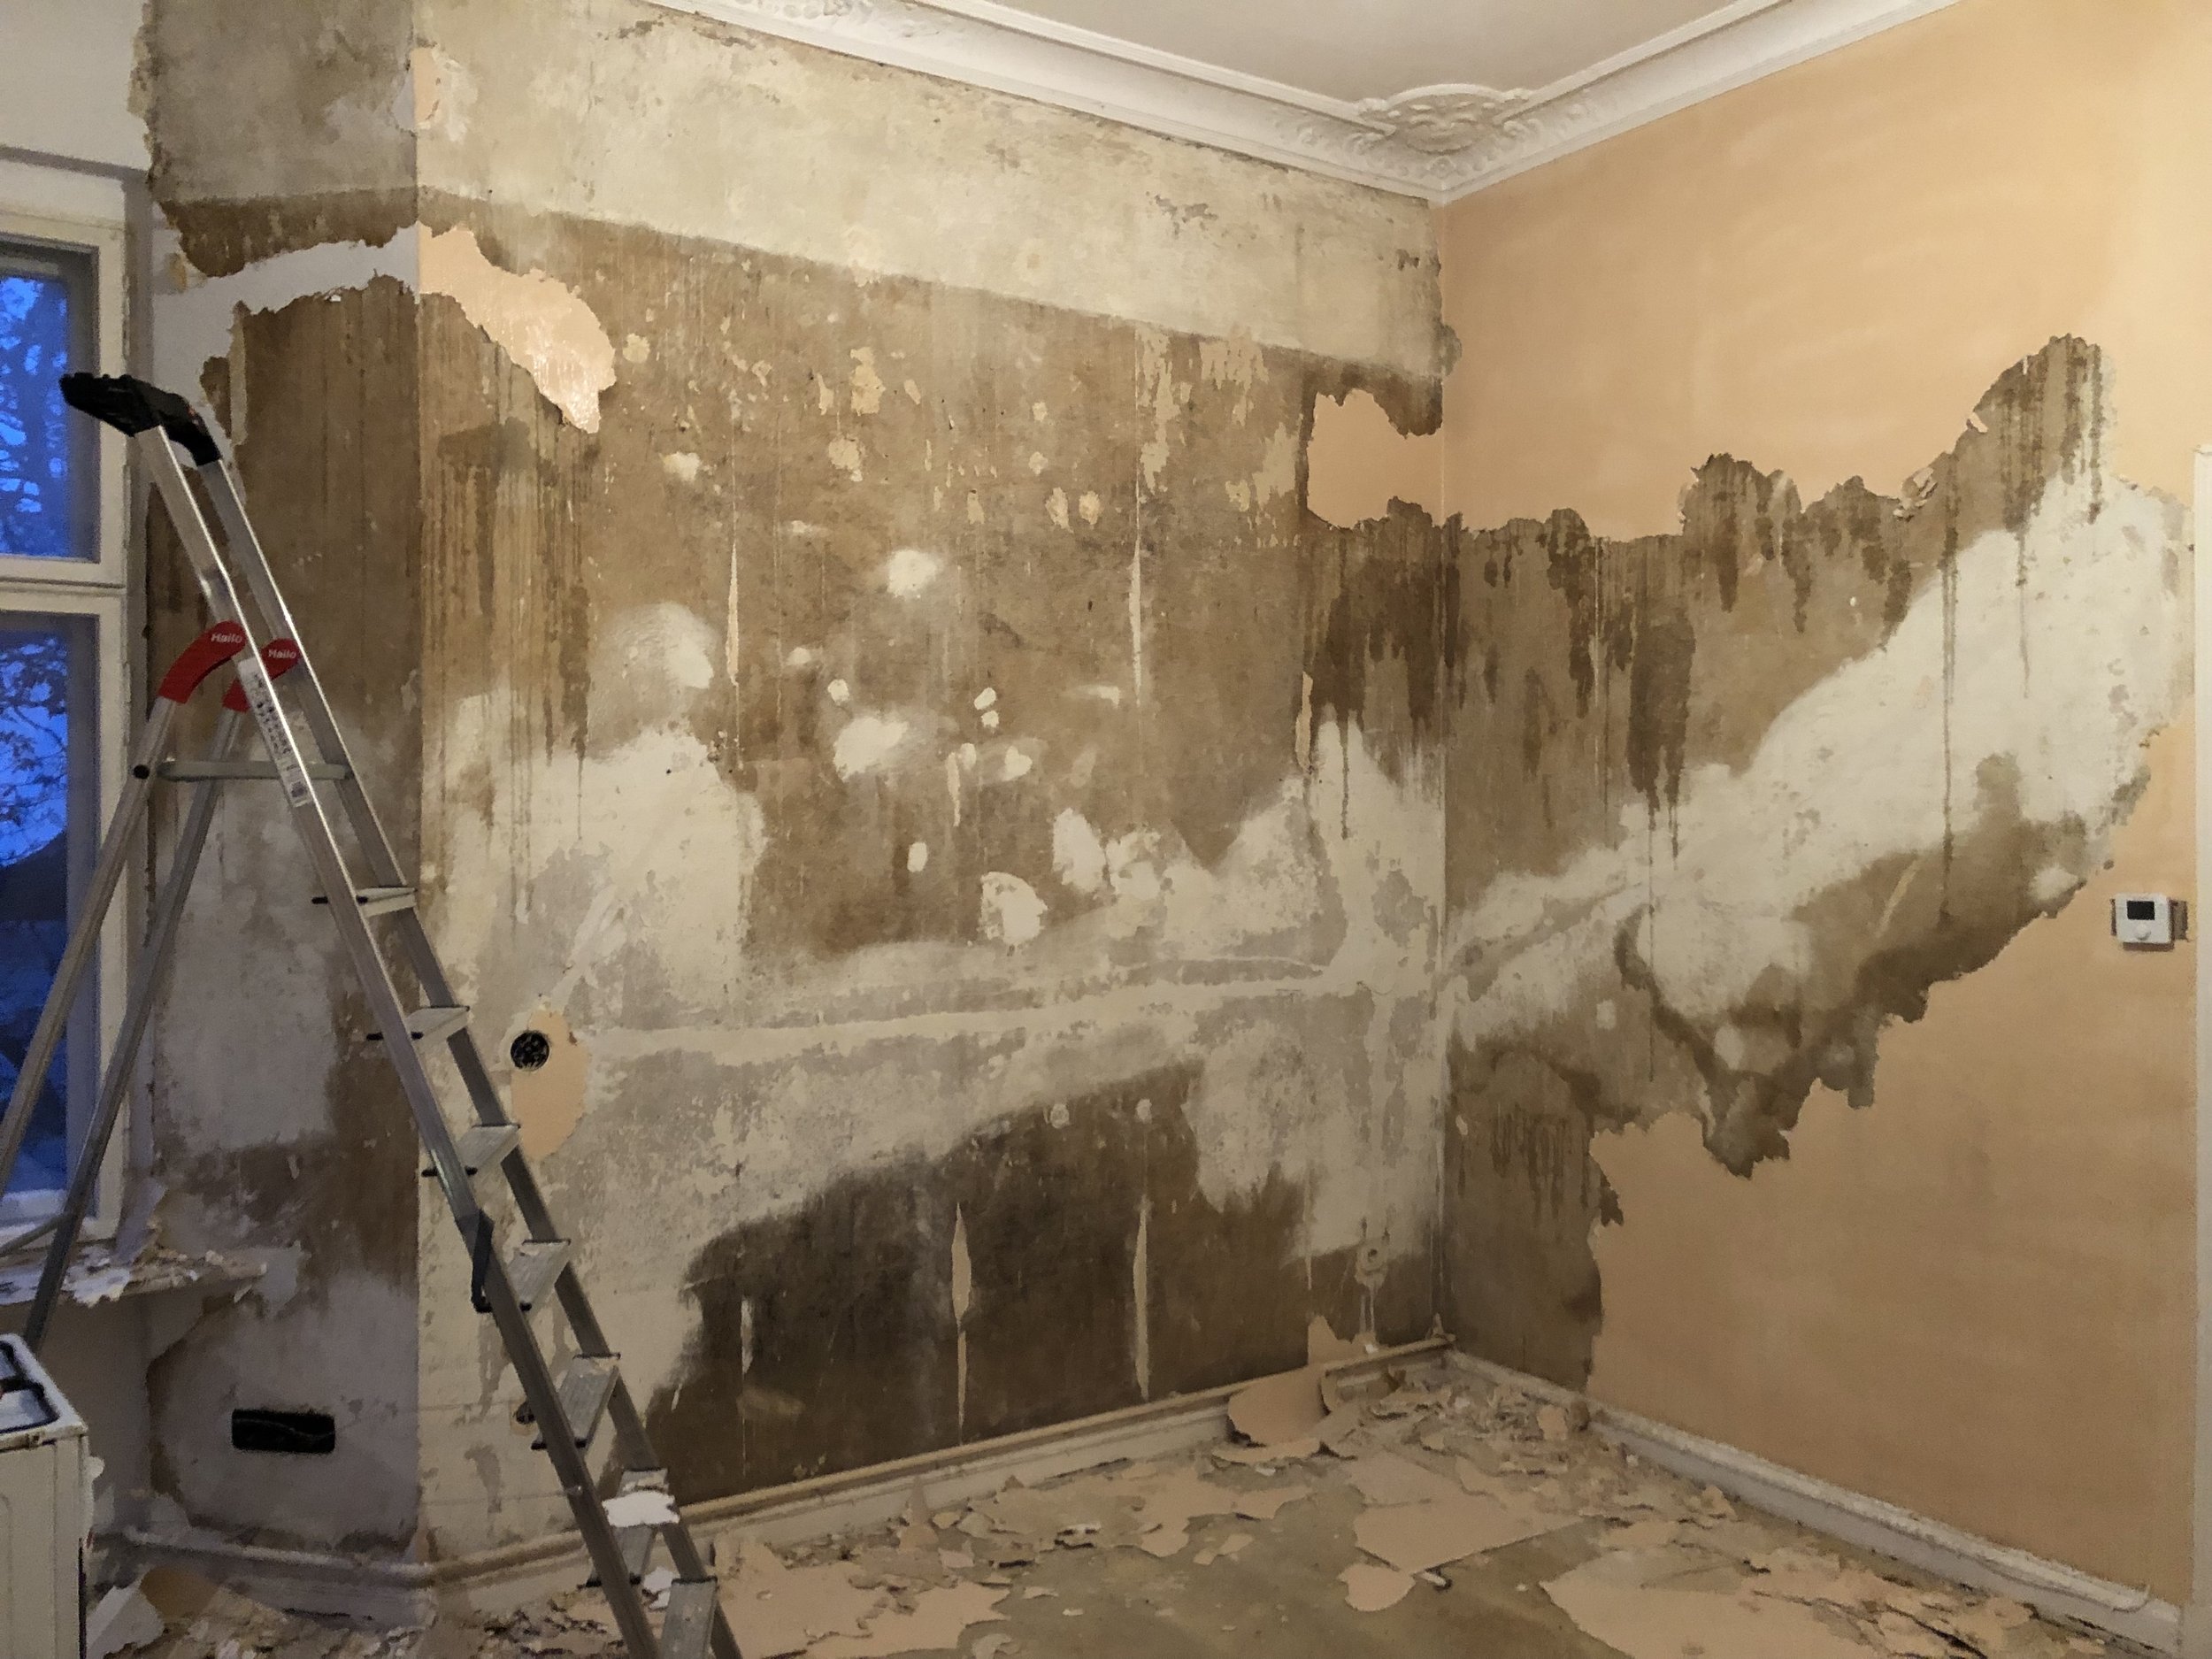
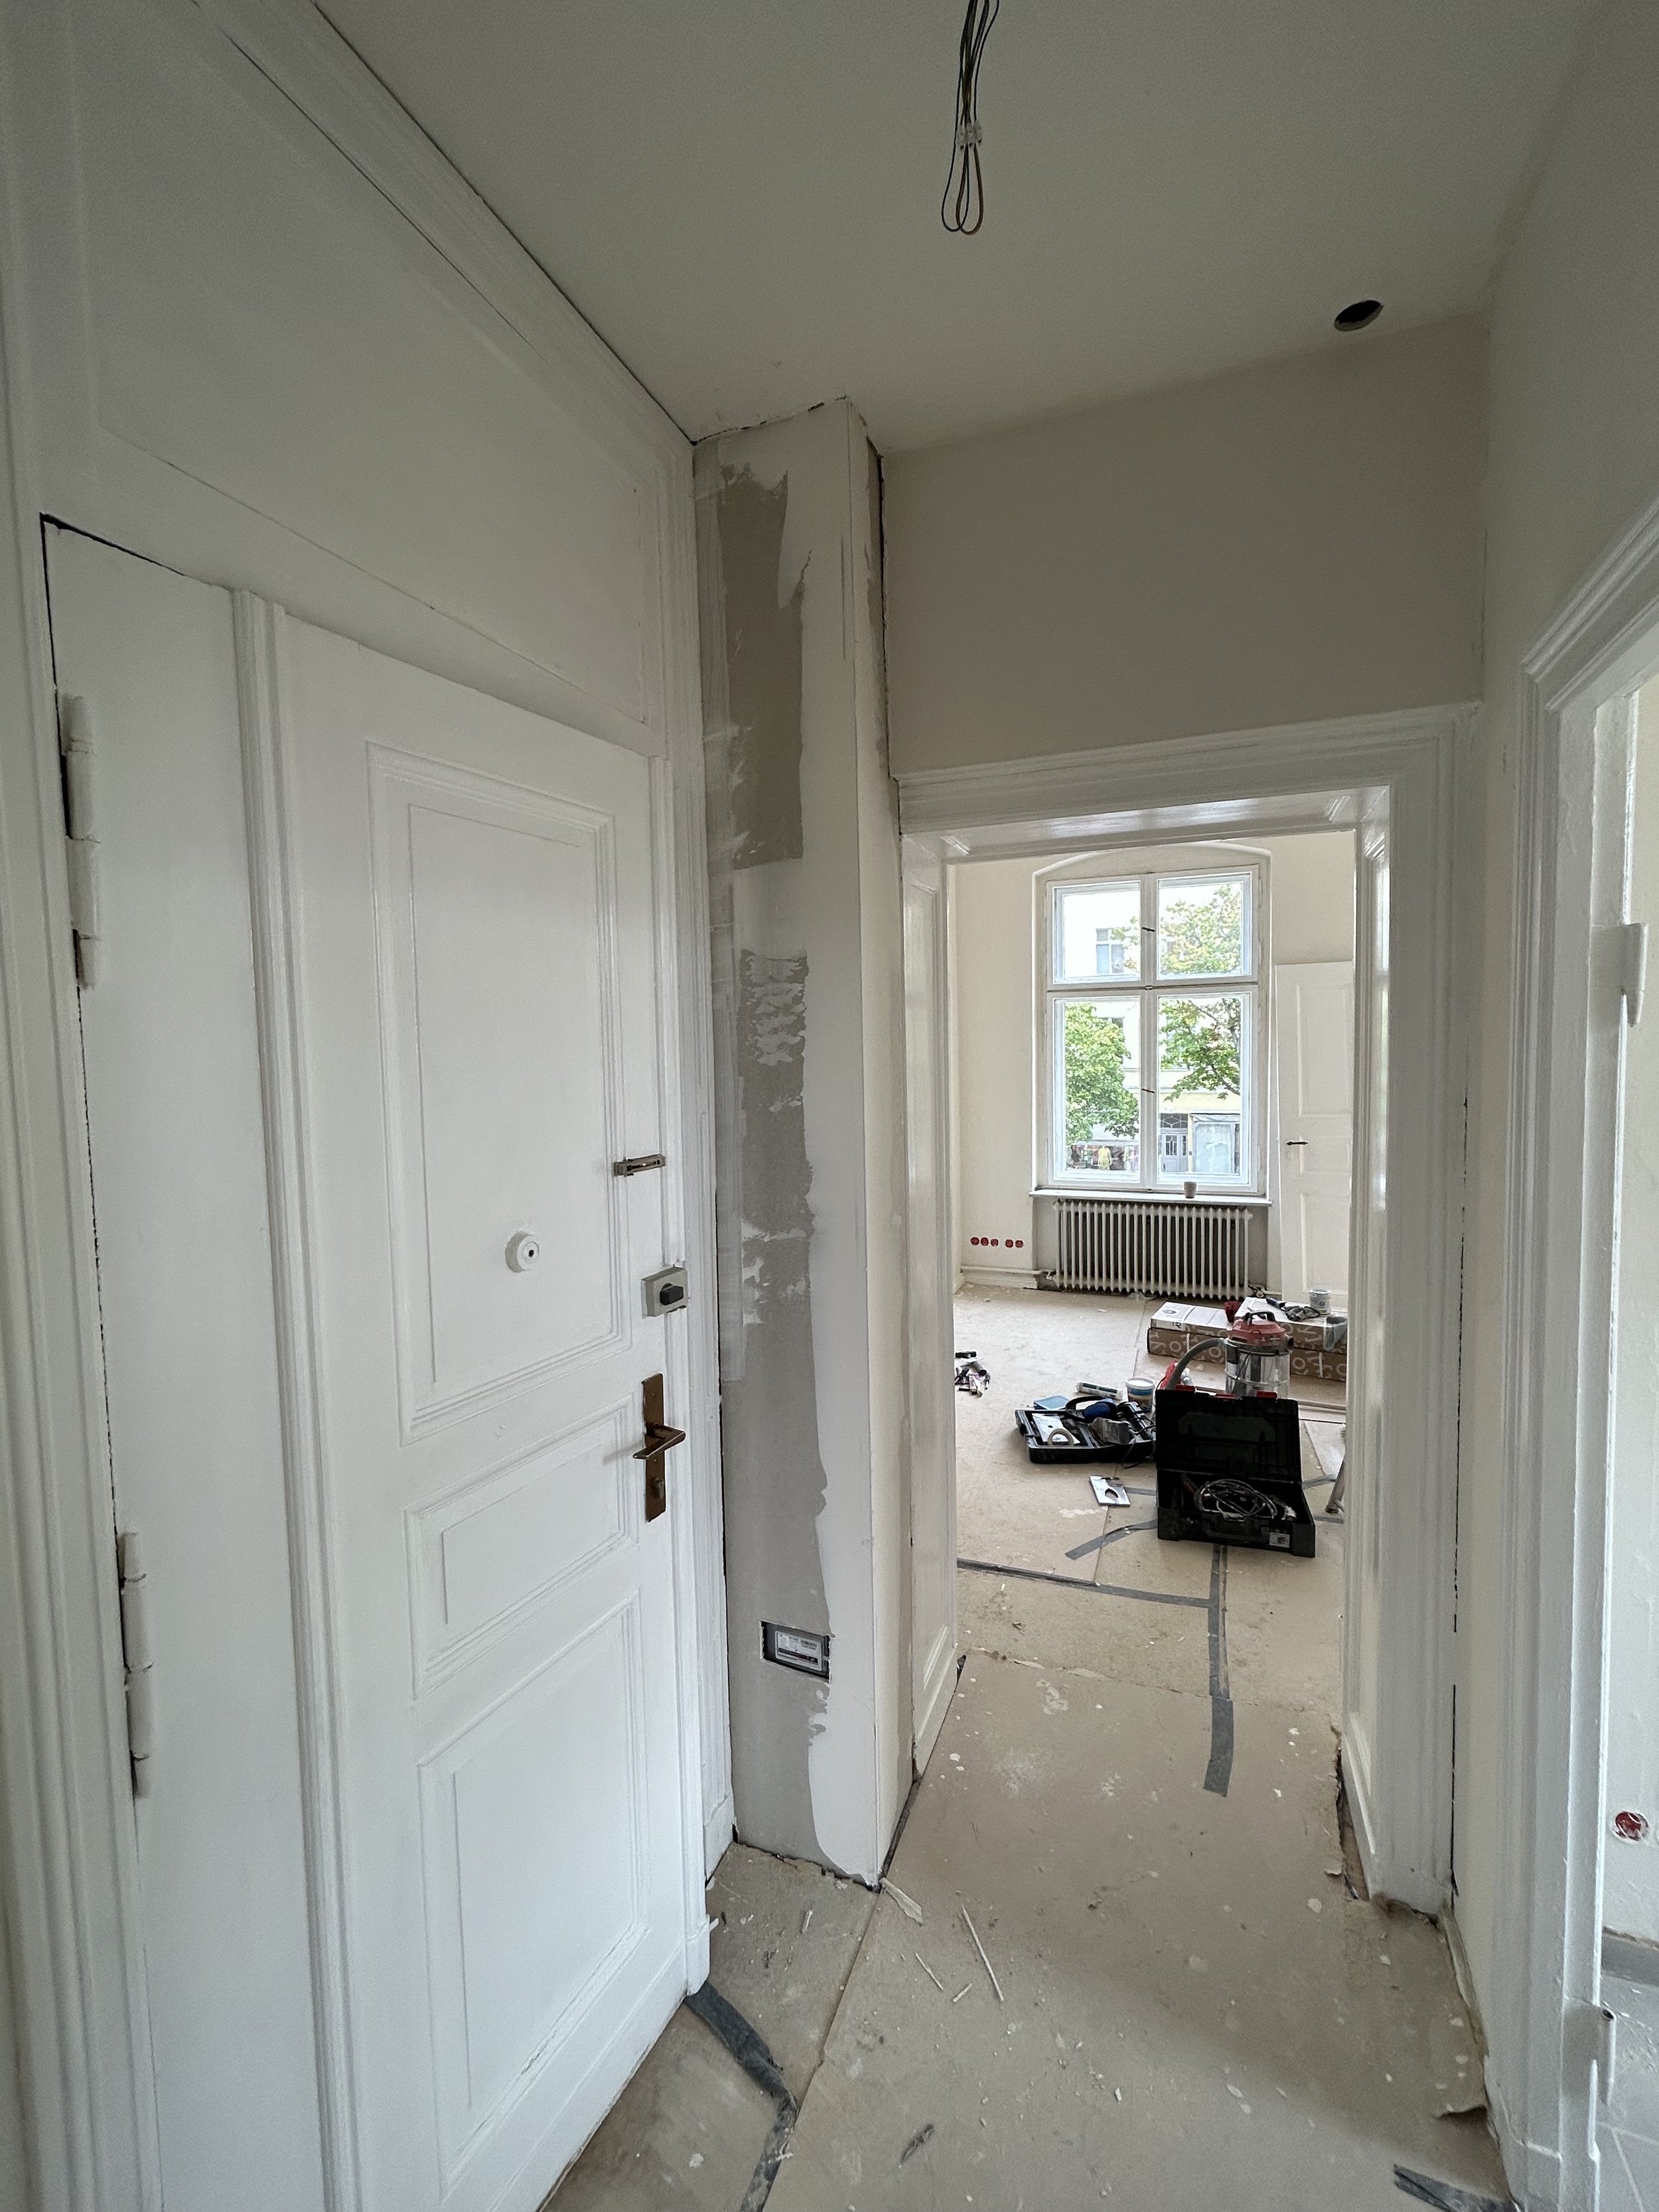
When we first entered the apartment, we had two strong emotions: we were shocked and hopeful simultaneously.
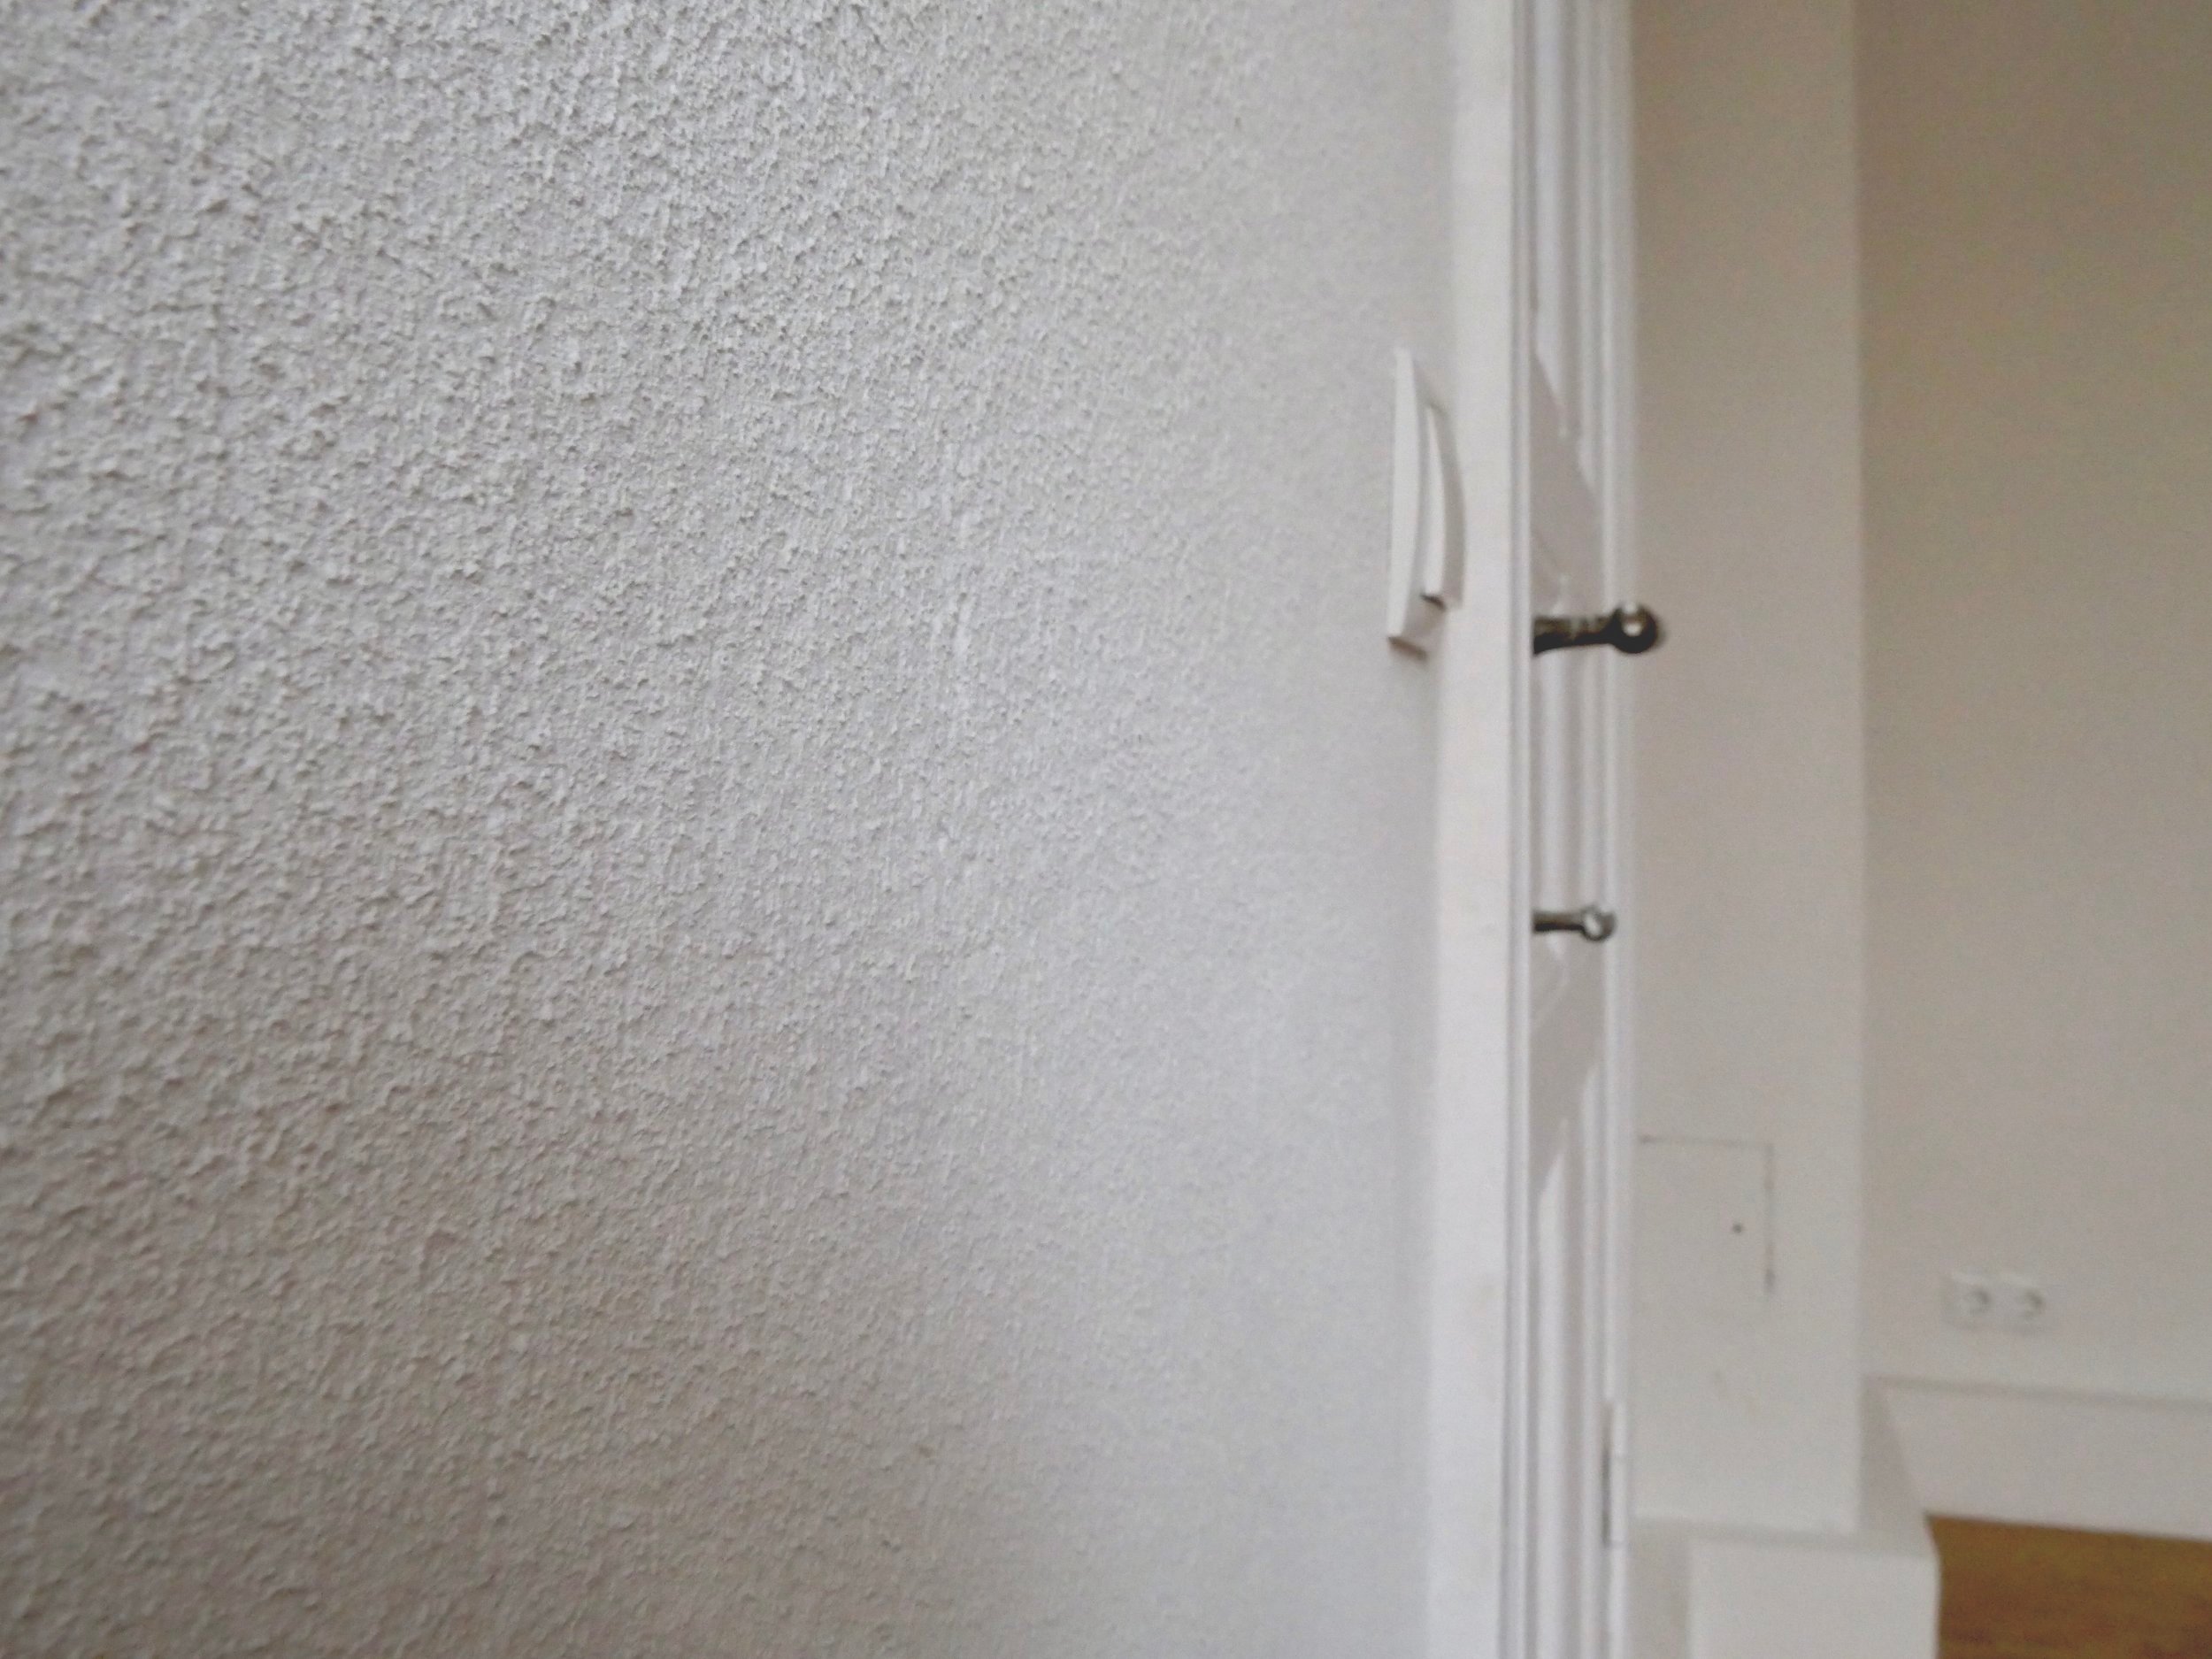
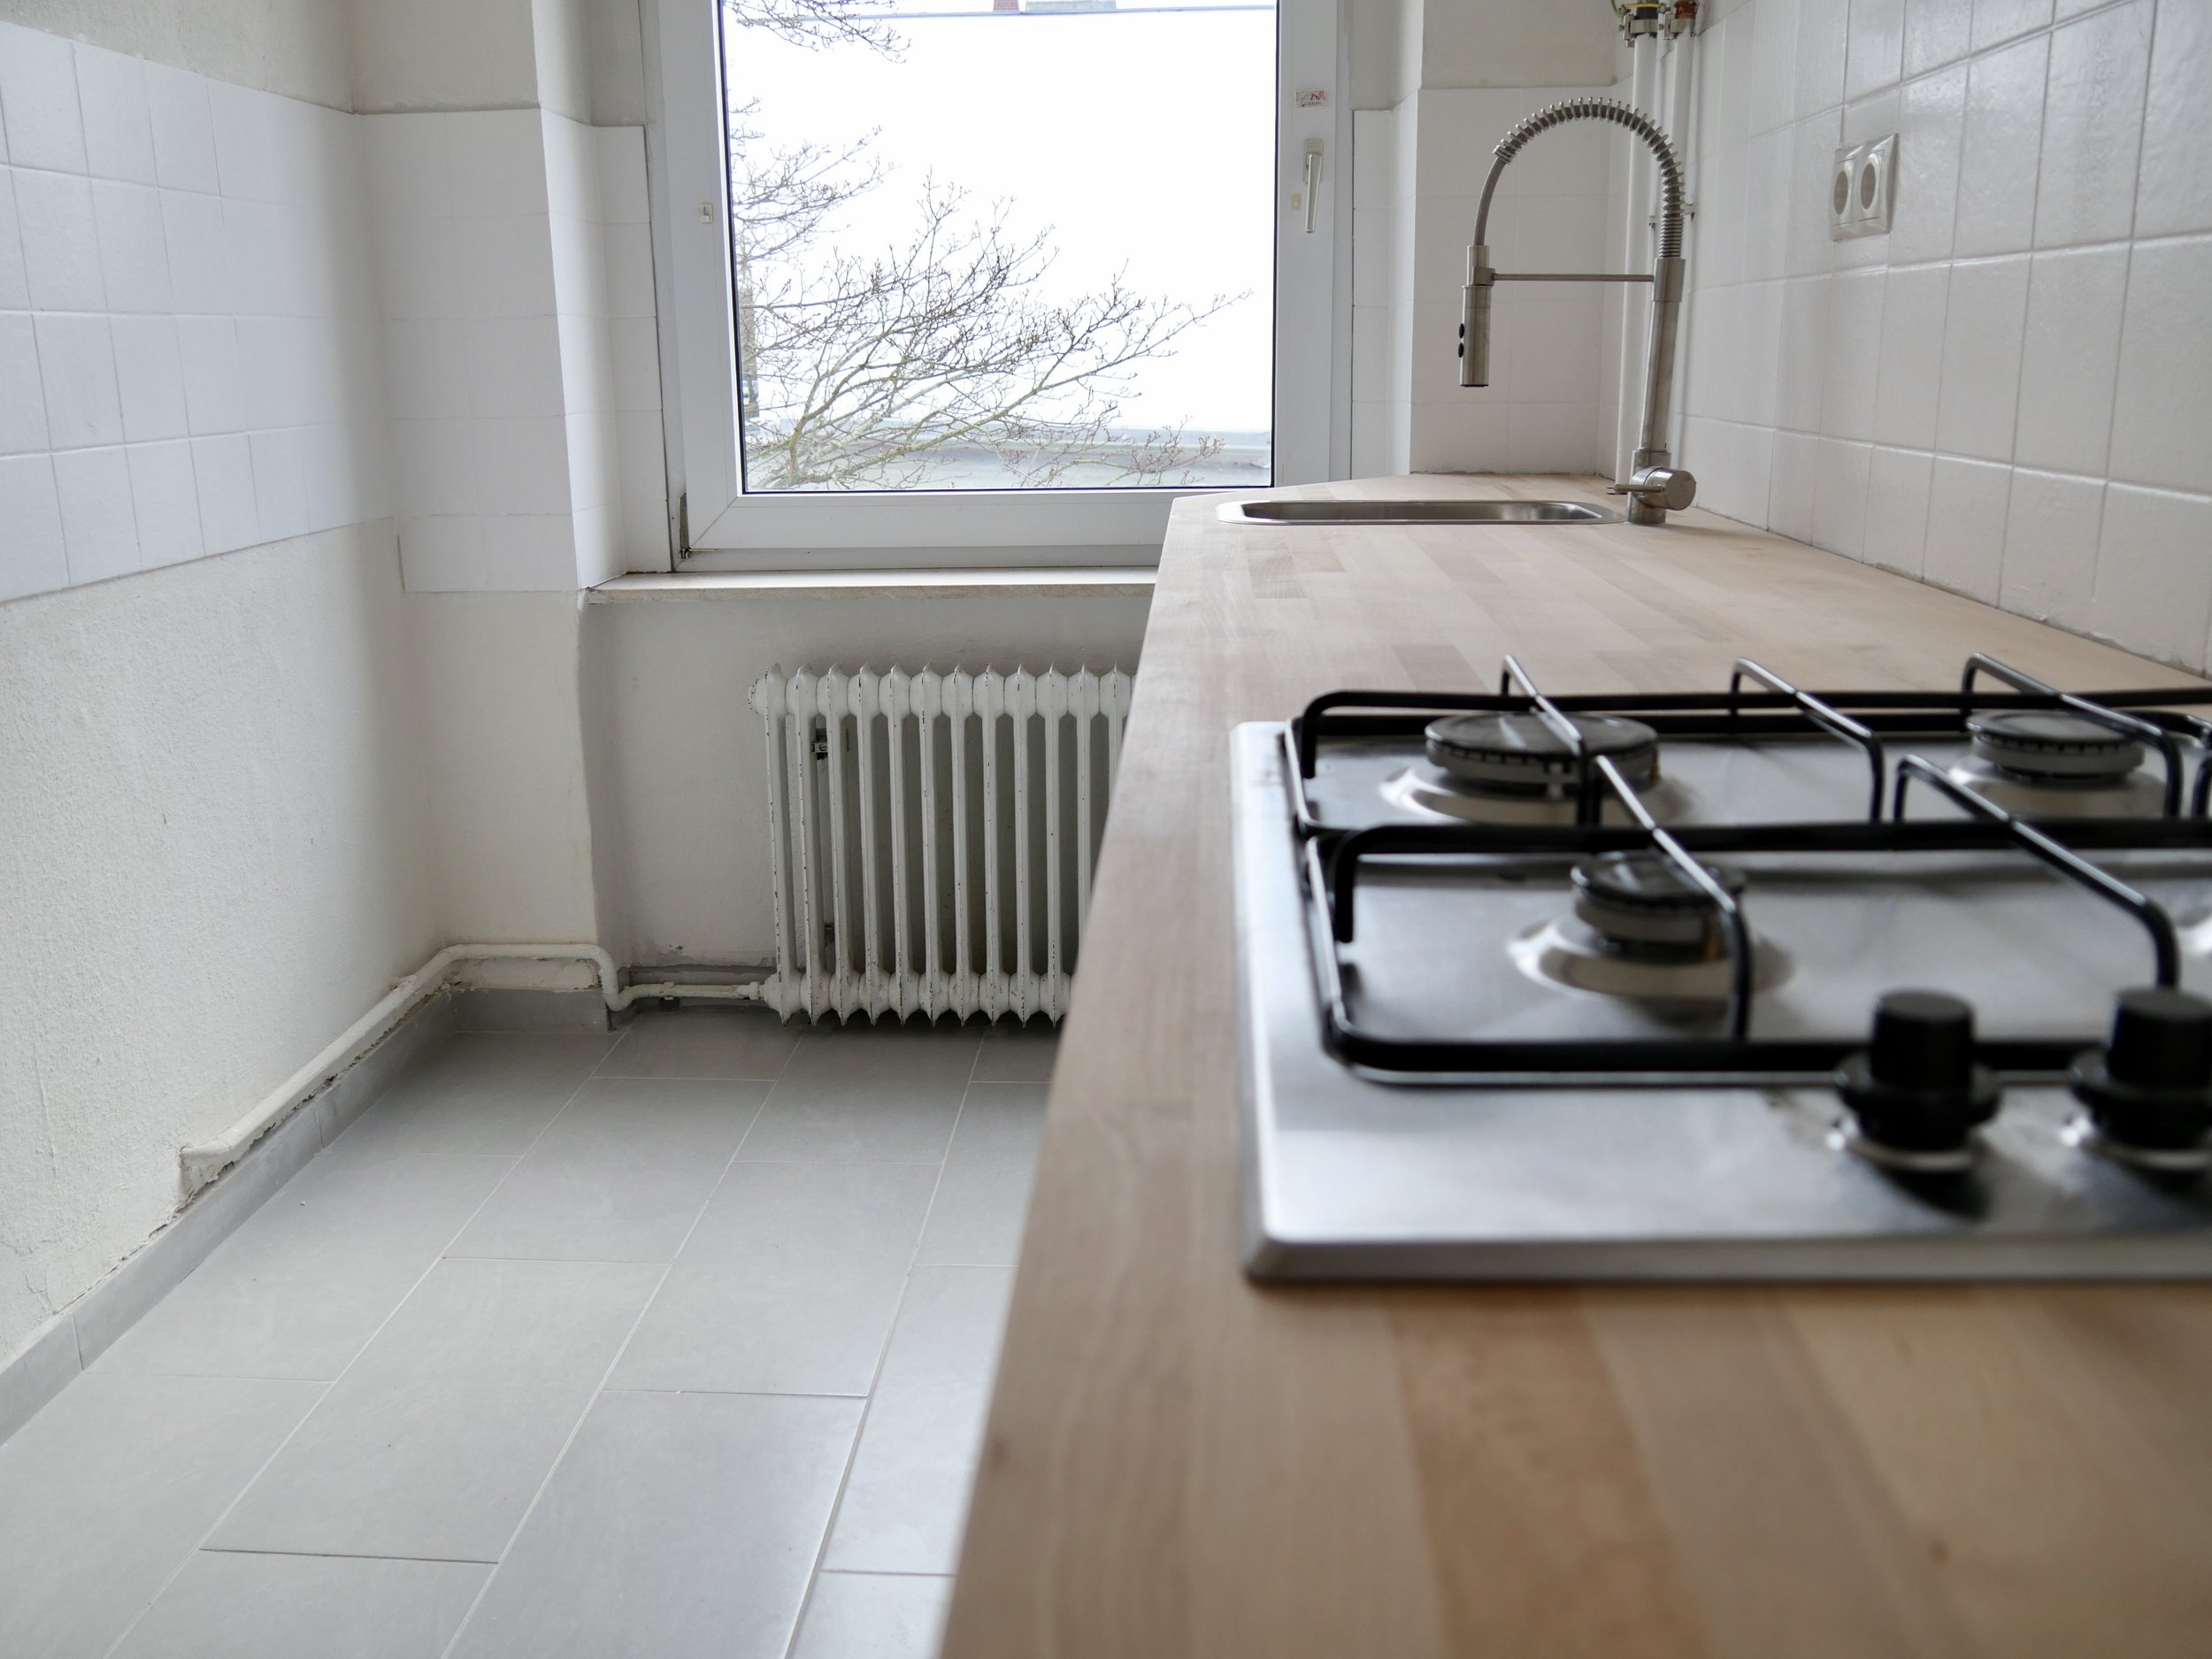
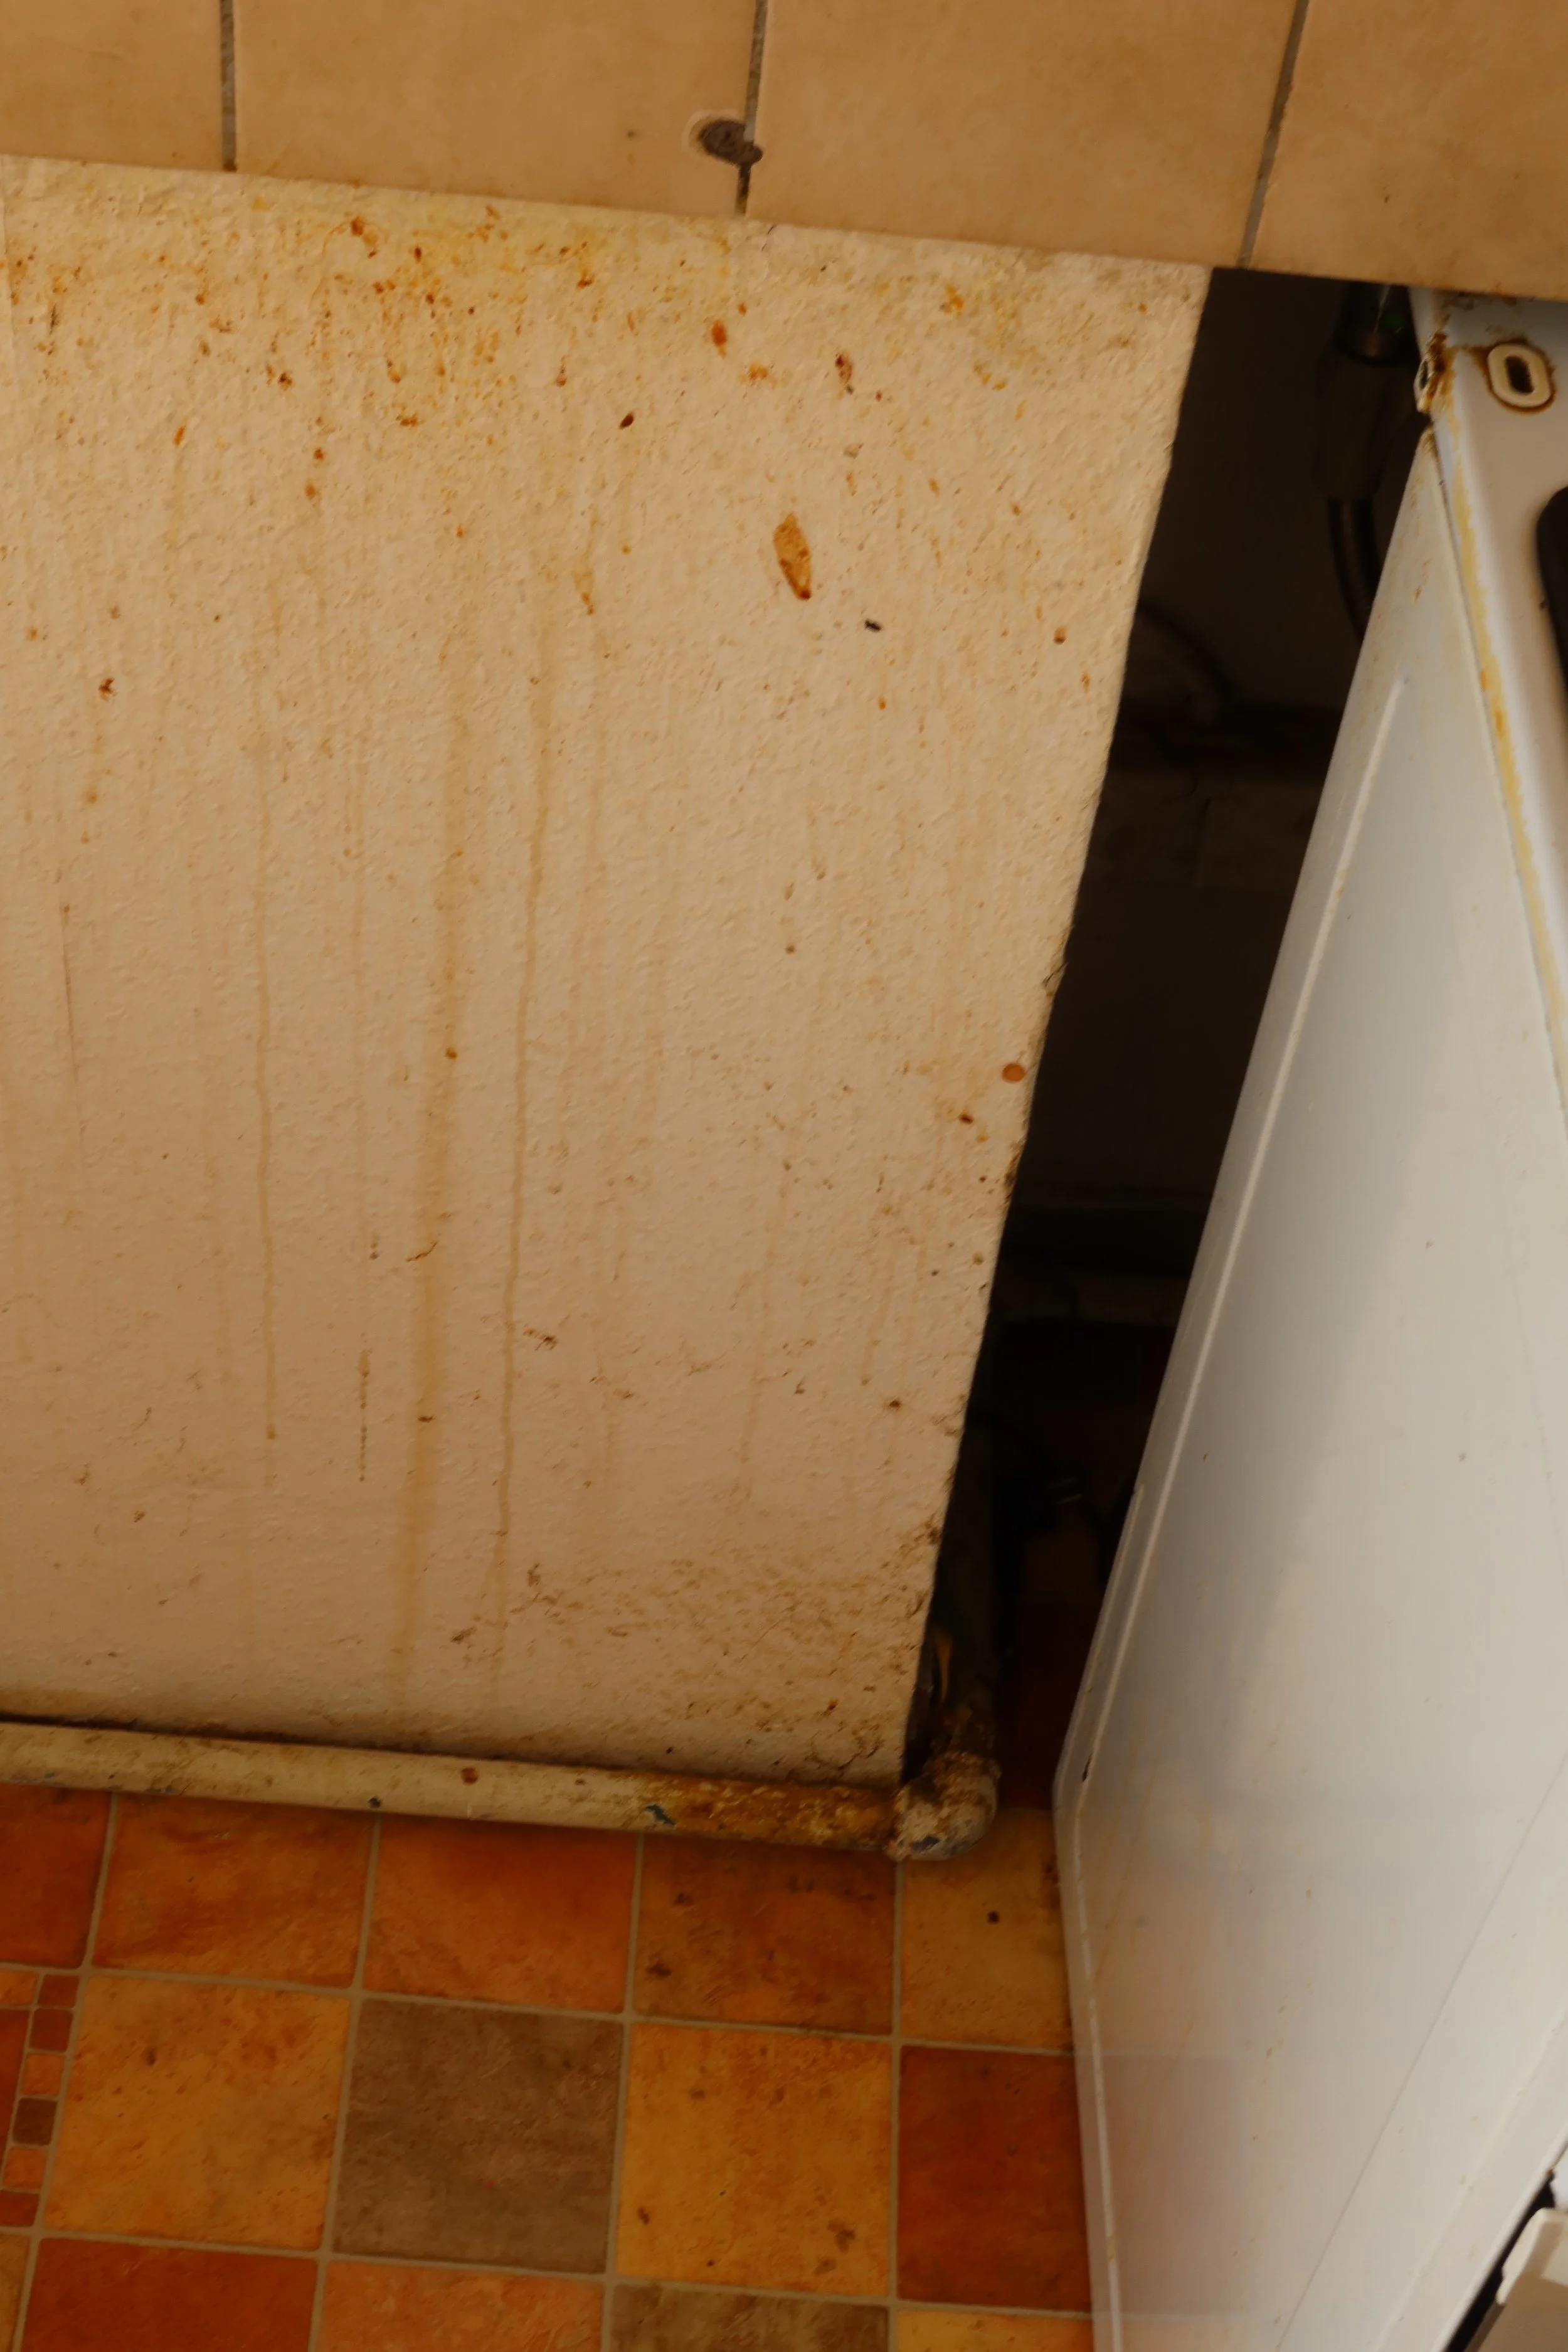
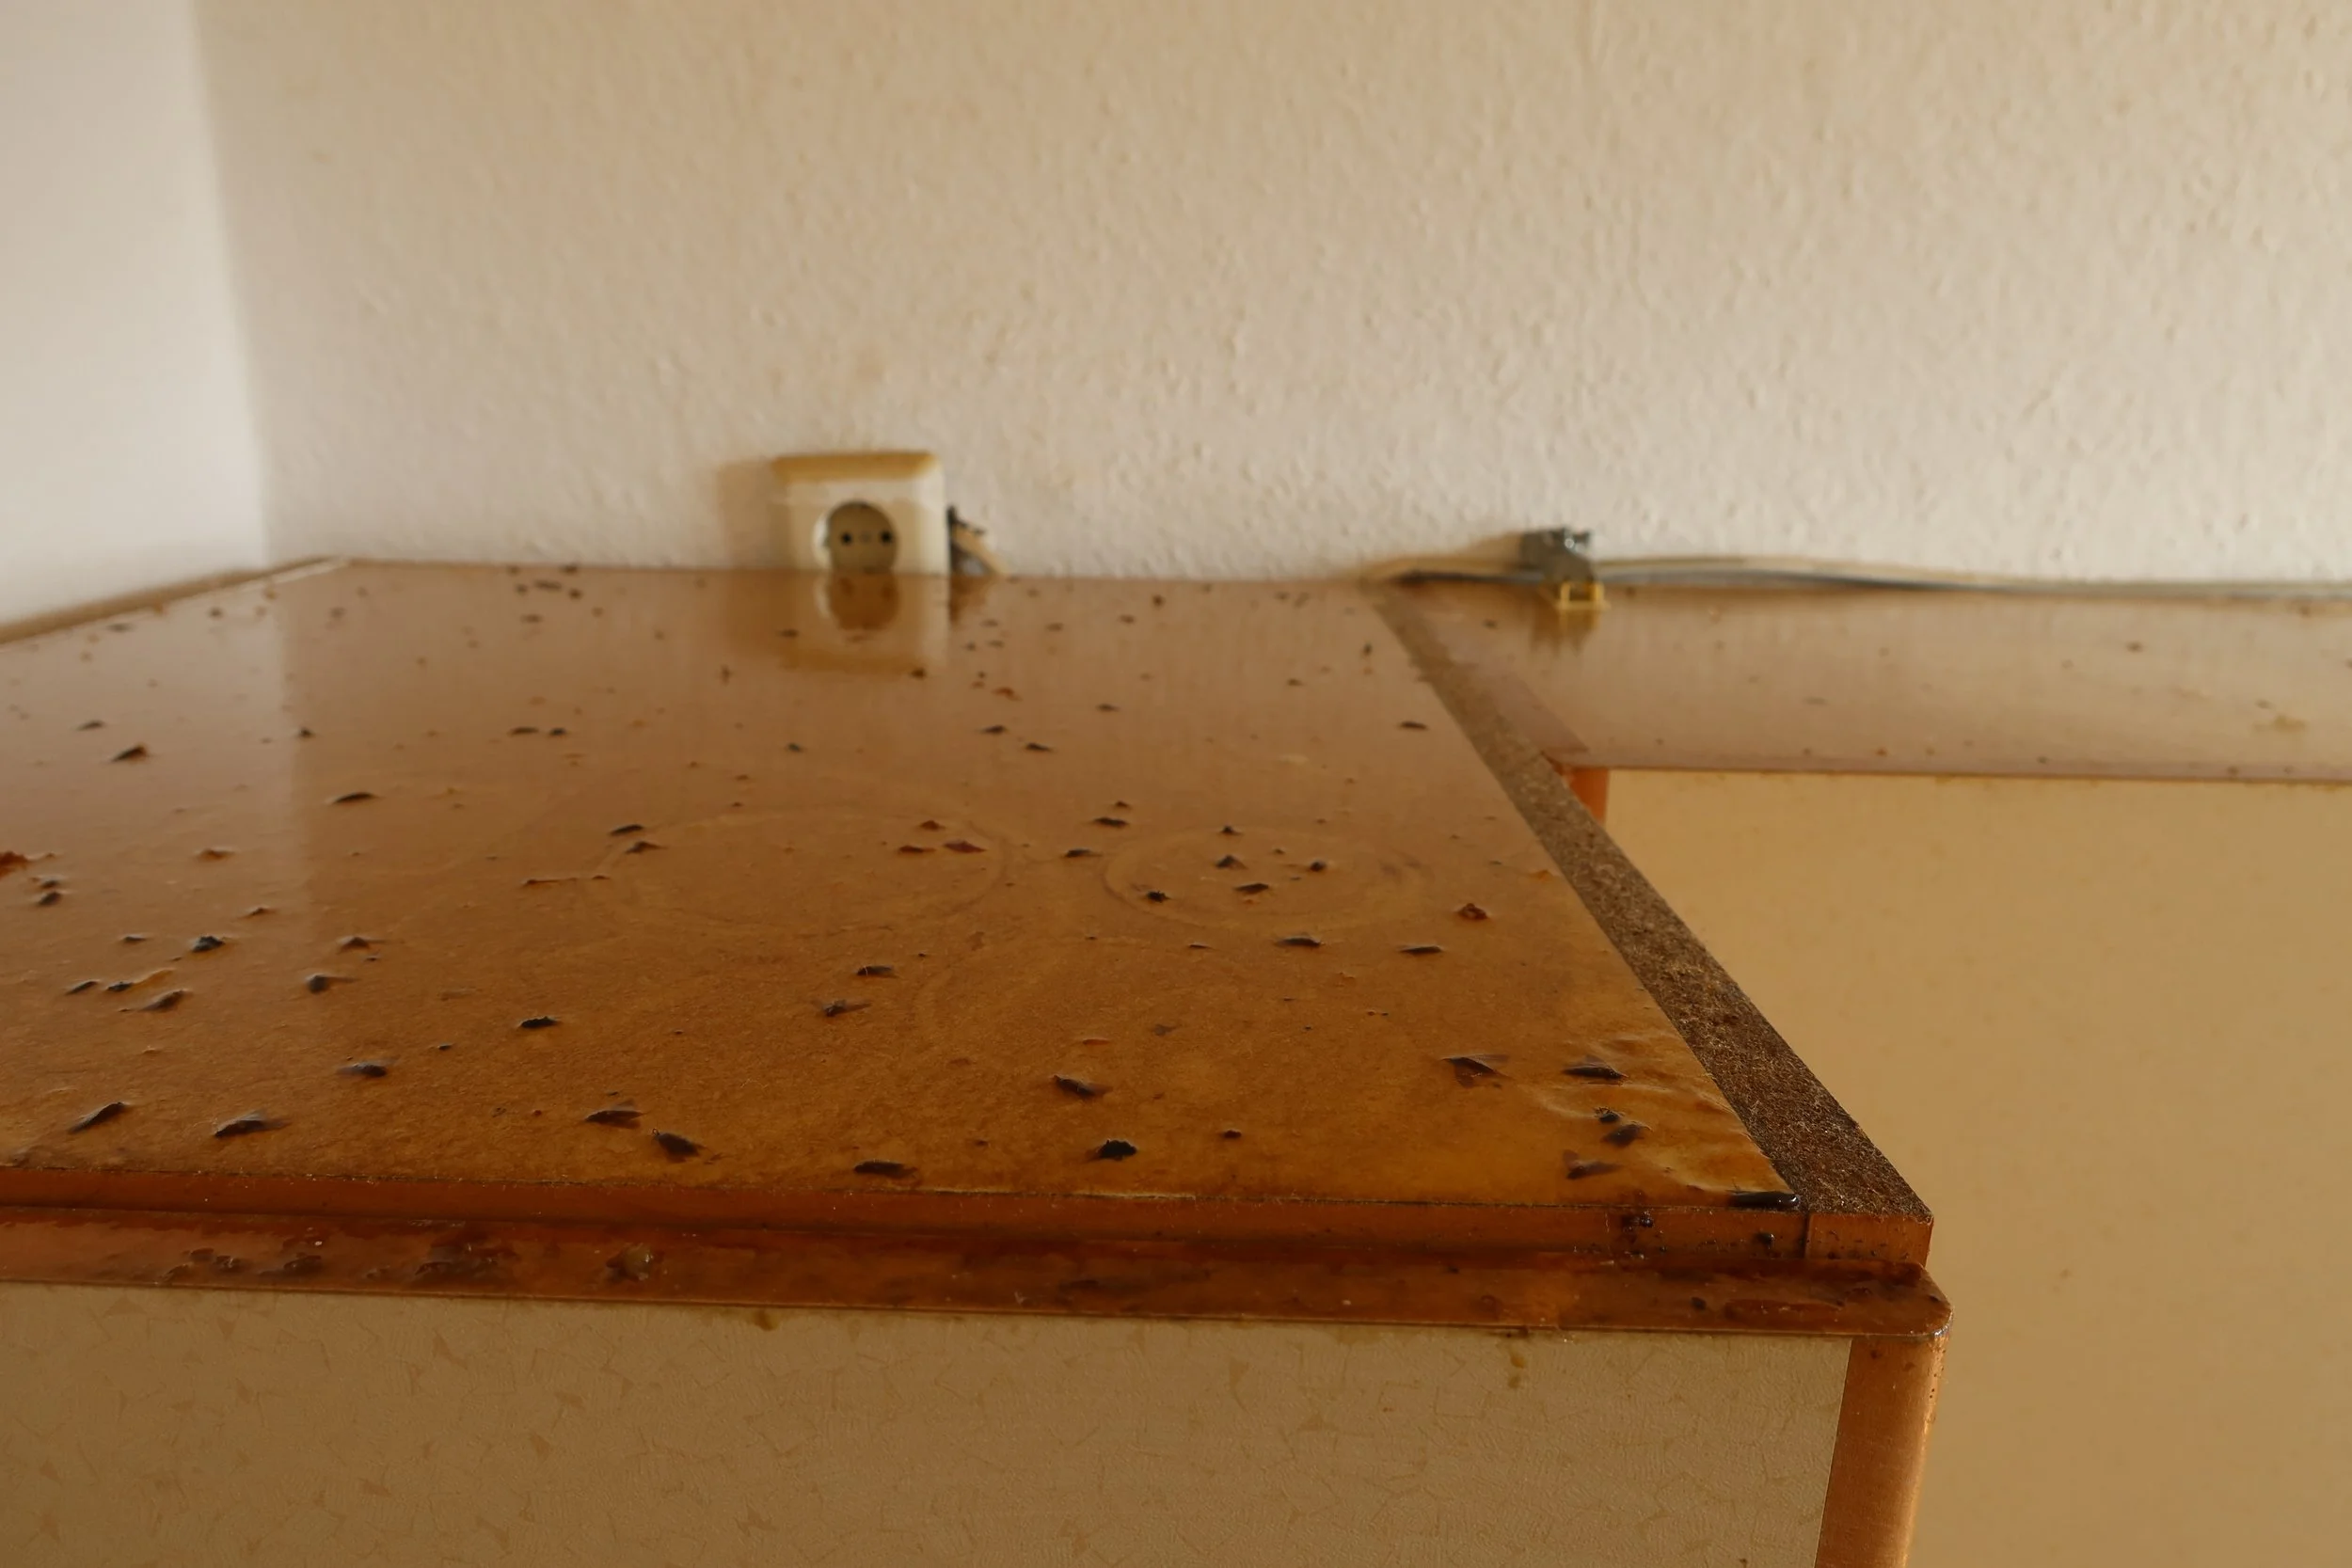
What did we encounter that shocked us? The apartment was in a terrible condition: the floor was broken, the wallpaper was loose, there were moths, and the kitchen was full of old food and oil on the walls. Also, the kitchen surface was sticky and very disgusting. But that was not all; a terrible smell - like old and wet cloth - was lying heavily in the air, especially in the bathroom, where we also found some mold in the shower. Little measuring devices at the windows showed what we expected: the air was too humid.


The Process
Our renovation plan included the following:
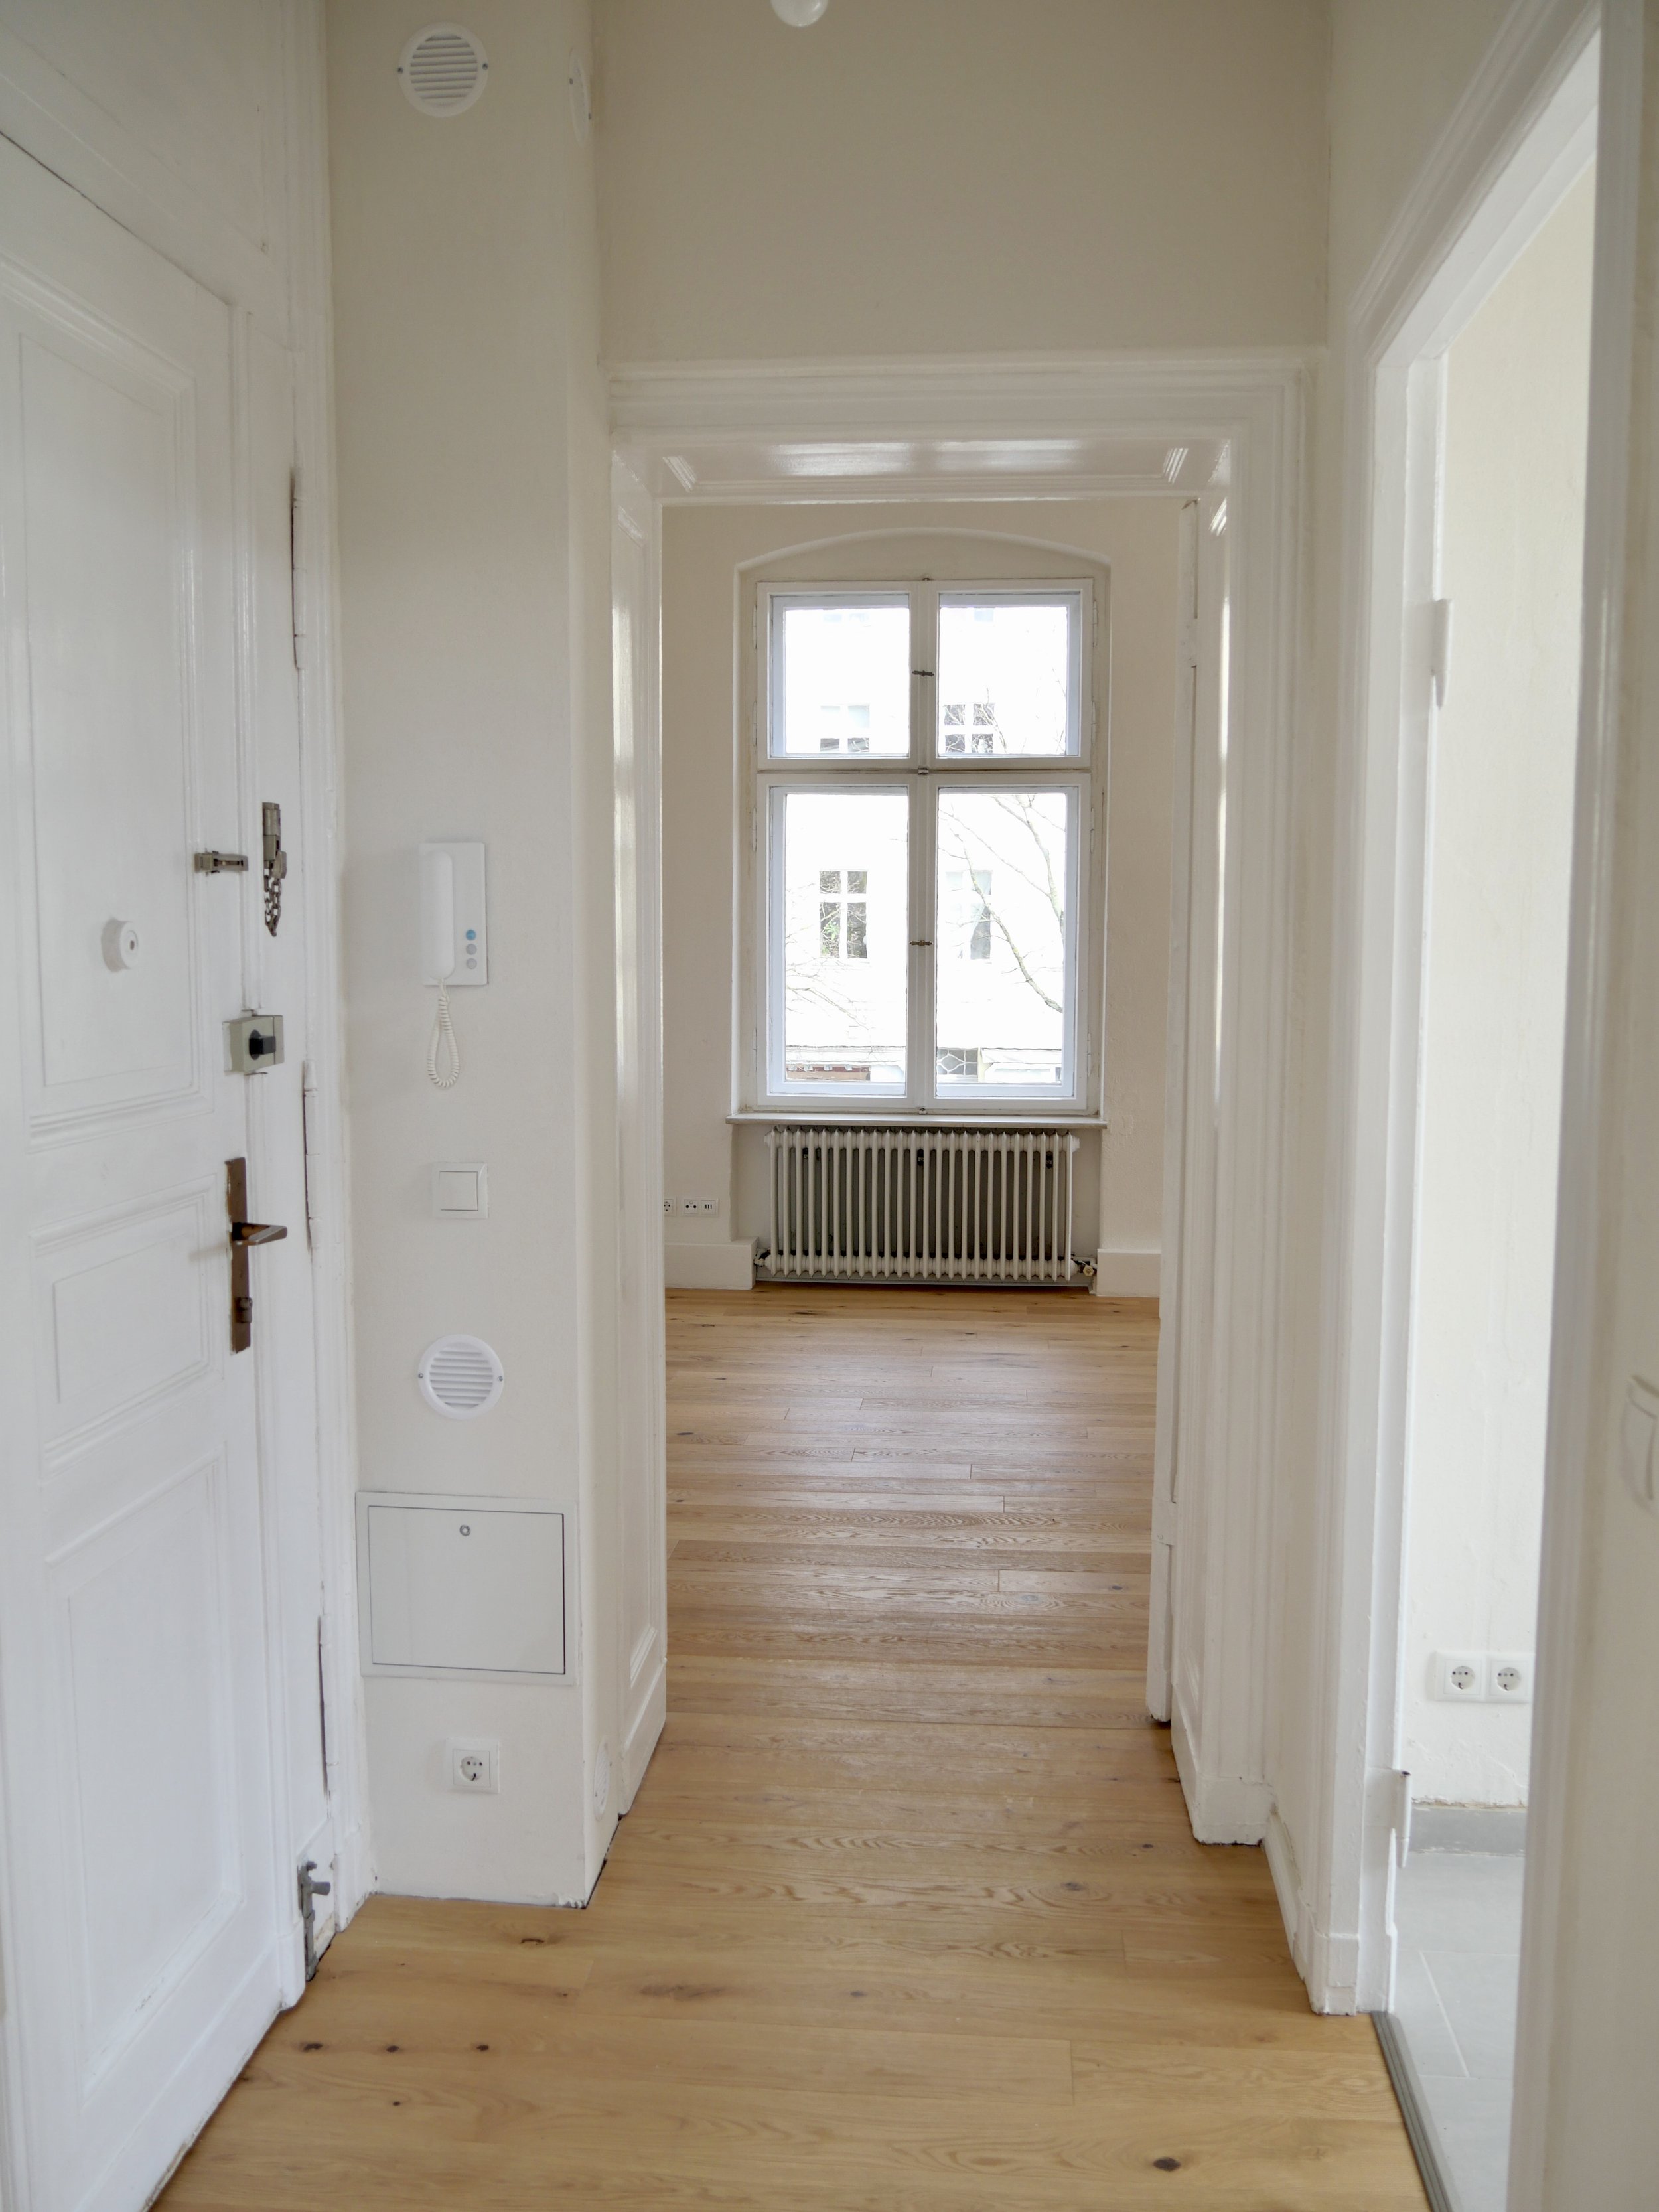
Remove the old floor and lay out a new one.
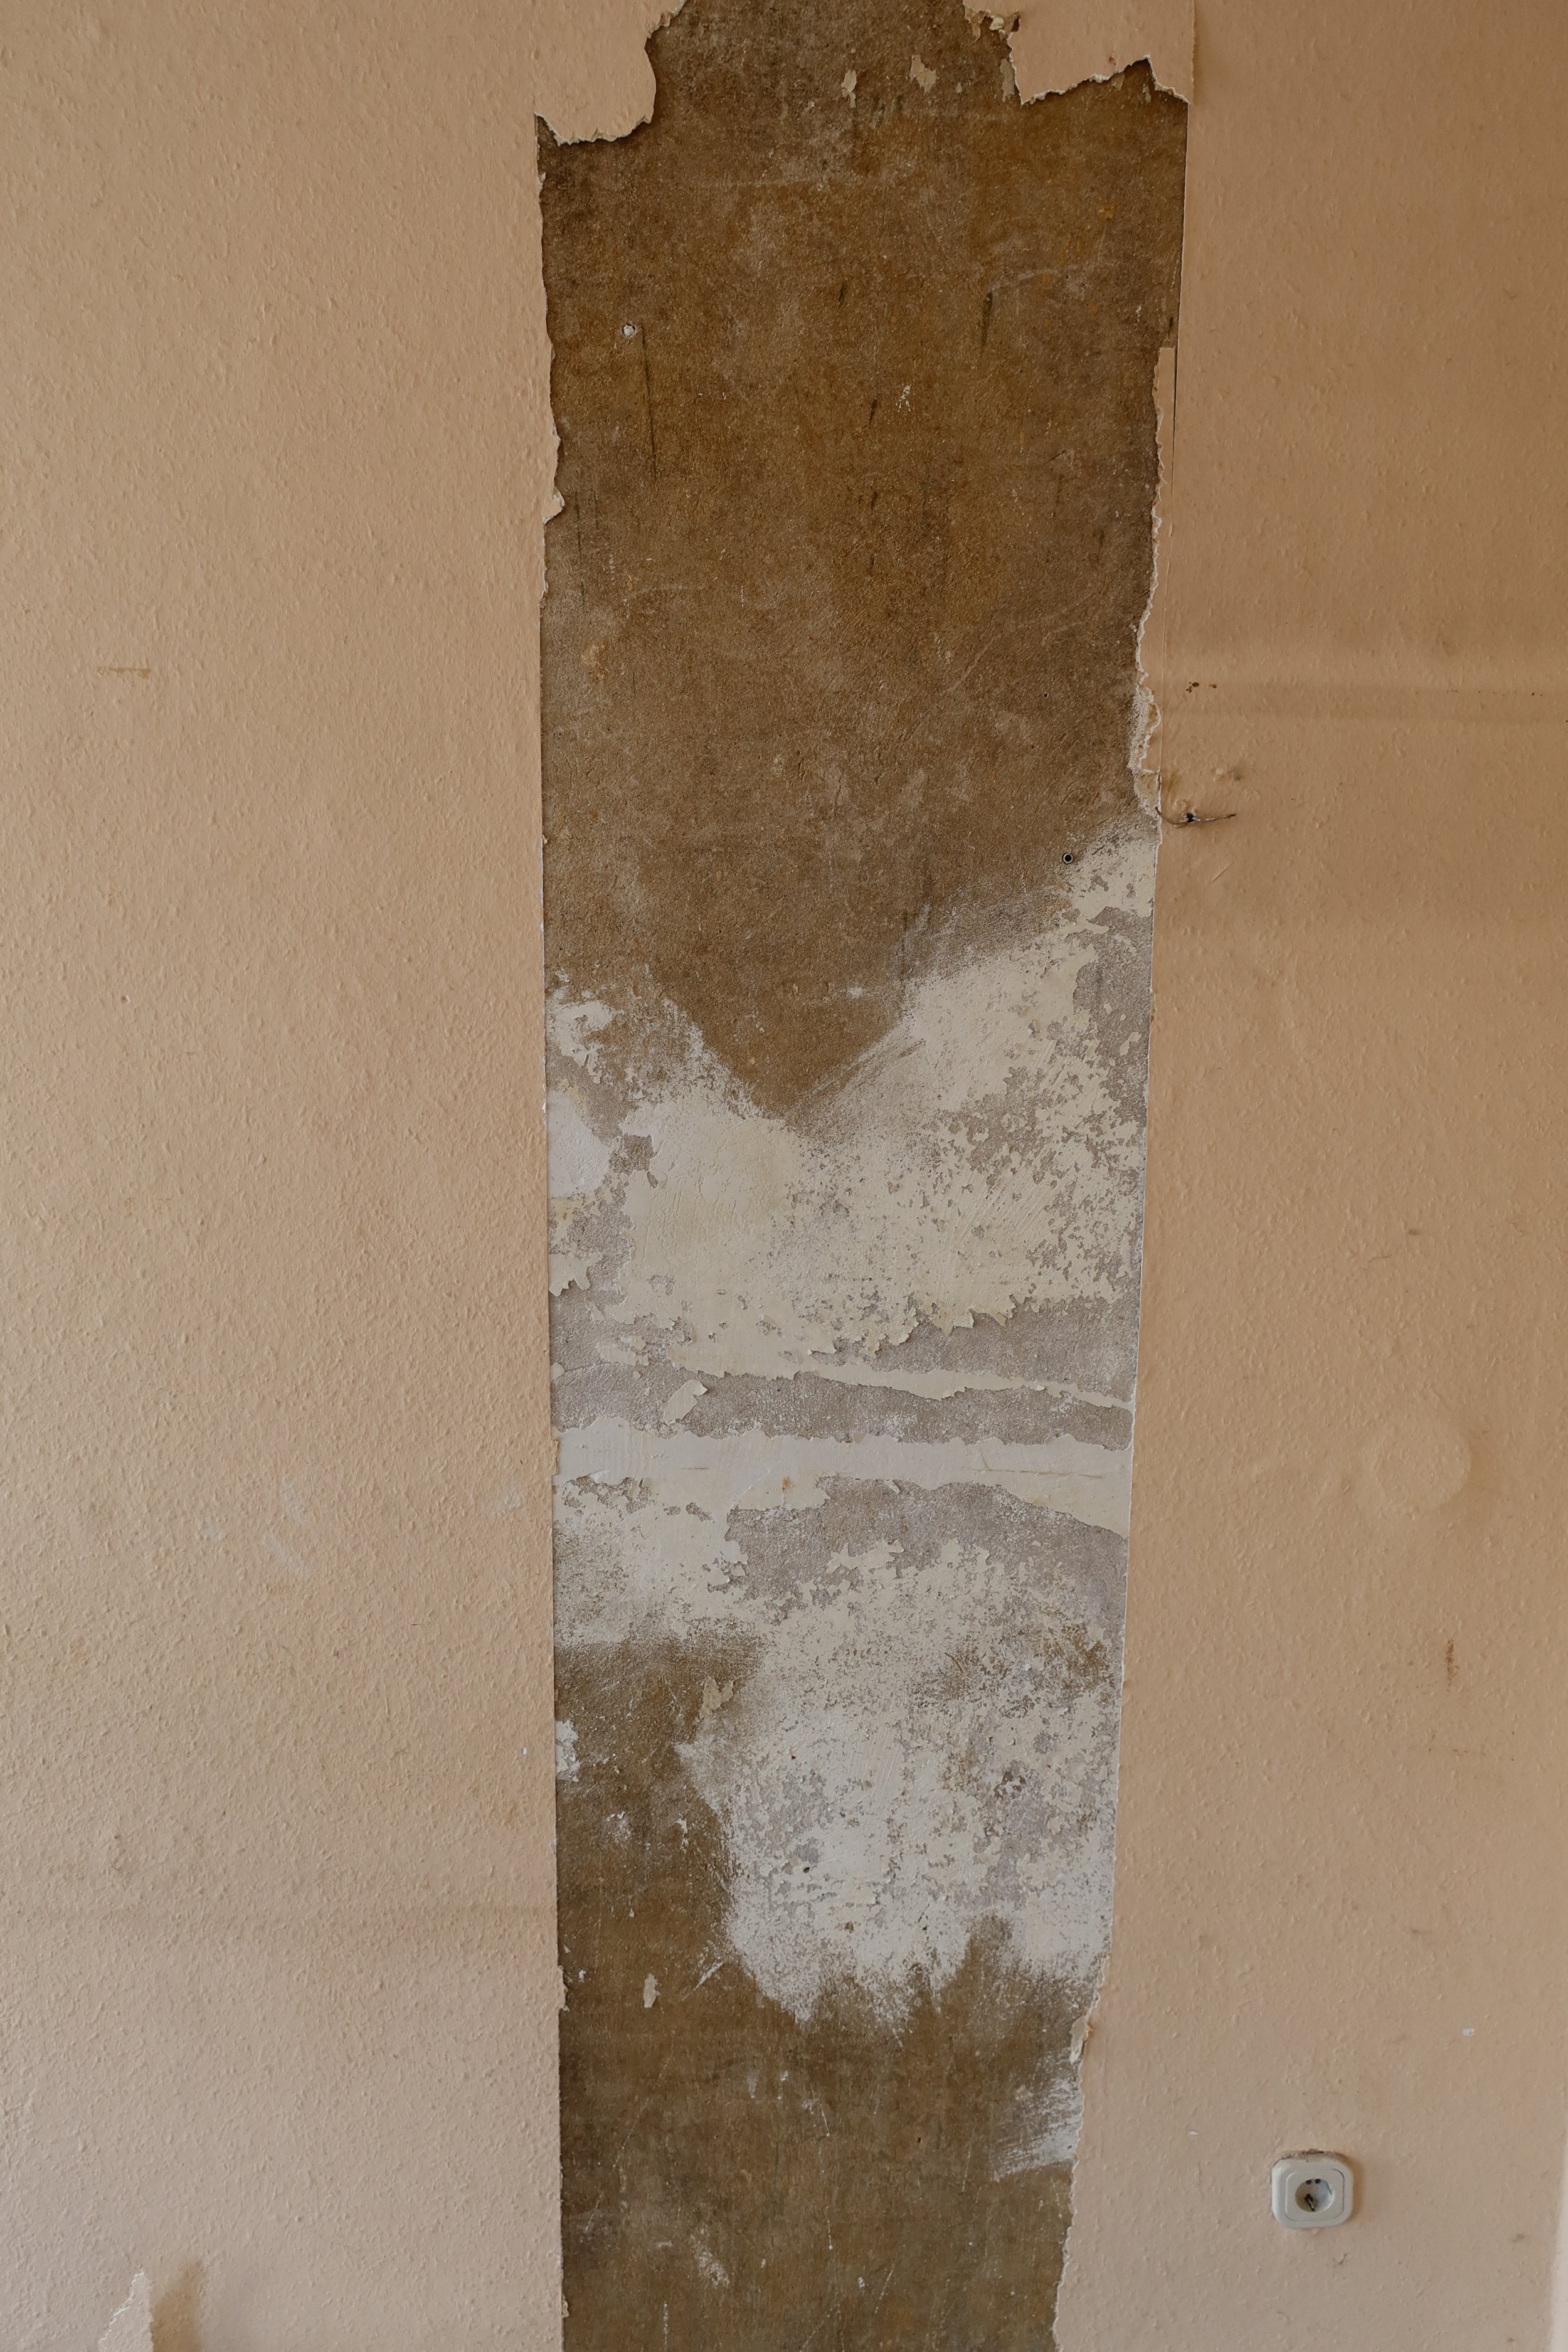
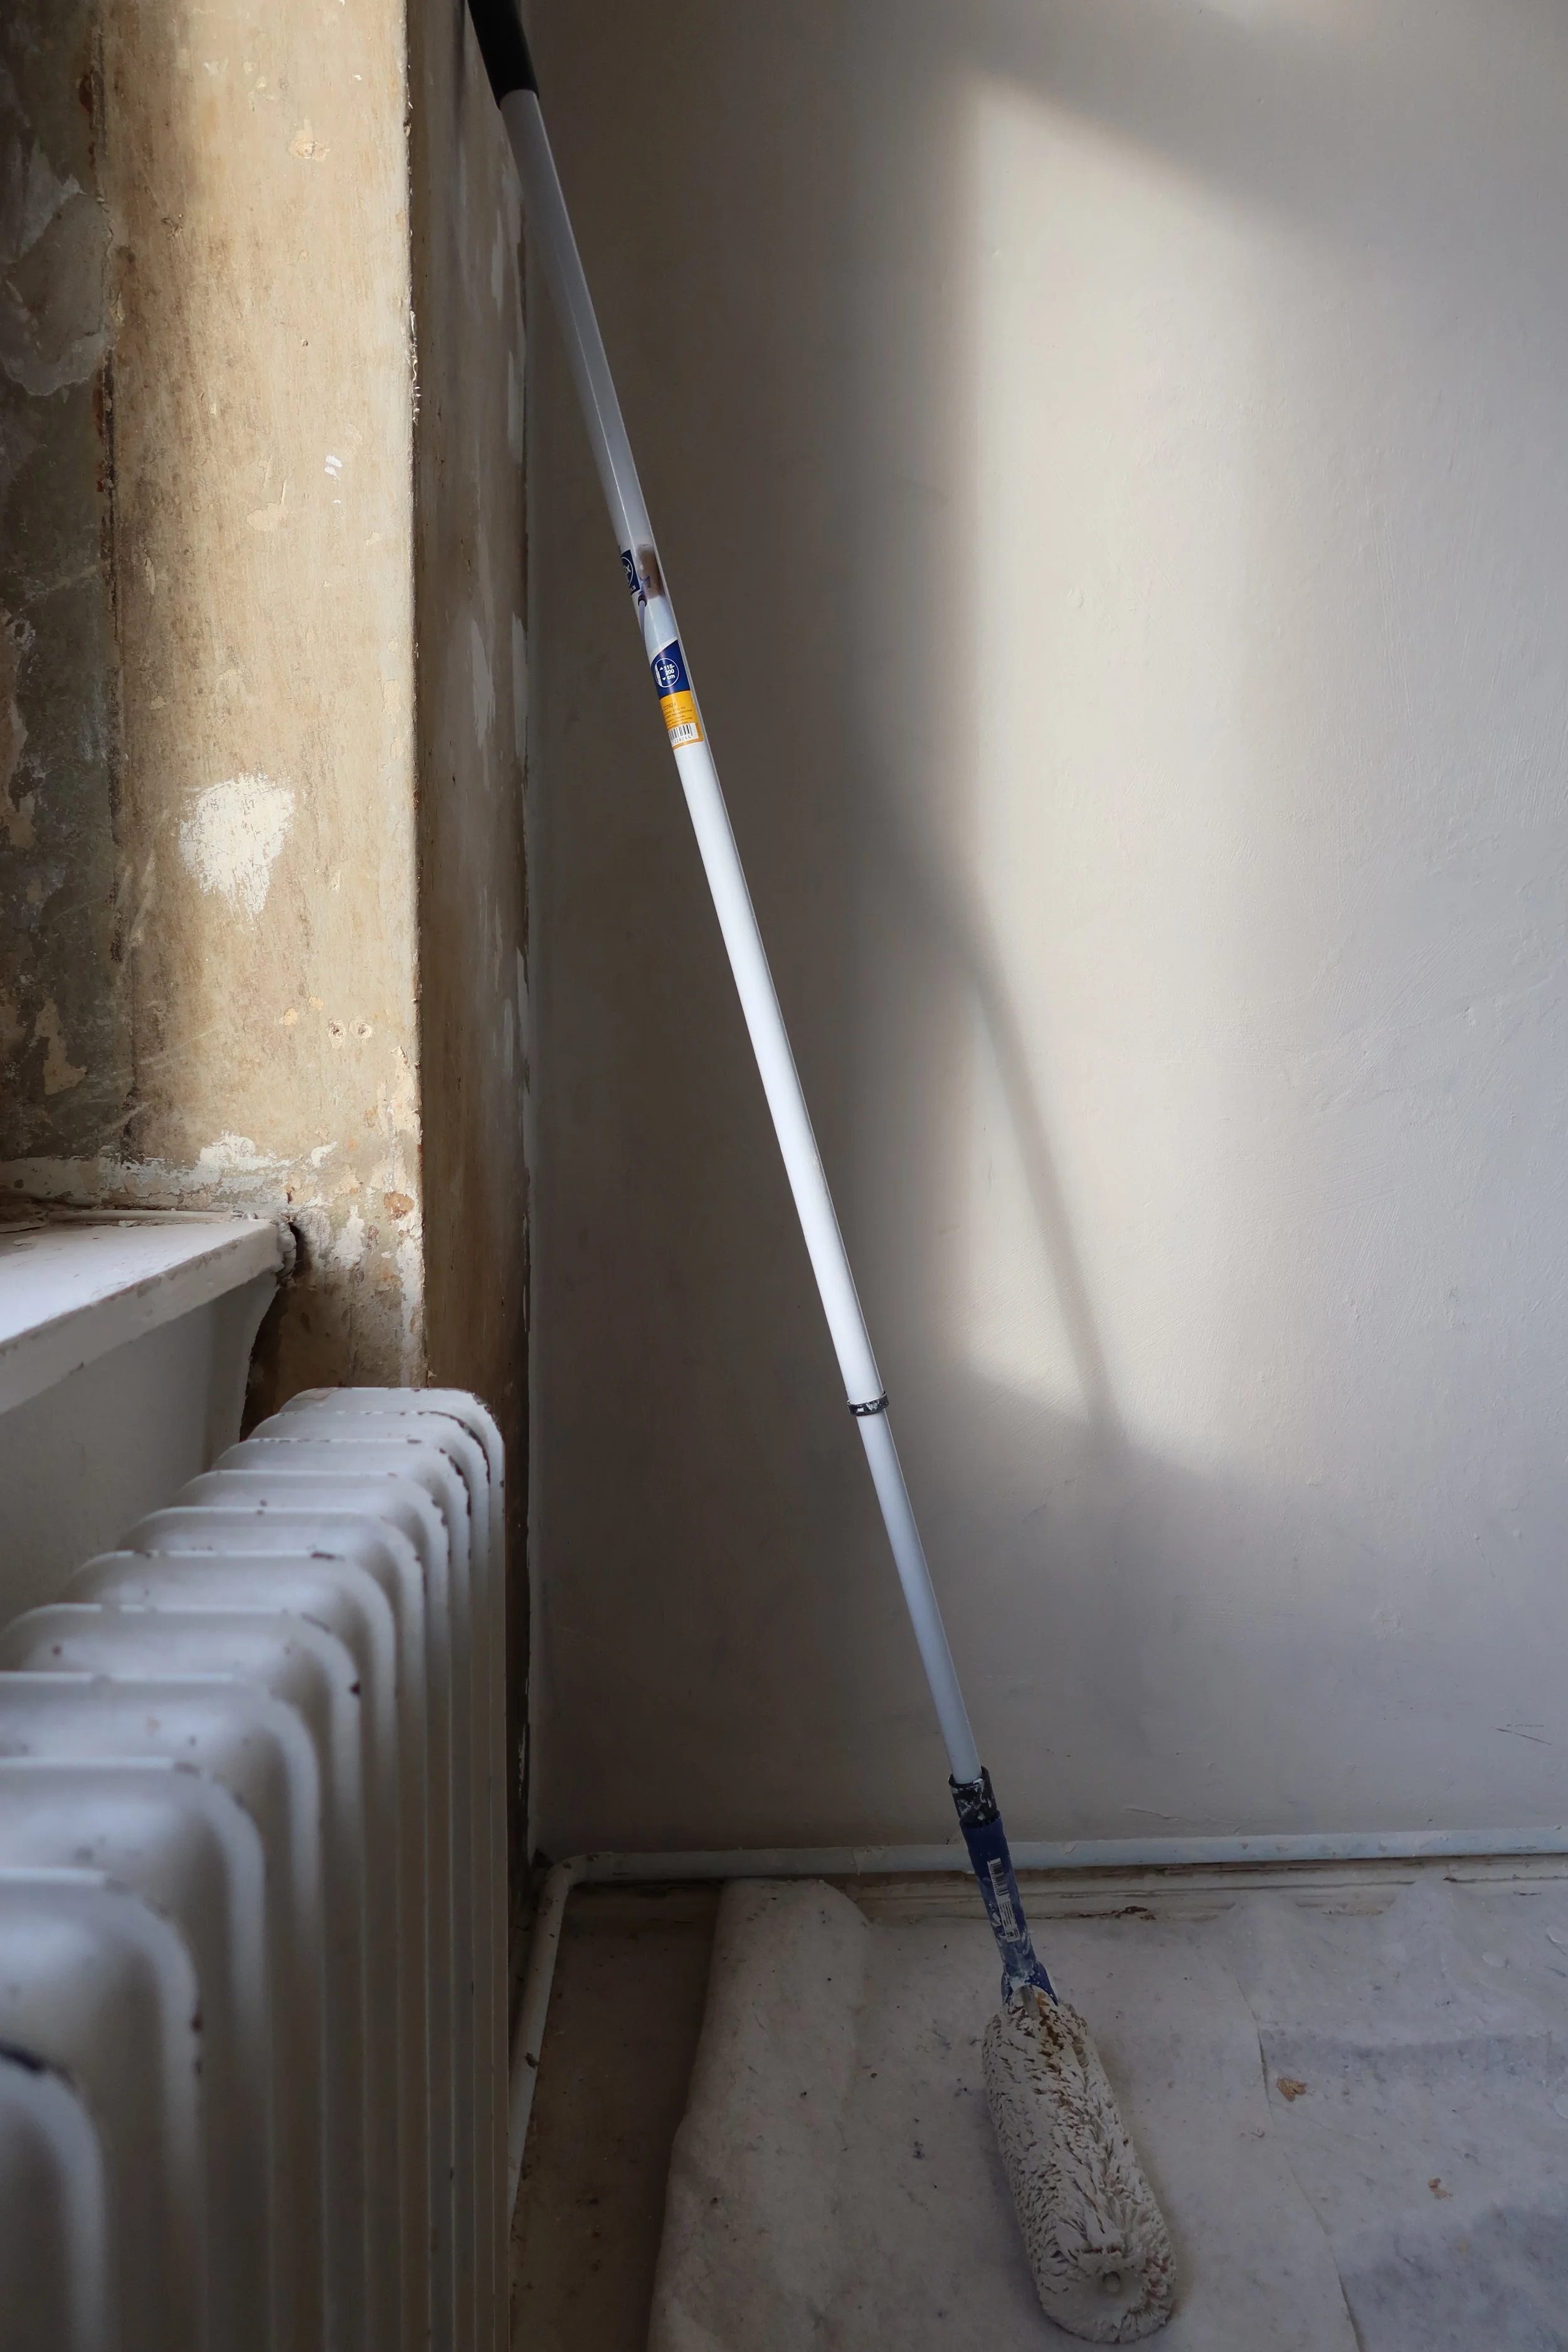
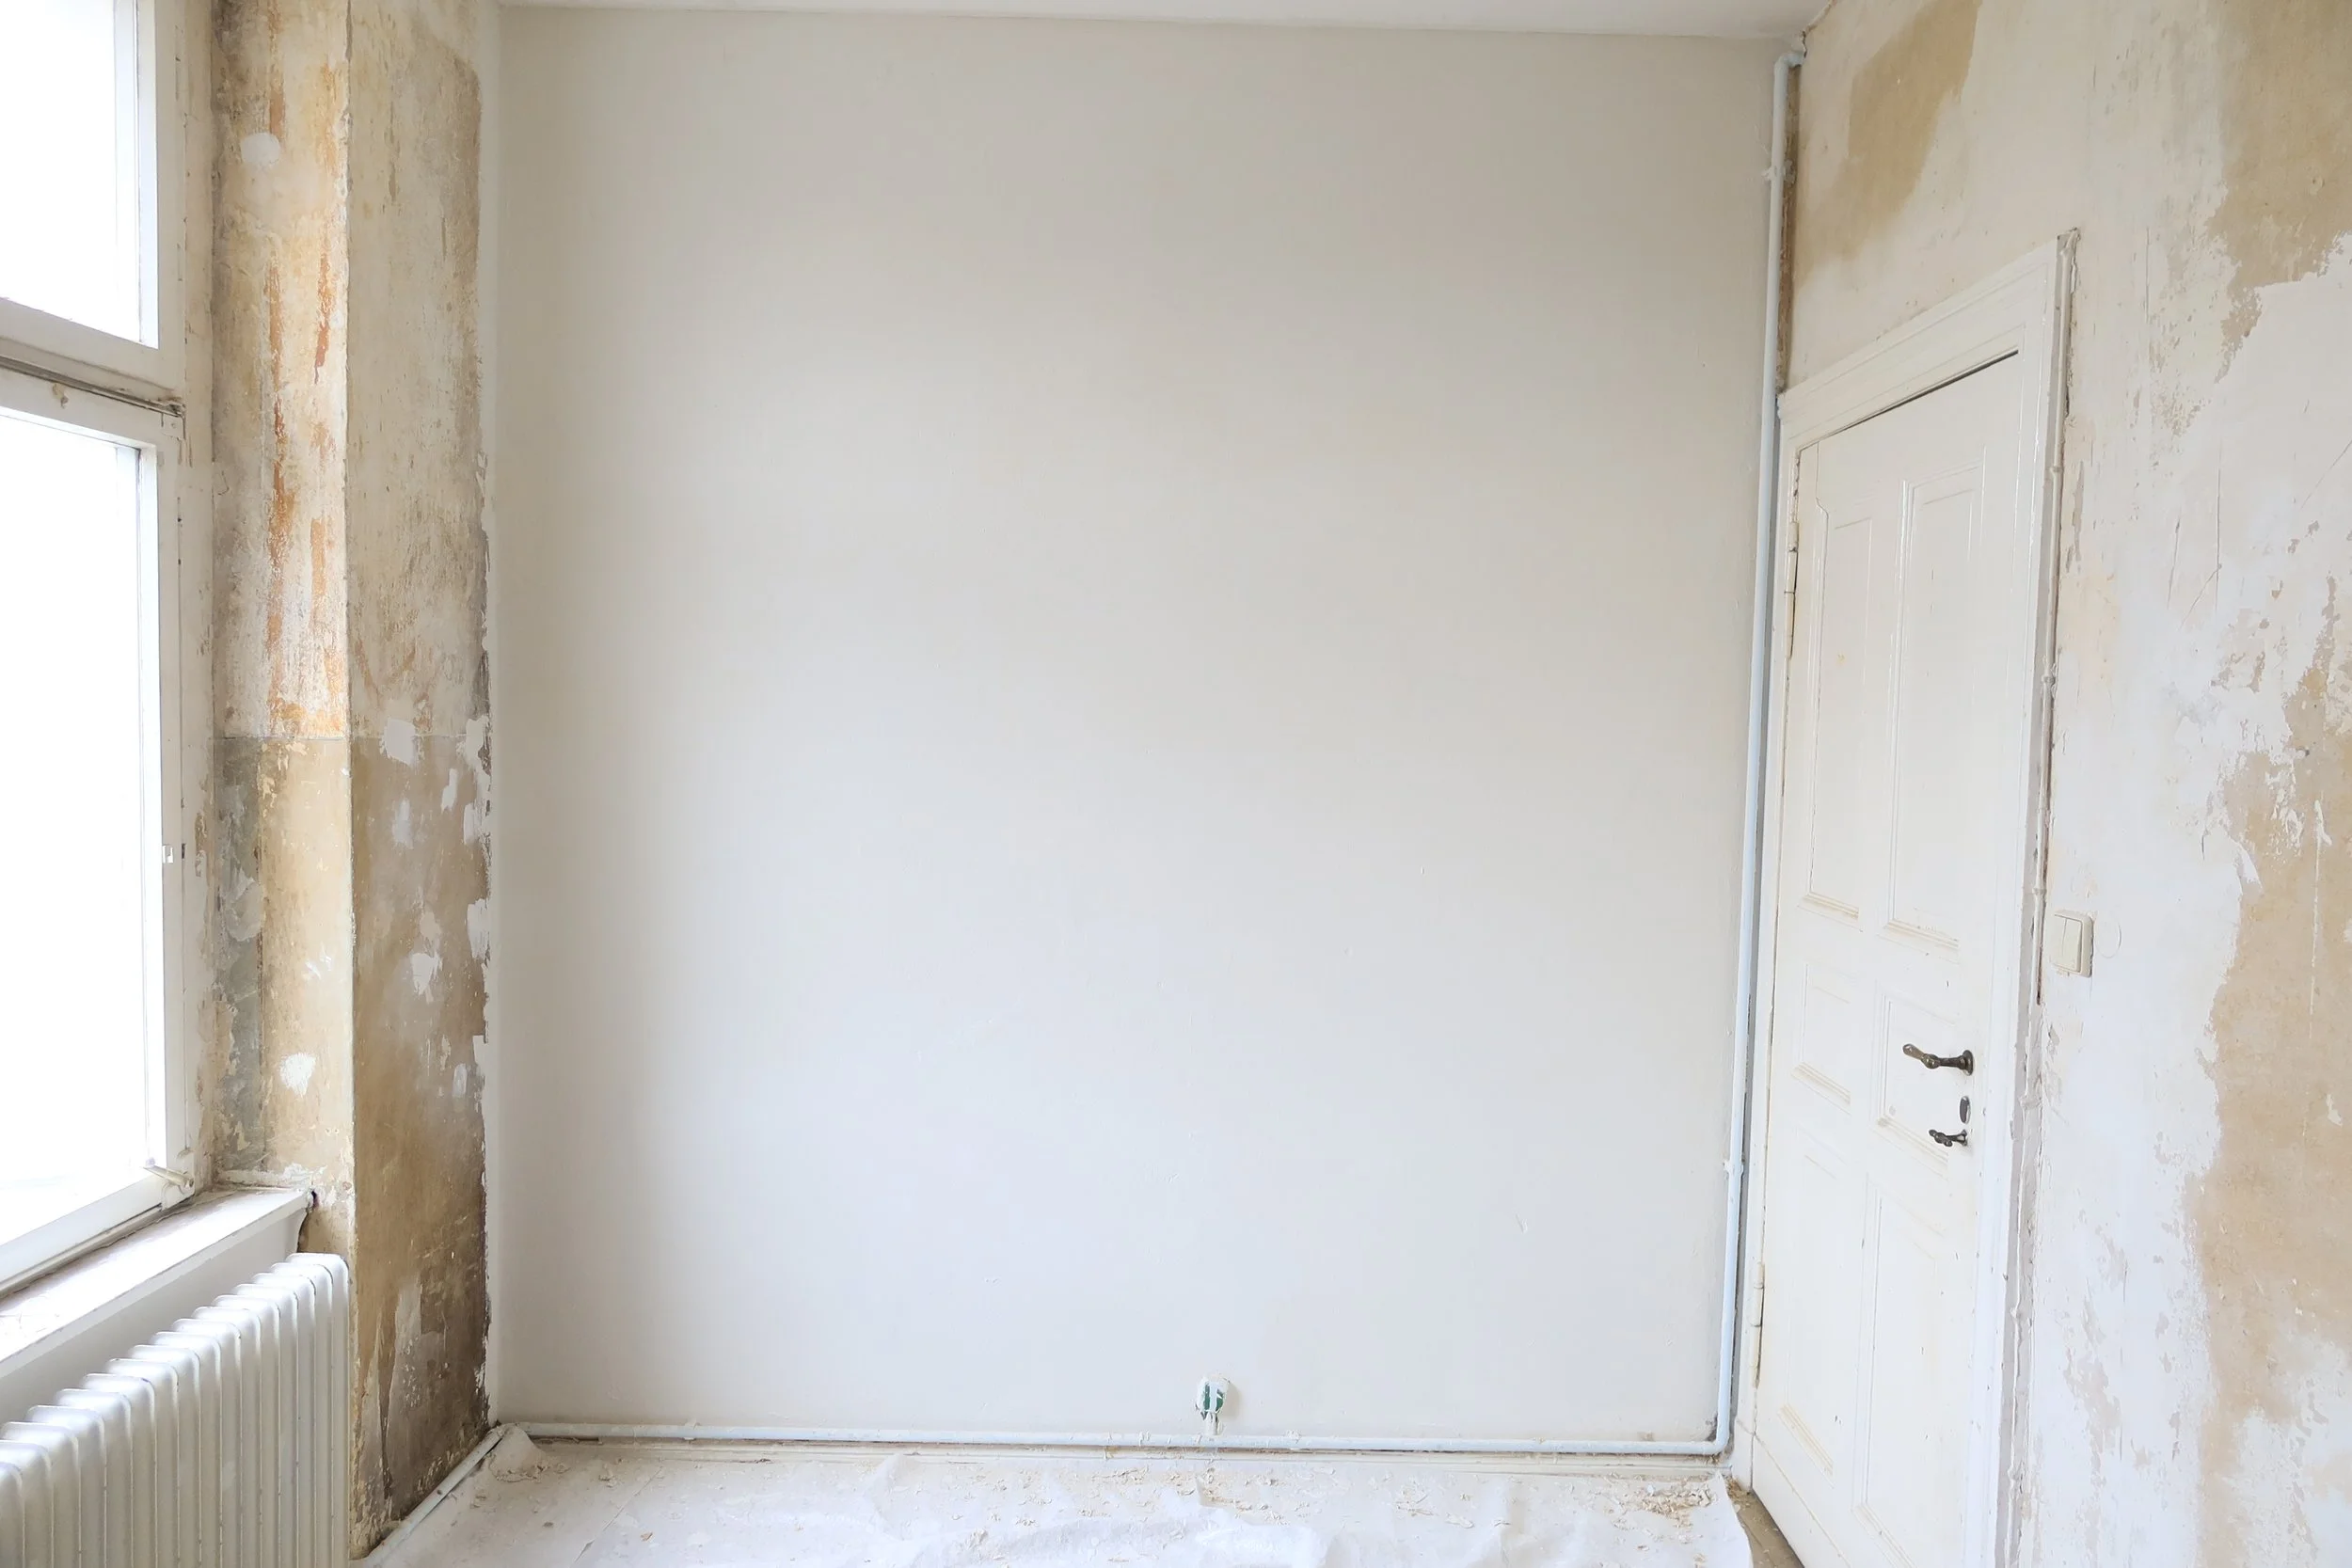
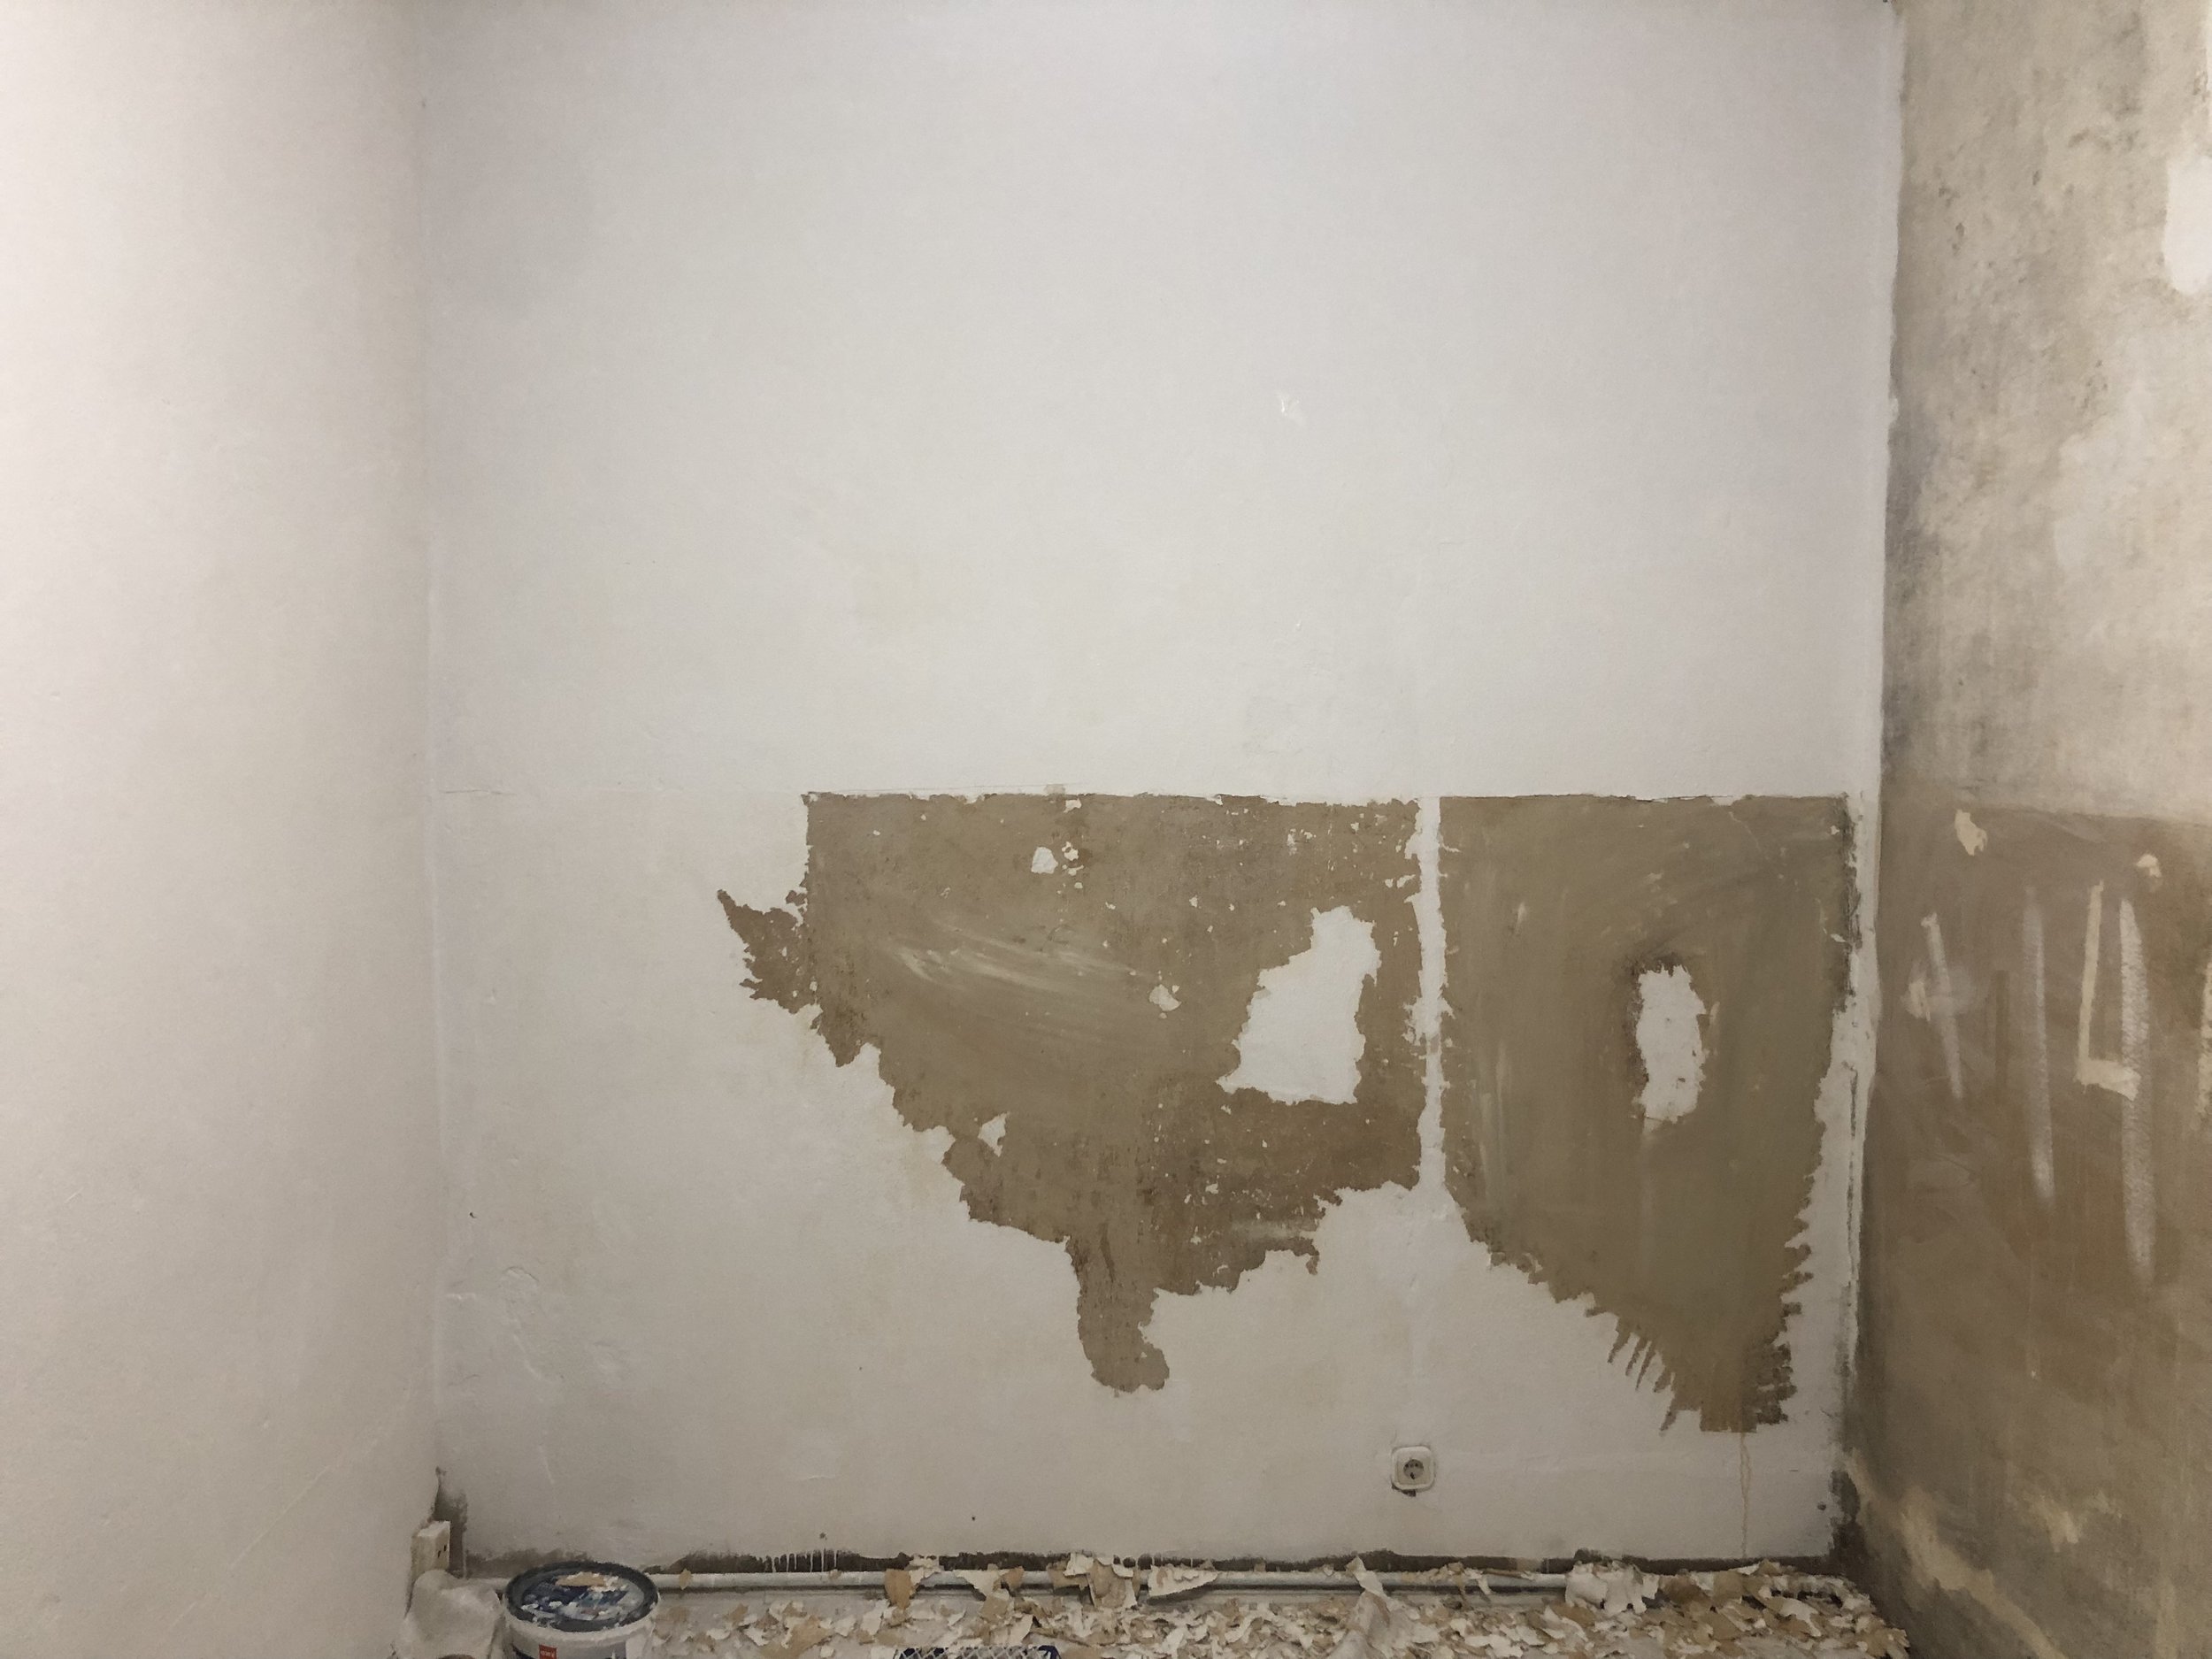
Remove old wallpaper & renew walls, including the bathroom, with new sustainable plaster.
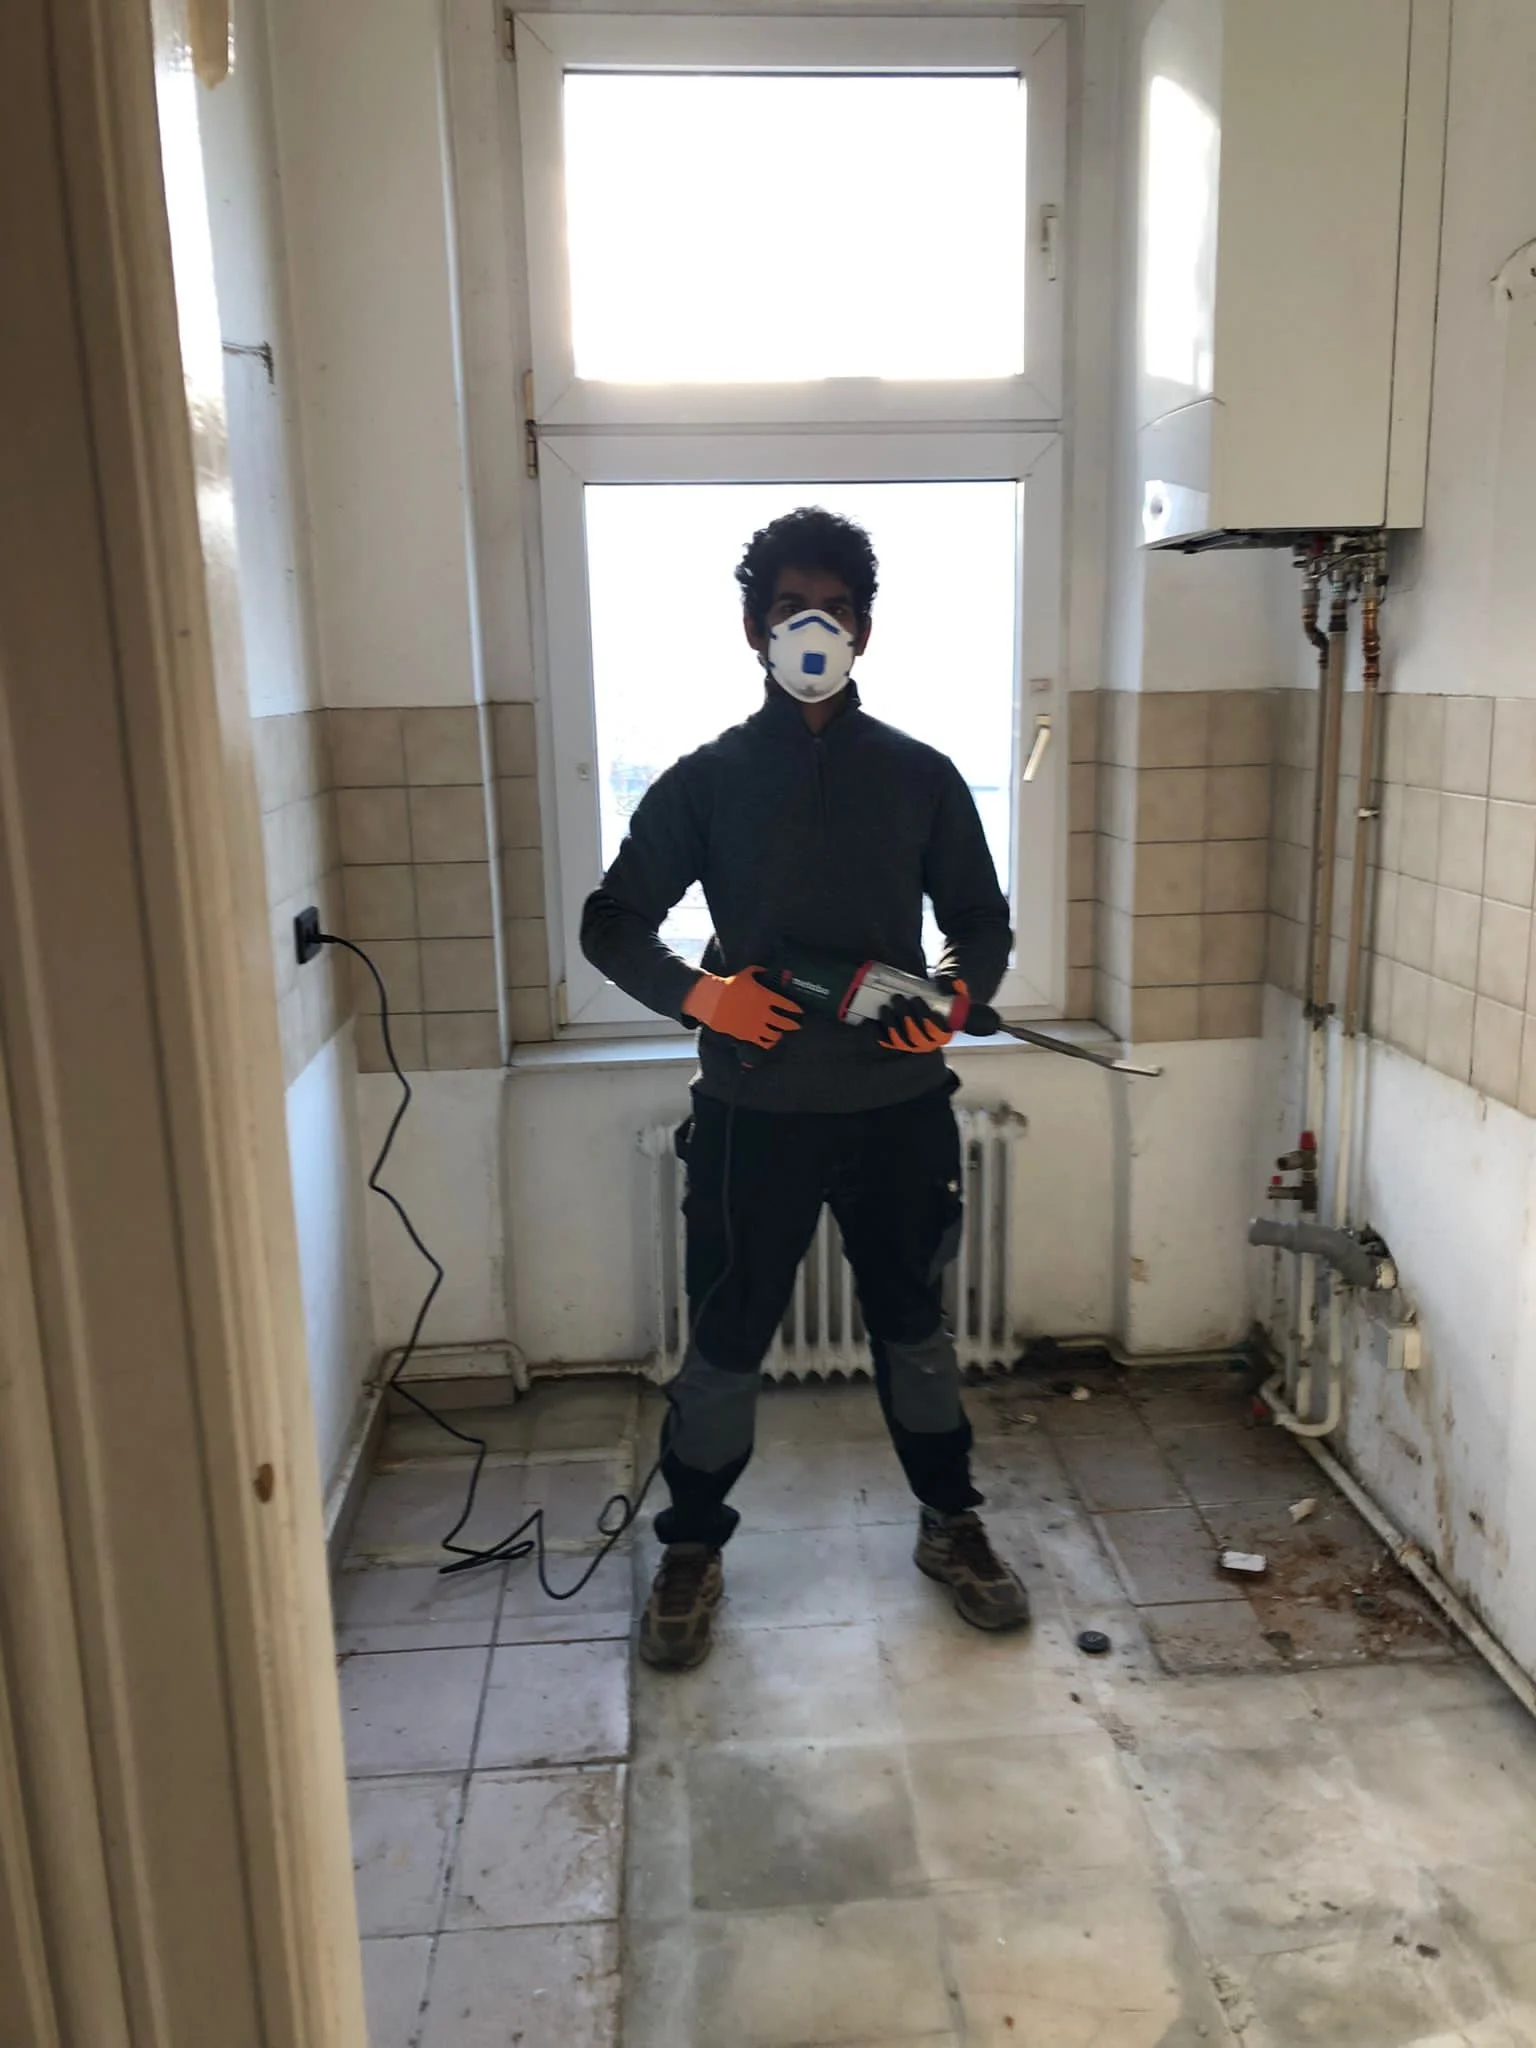
Throw away the old kitchen & renew the kitchen floor.
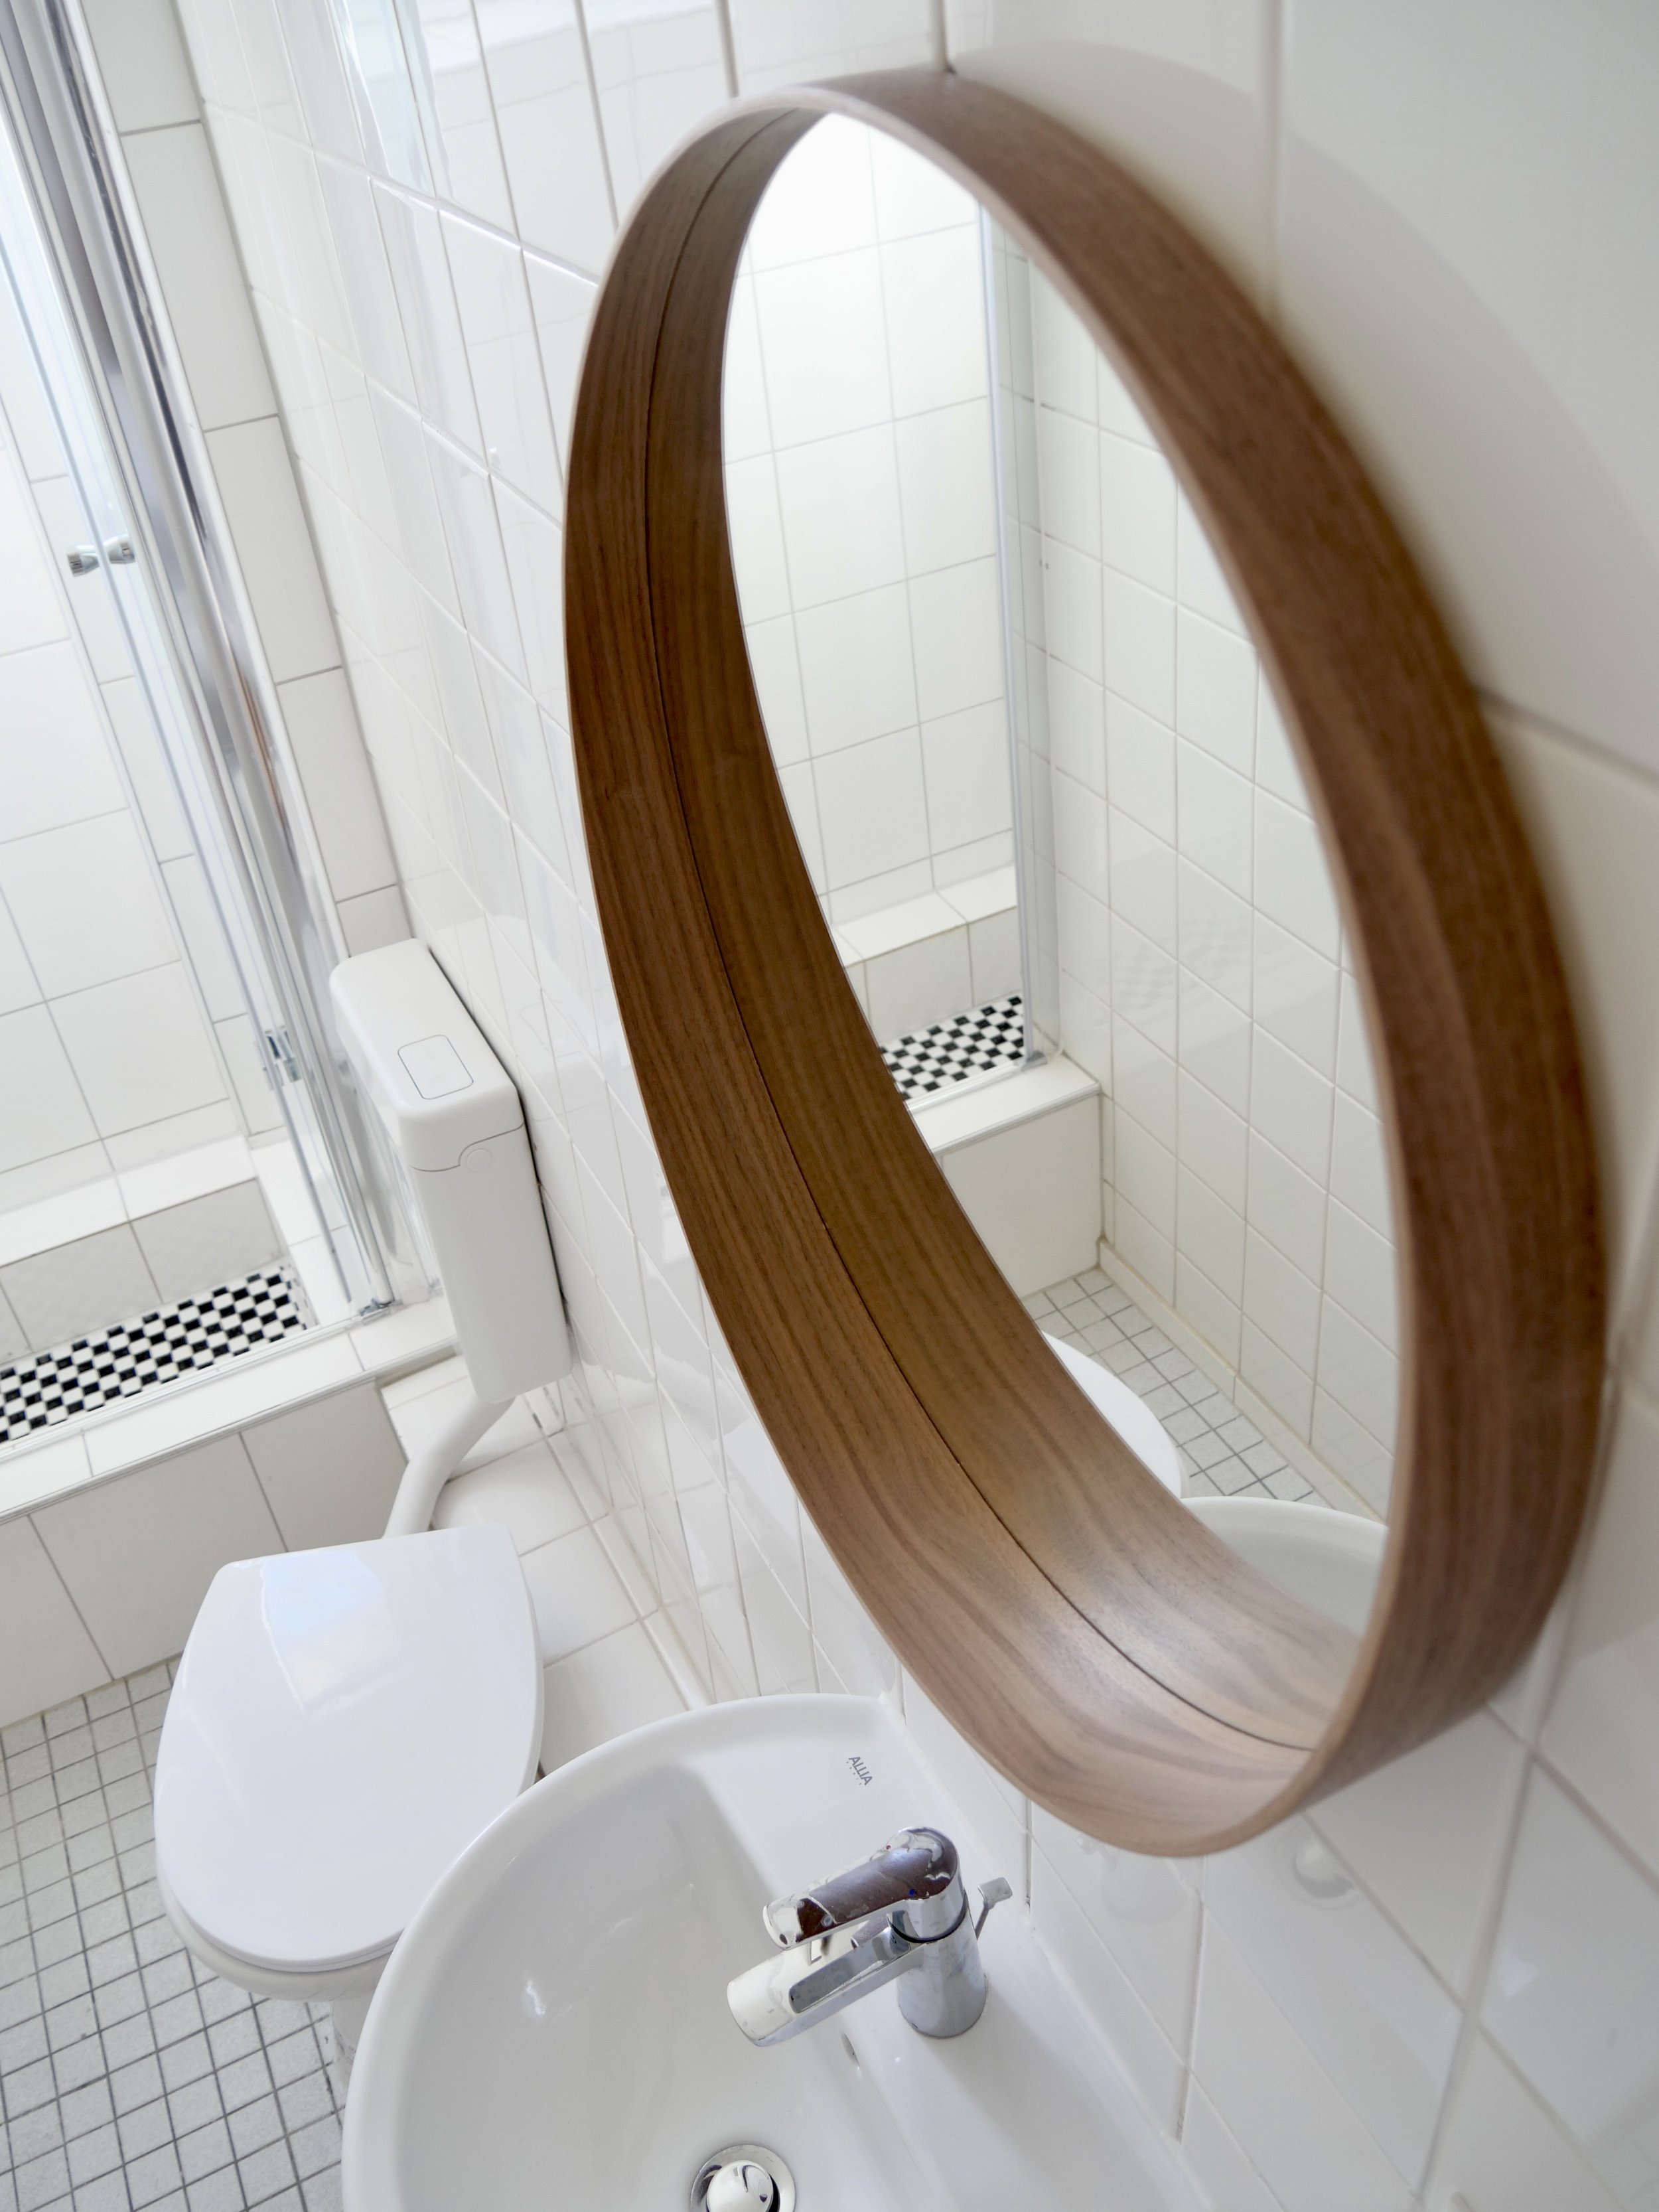
Make minor tweaks in the bathroom: a new toilet, sink, and heavily clean the tiles.
Materials used
Walls:
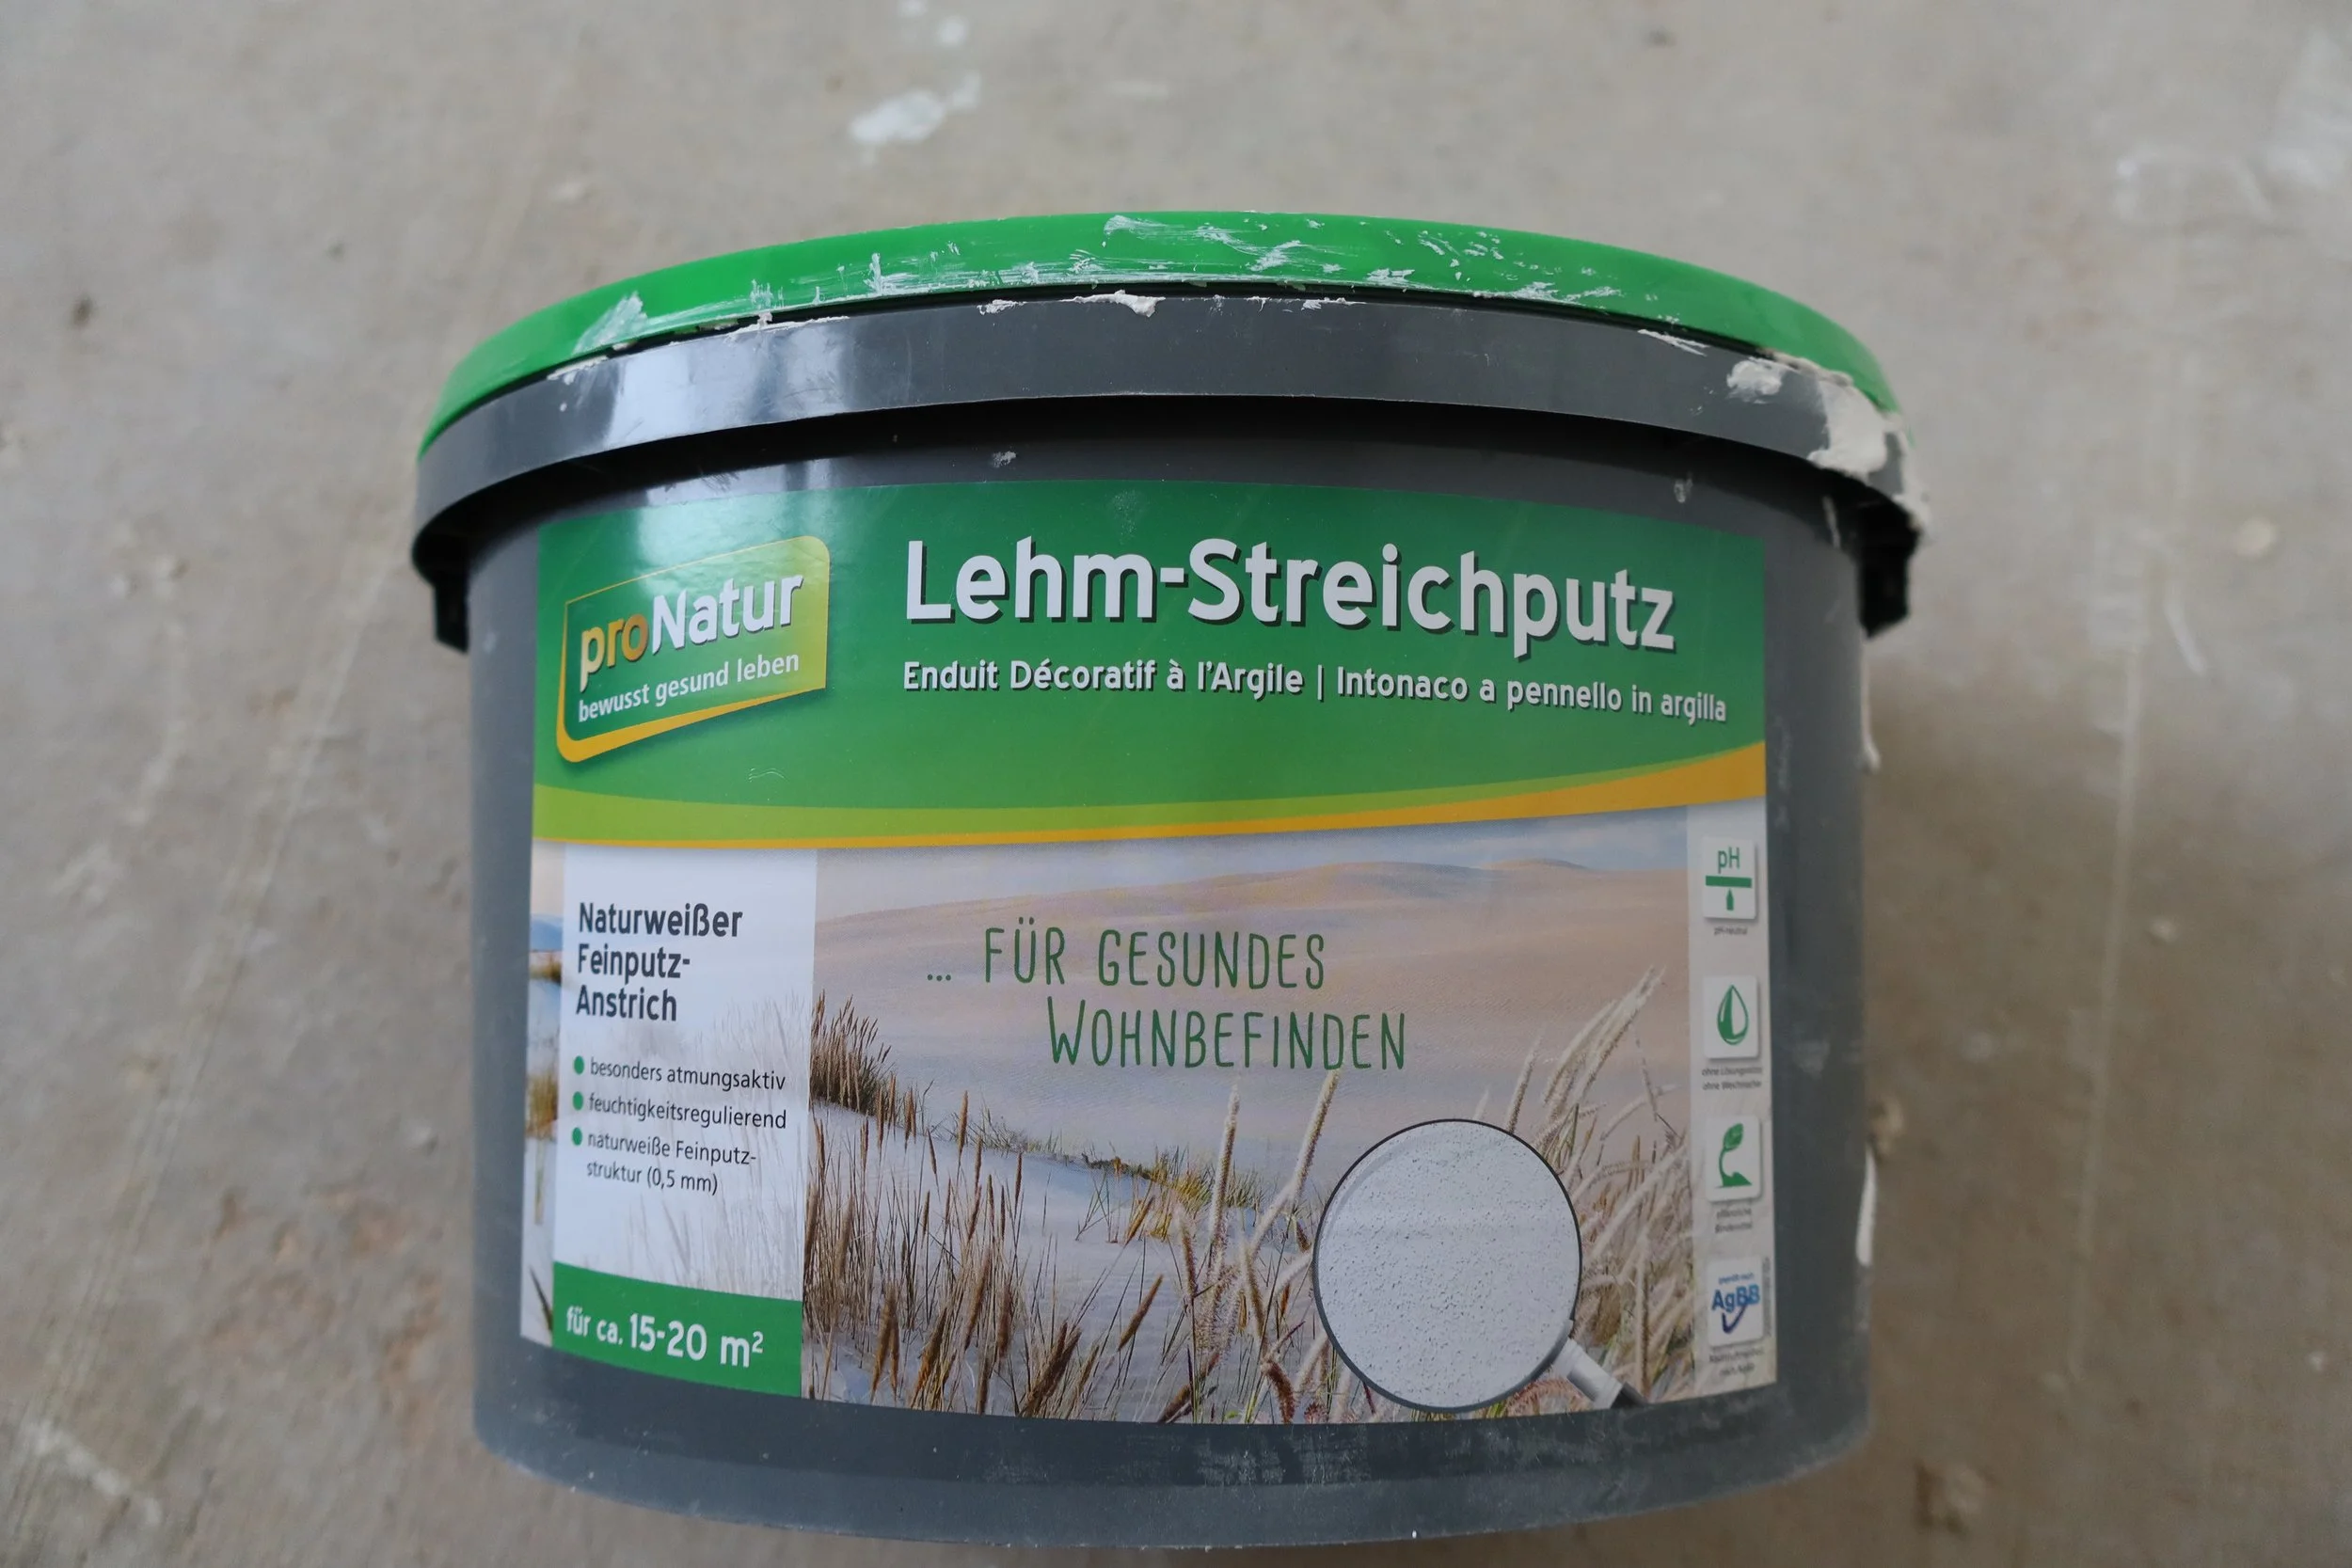
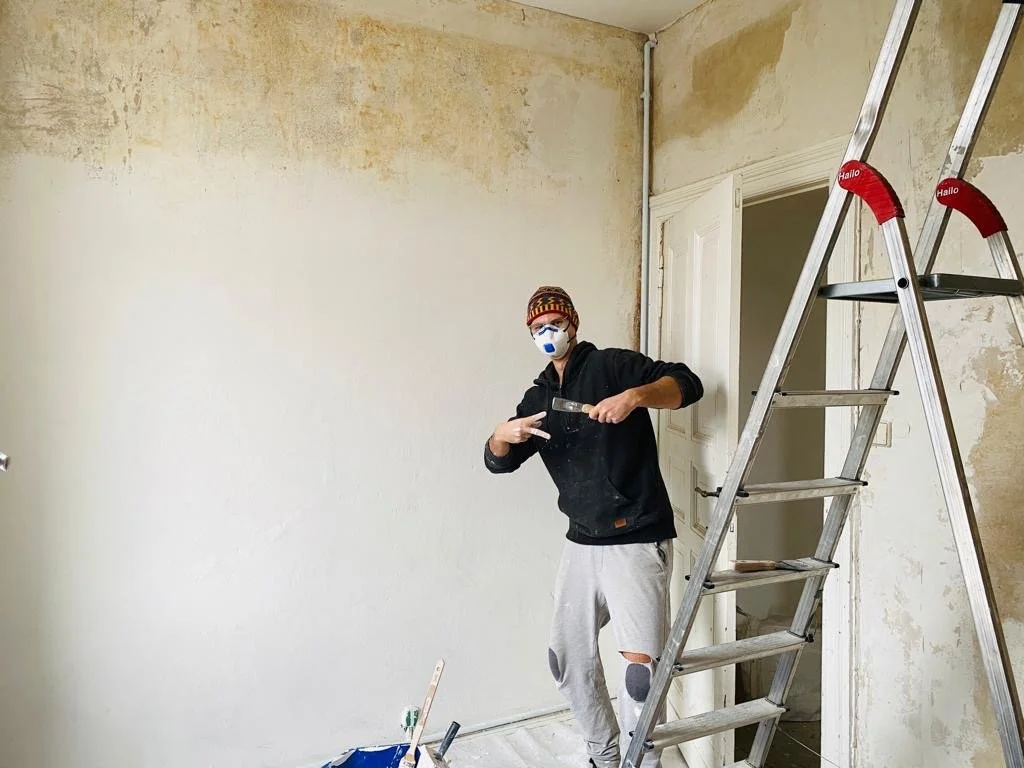
After ripping off the old wallpaper, we decided to use a brush-on-plaster from clay because it is easy to apply and has all the benefits that clay plaster brings to the show. Moreover, we could also skip 2 layers of clay plaster because usually you apply a ground plaster and then a fine plaster. We decided, however, to keep the walls “rough” and only apply the brush-on-plaster on the walls, which, in theory, would save us money and time, we thought - more about that in our “leanings” section in the end.
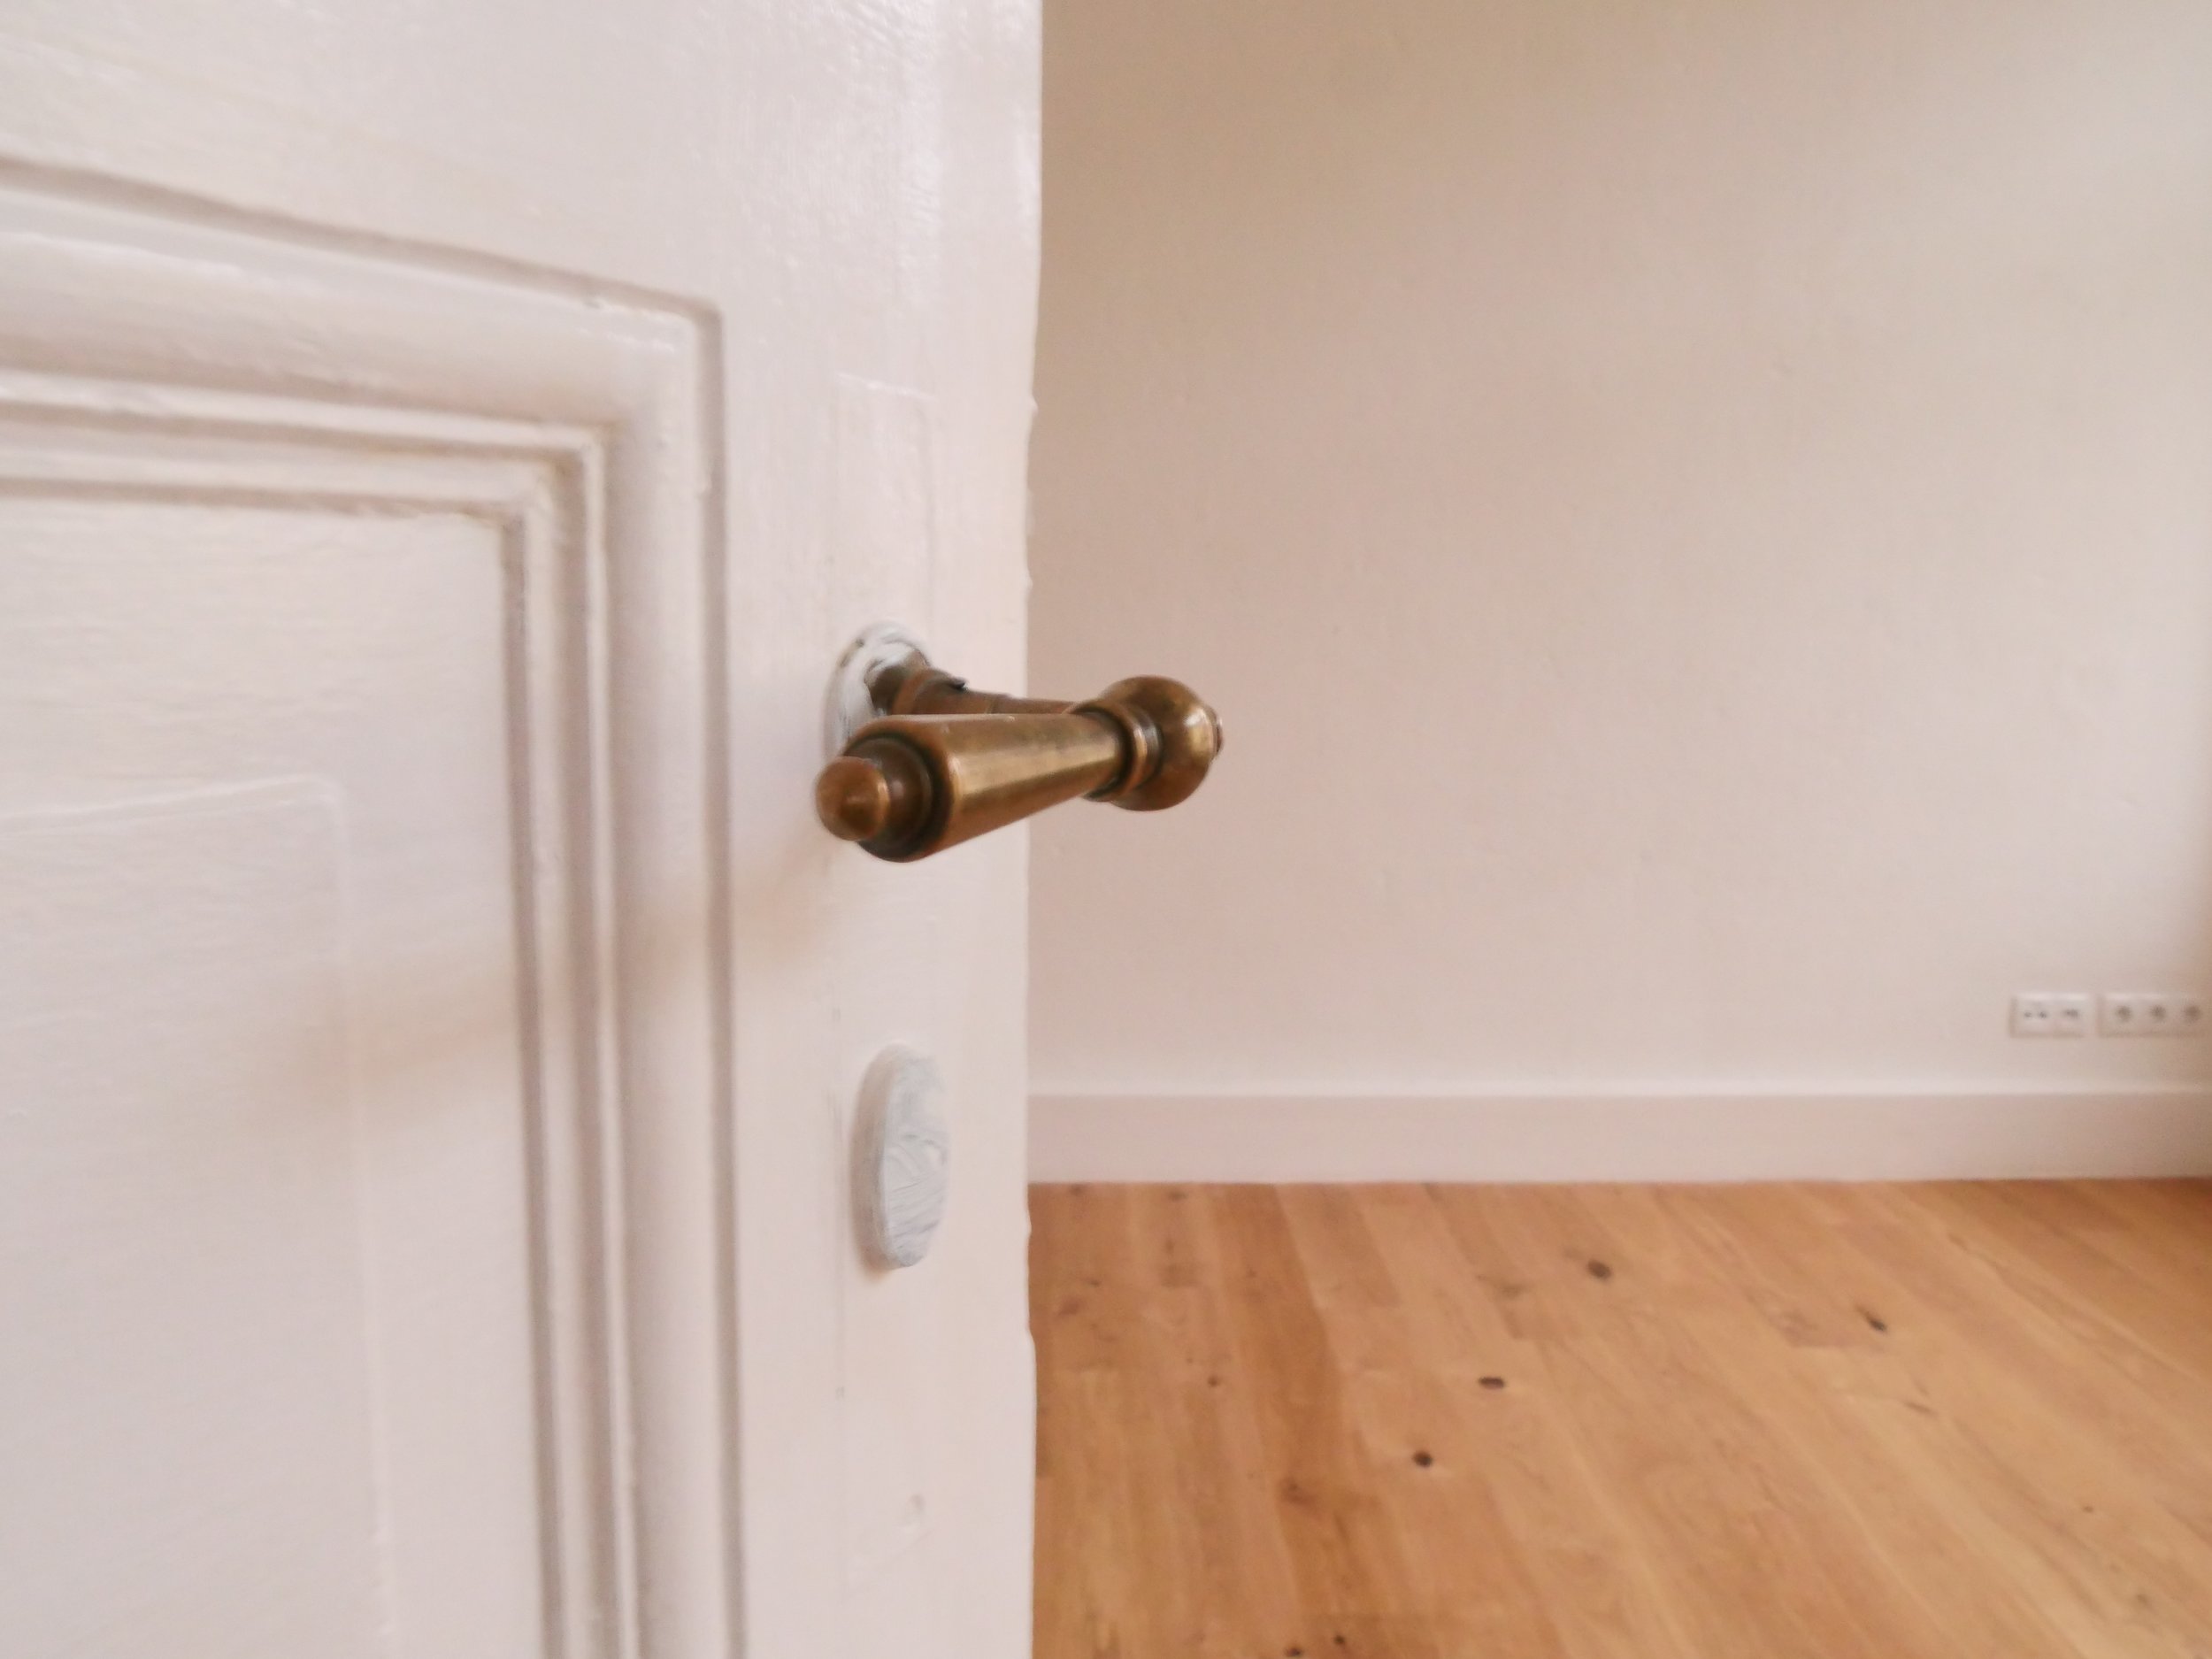
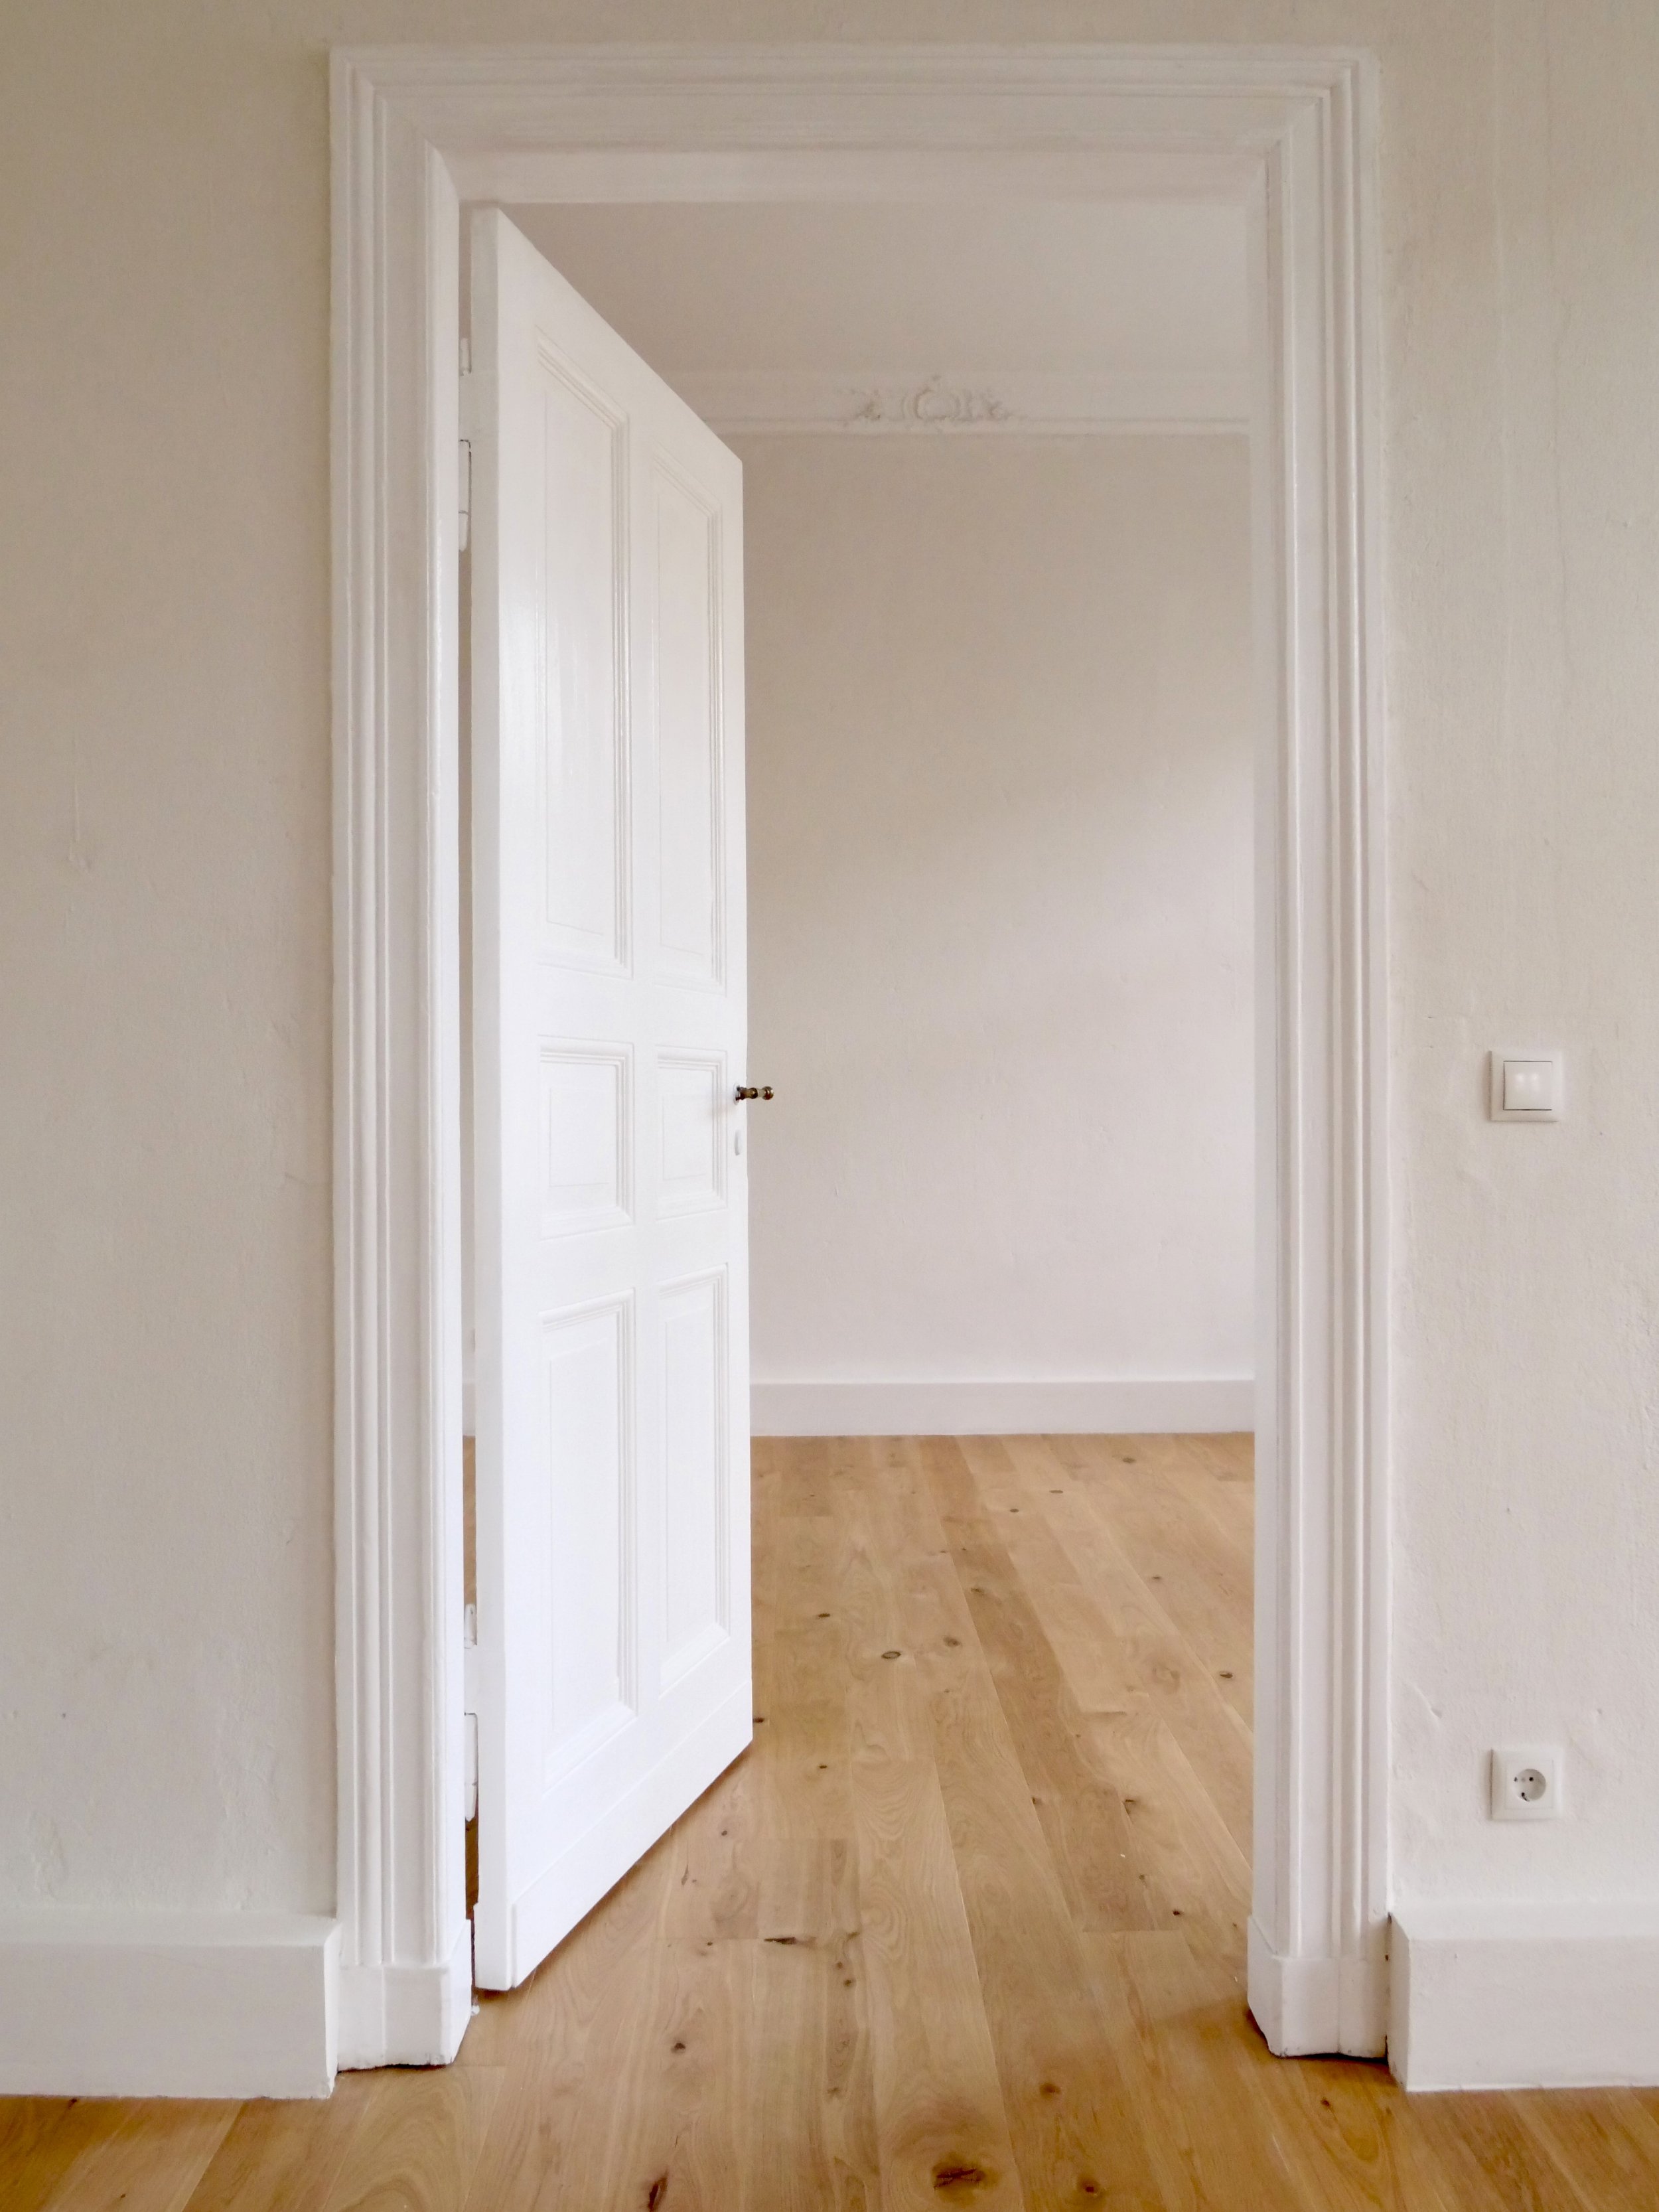
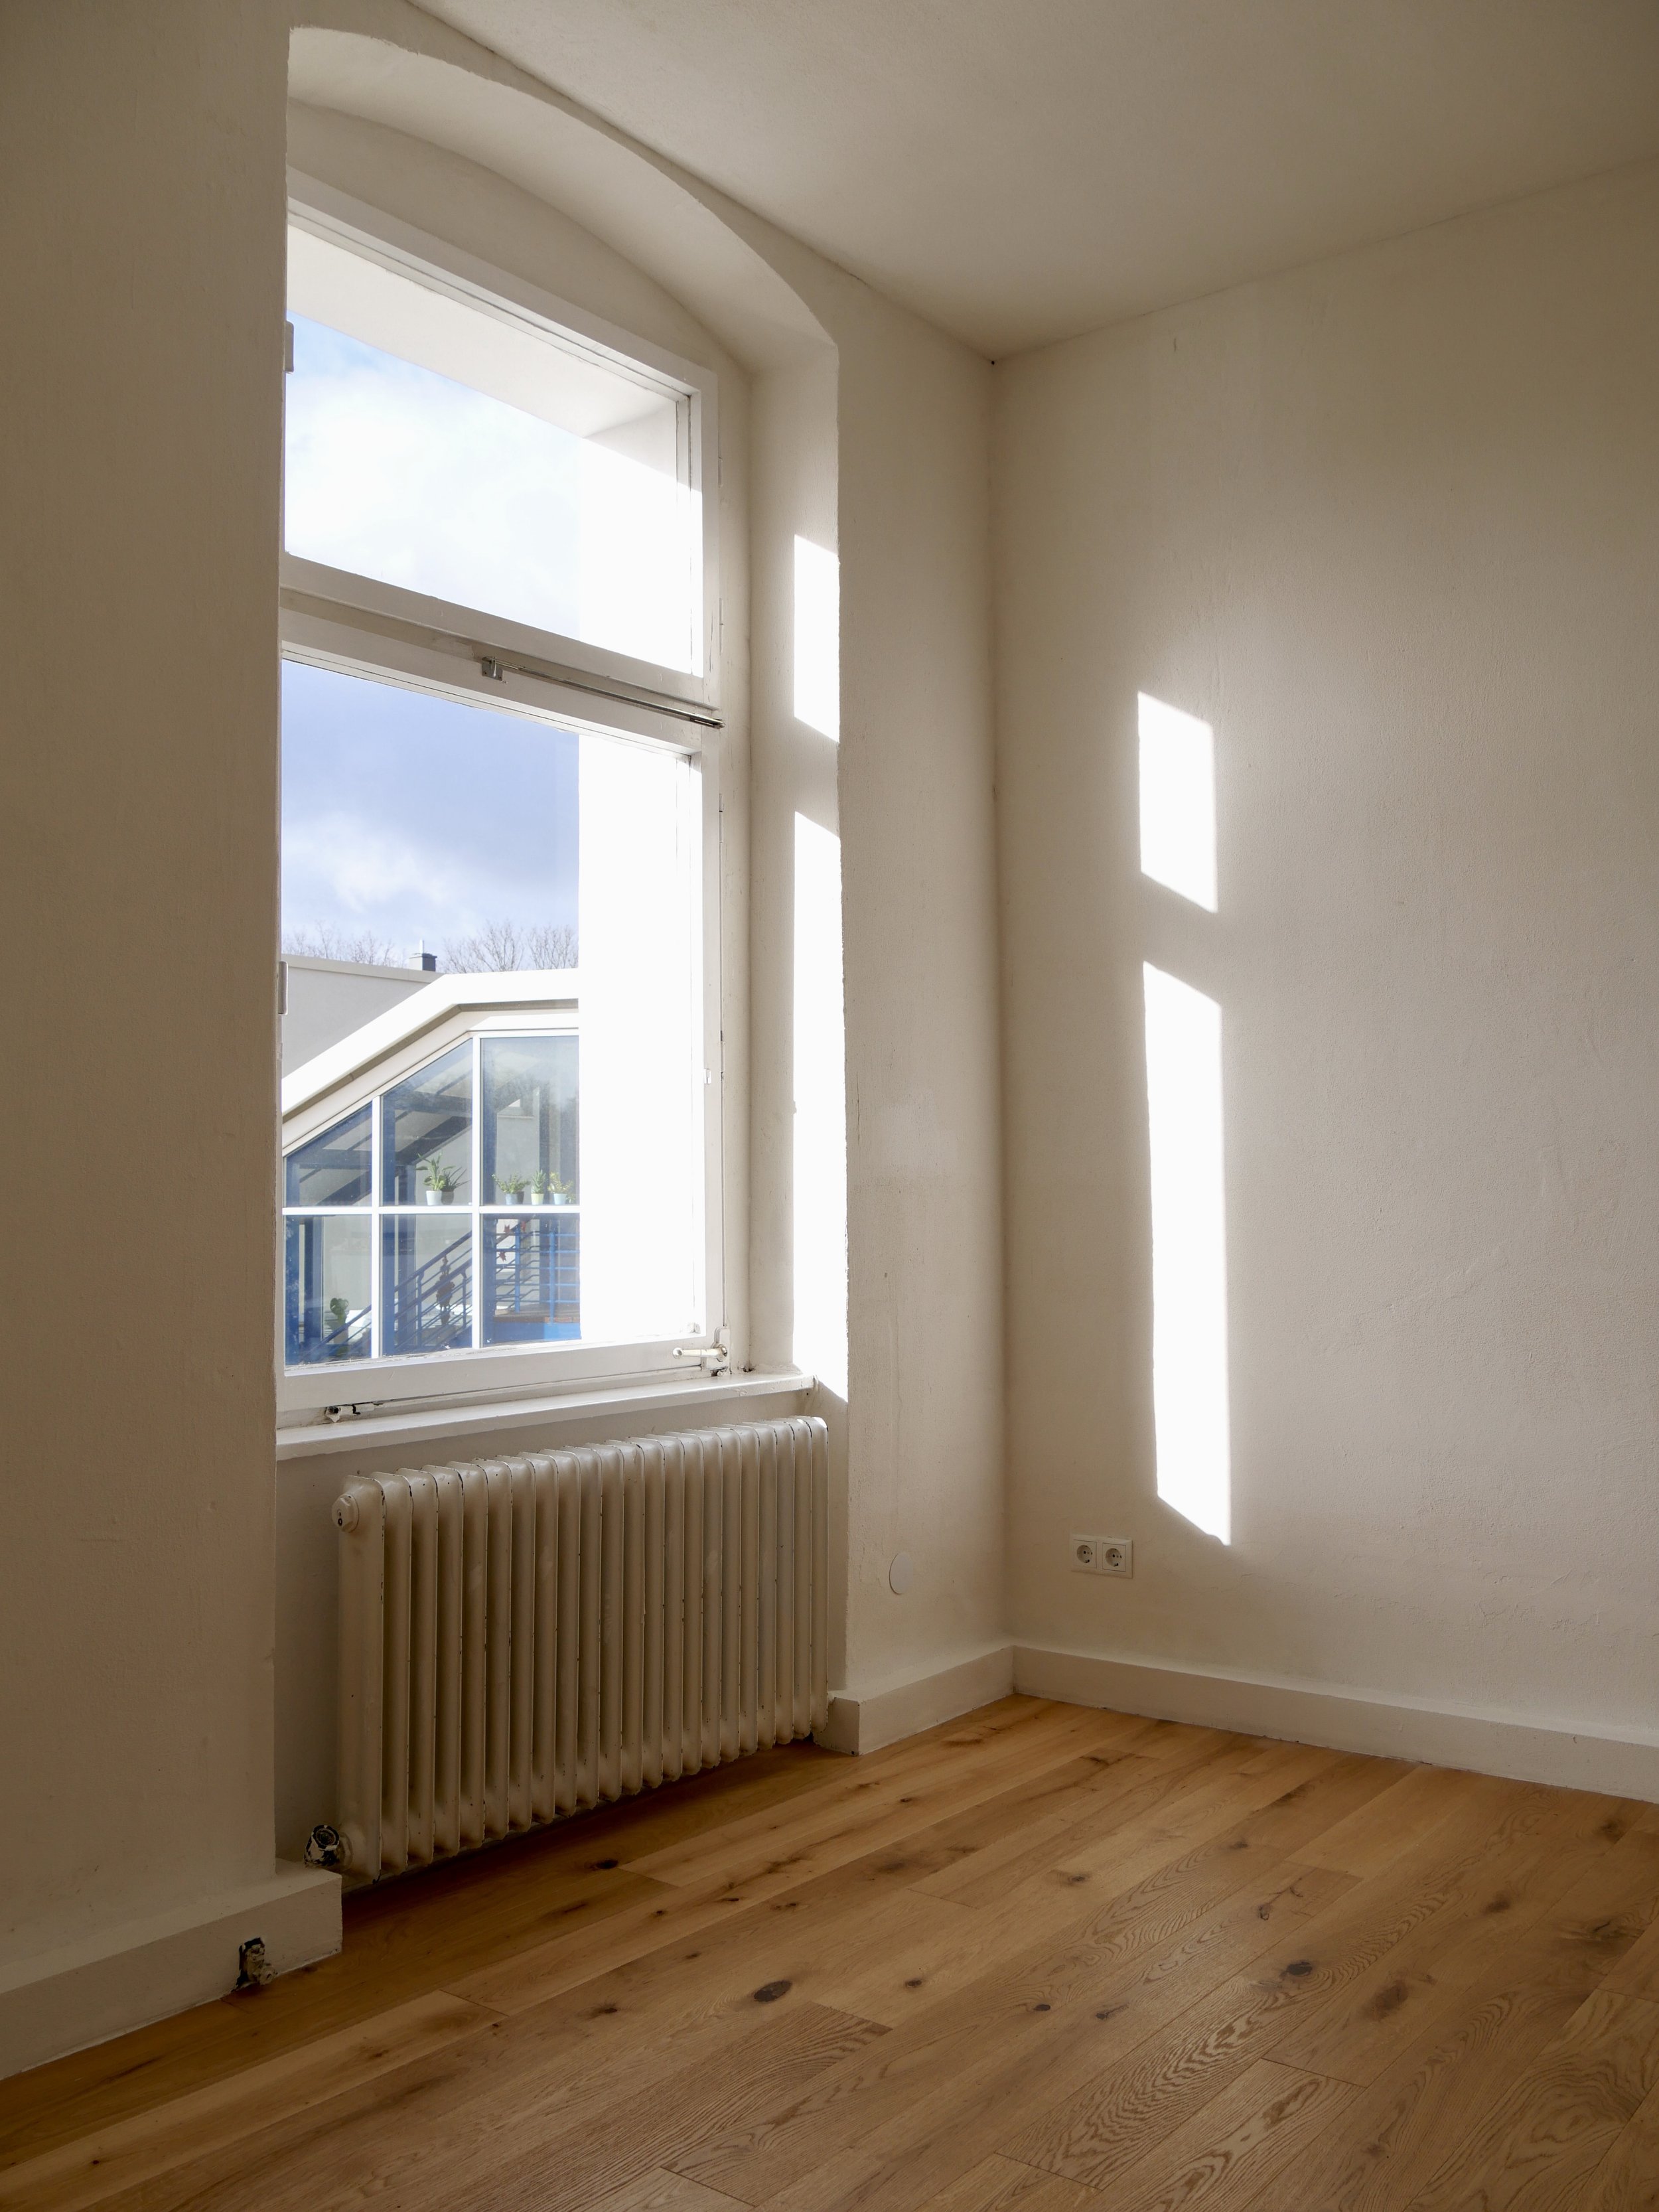
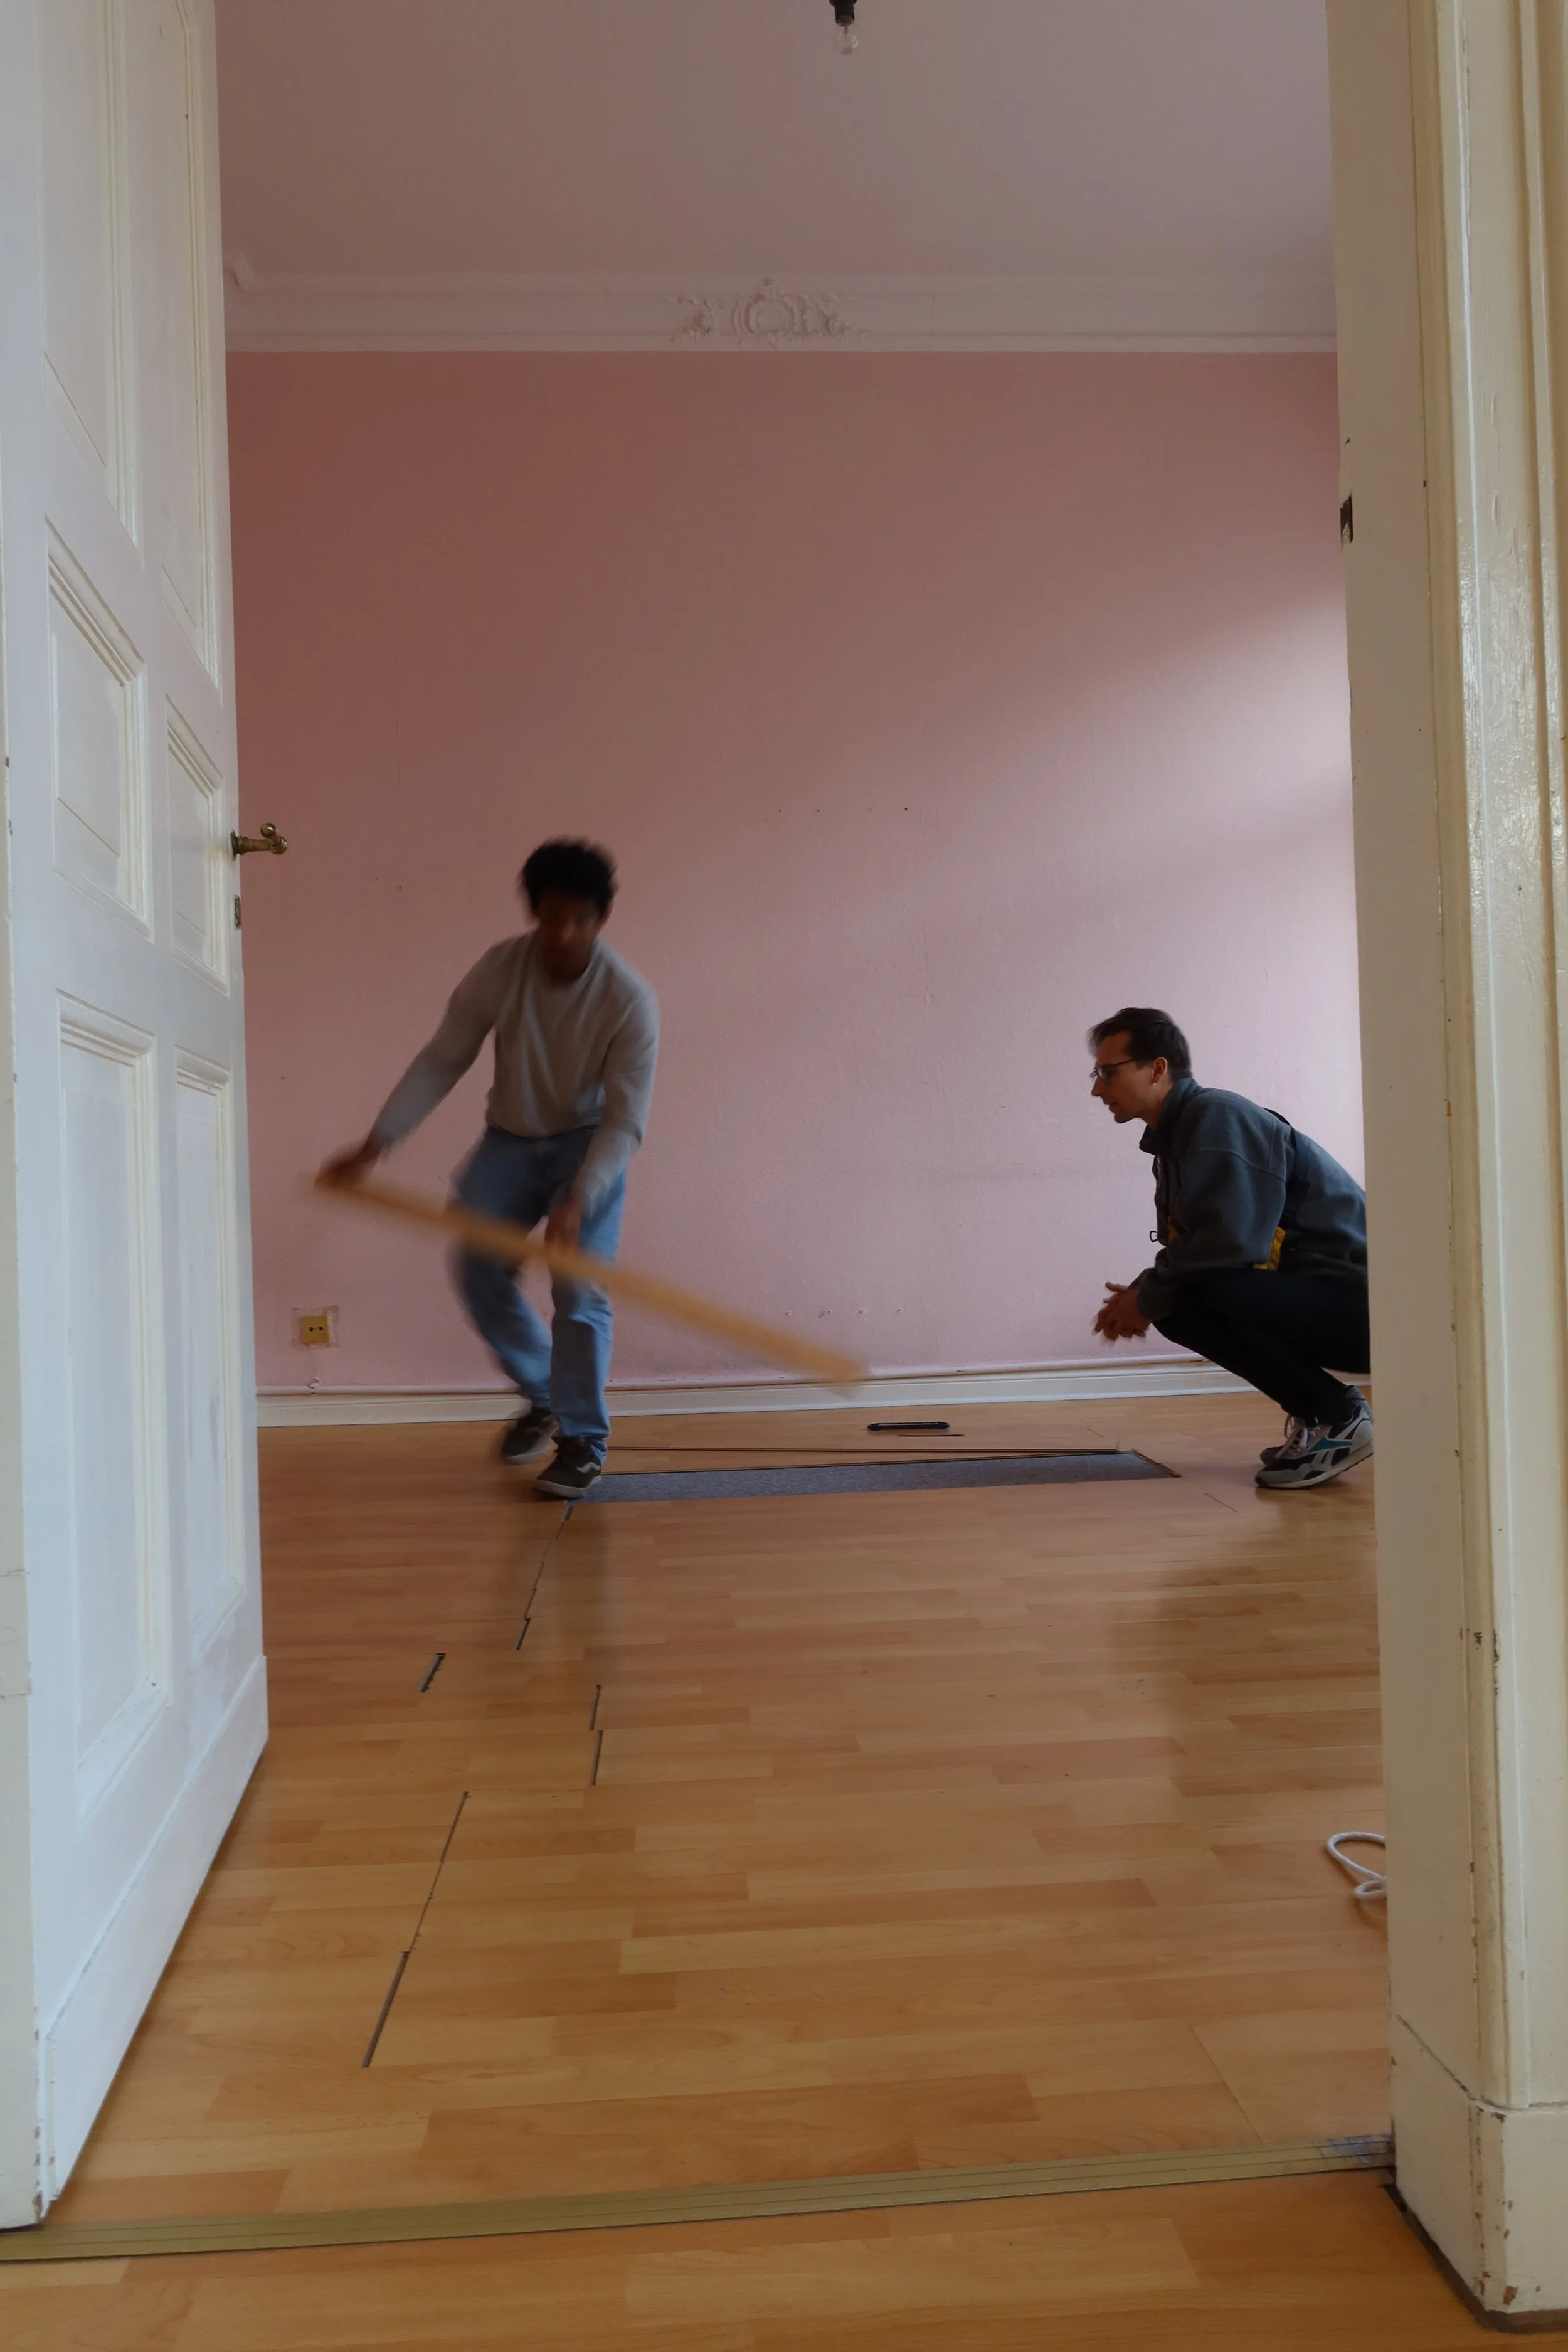
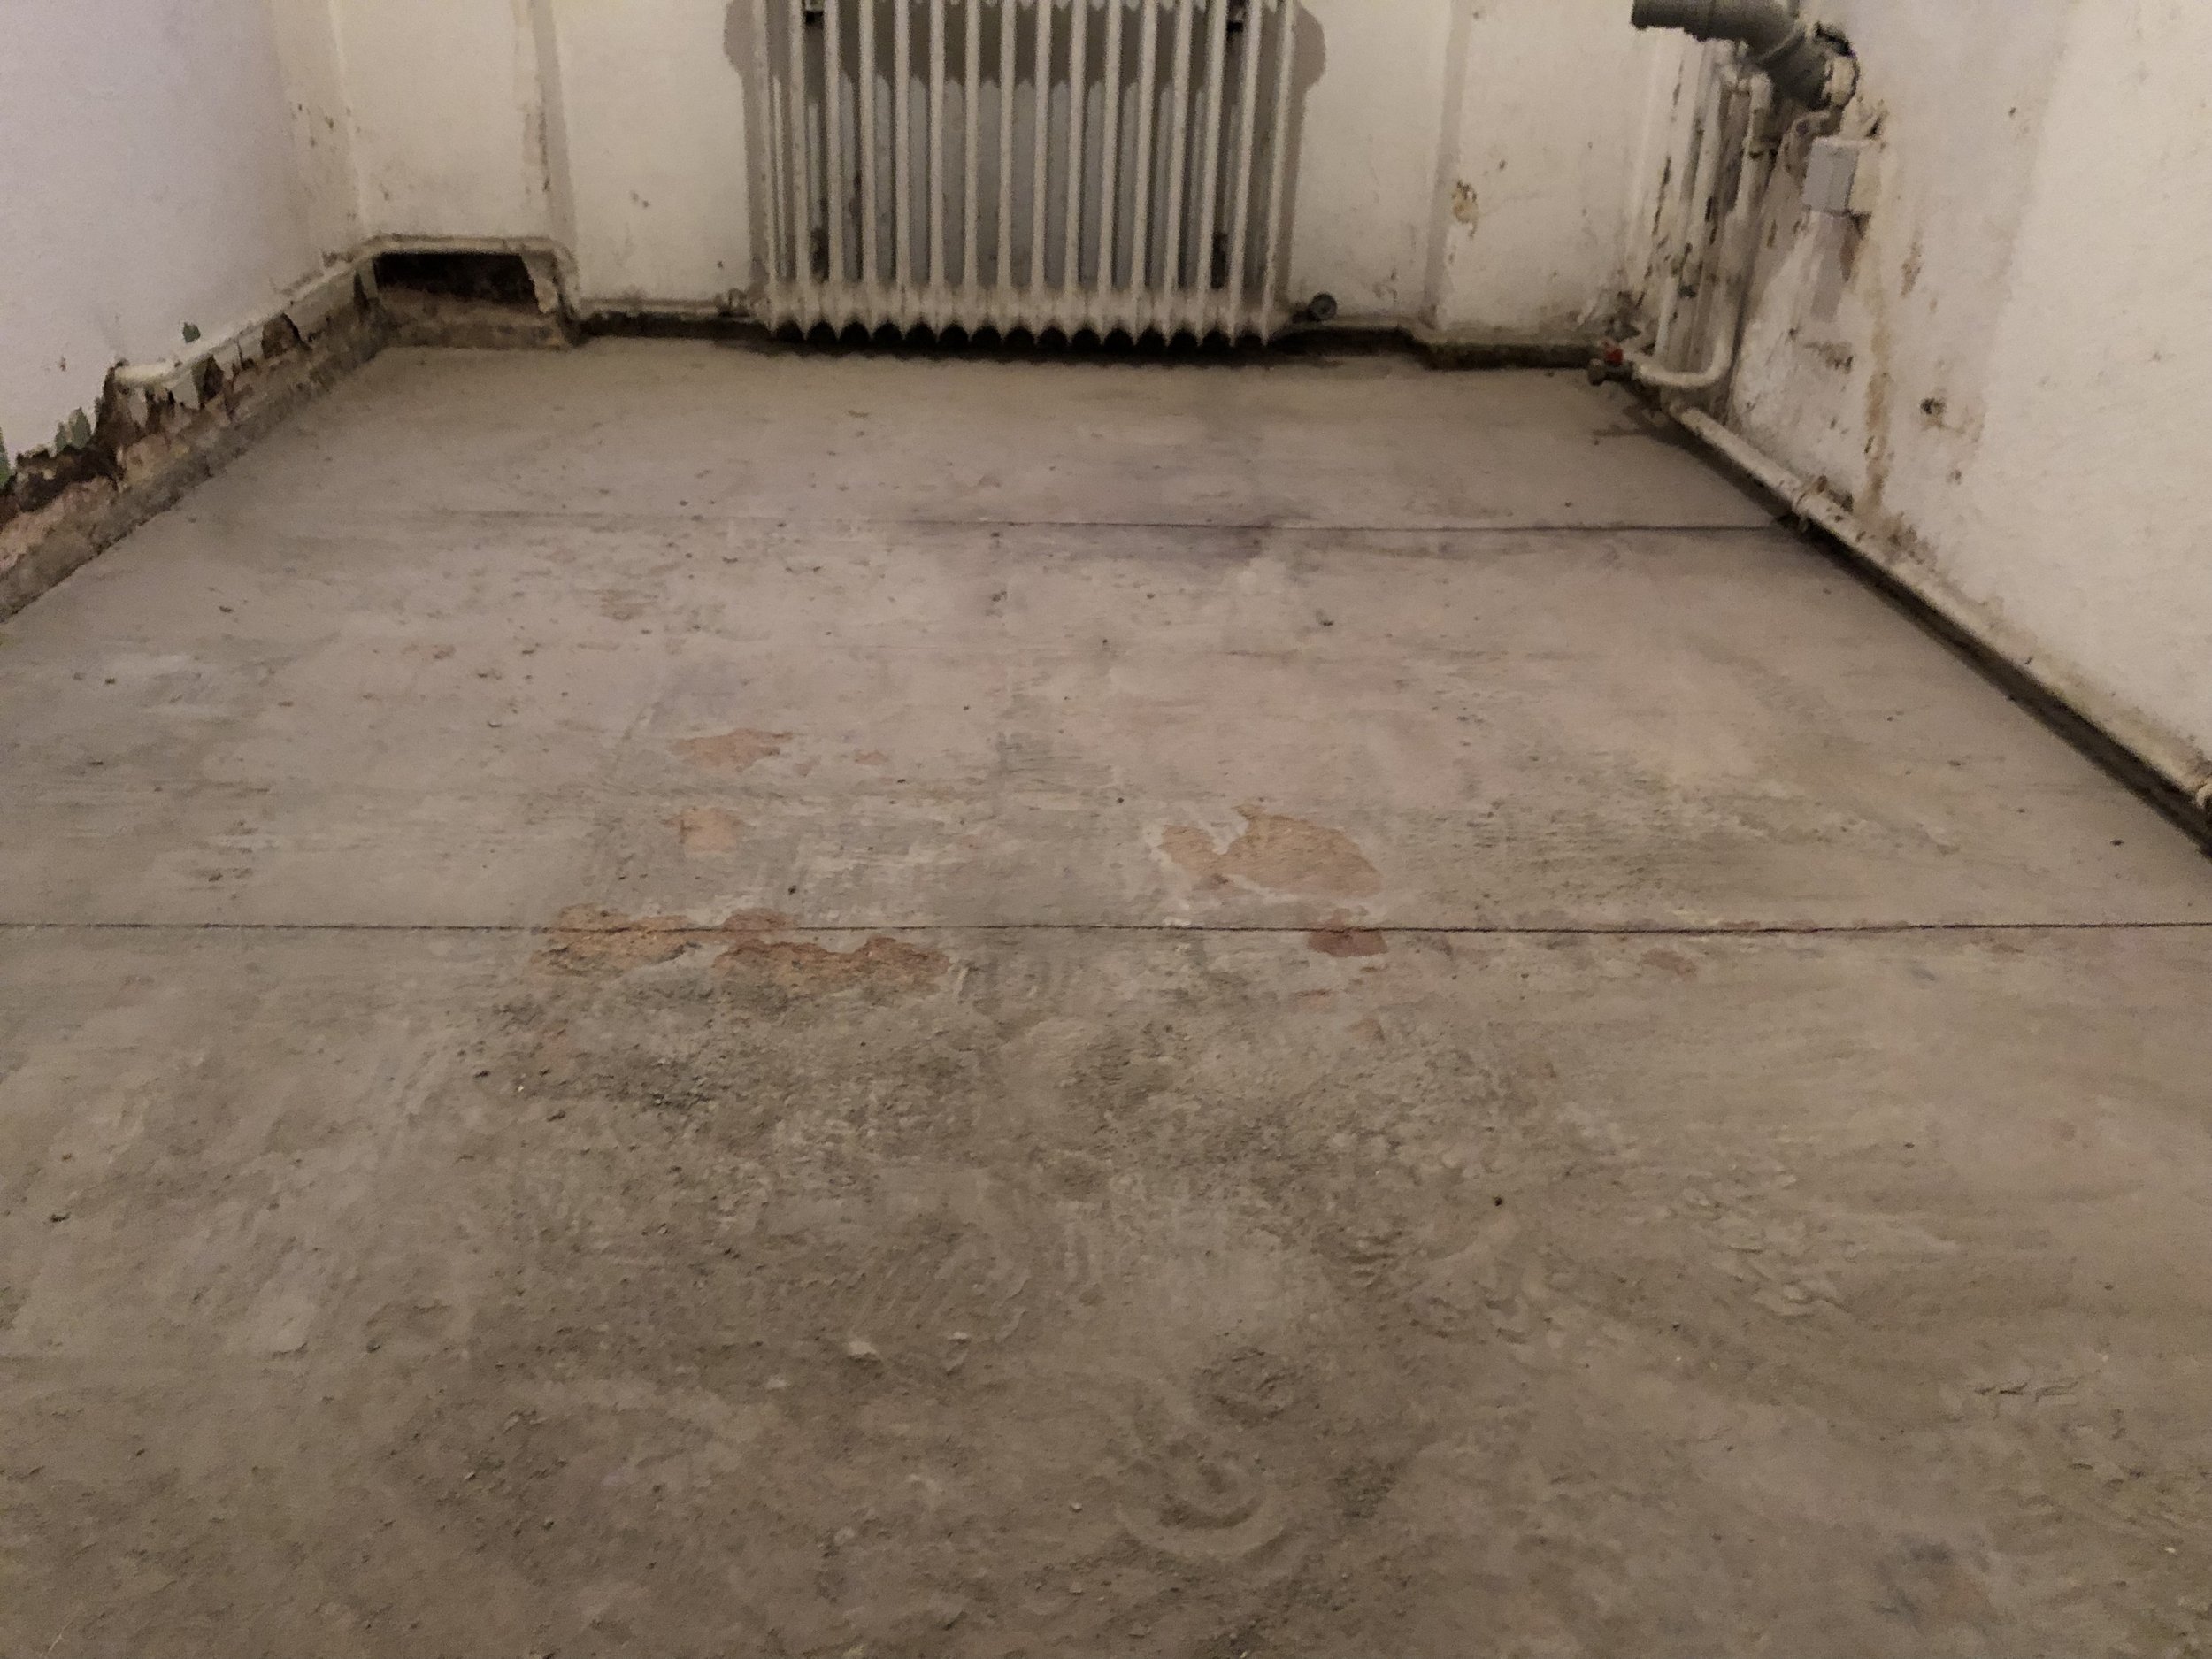
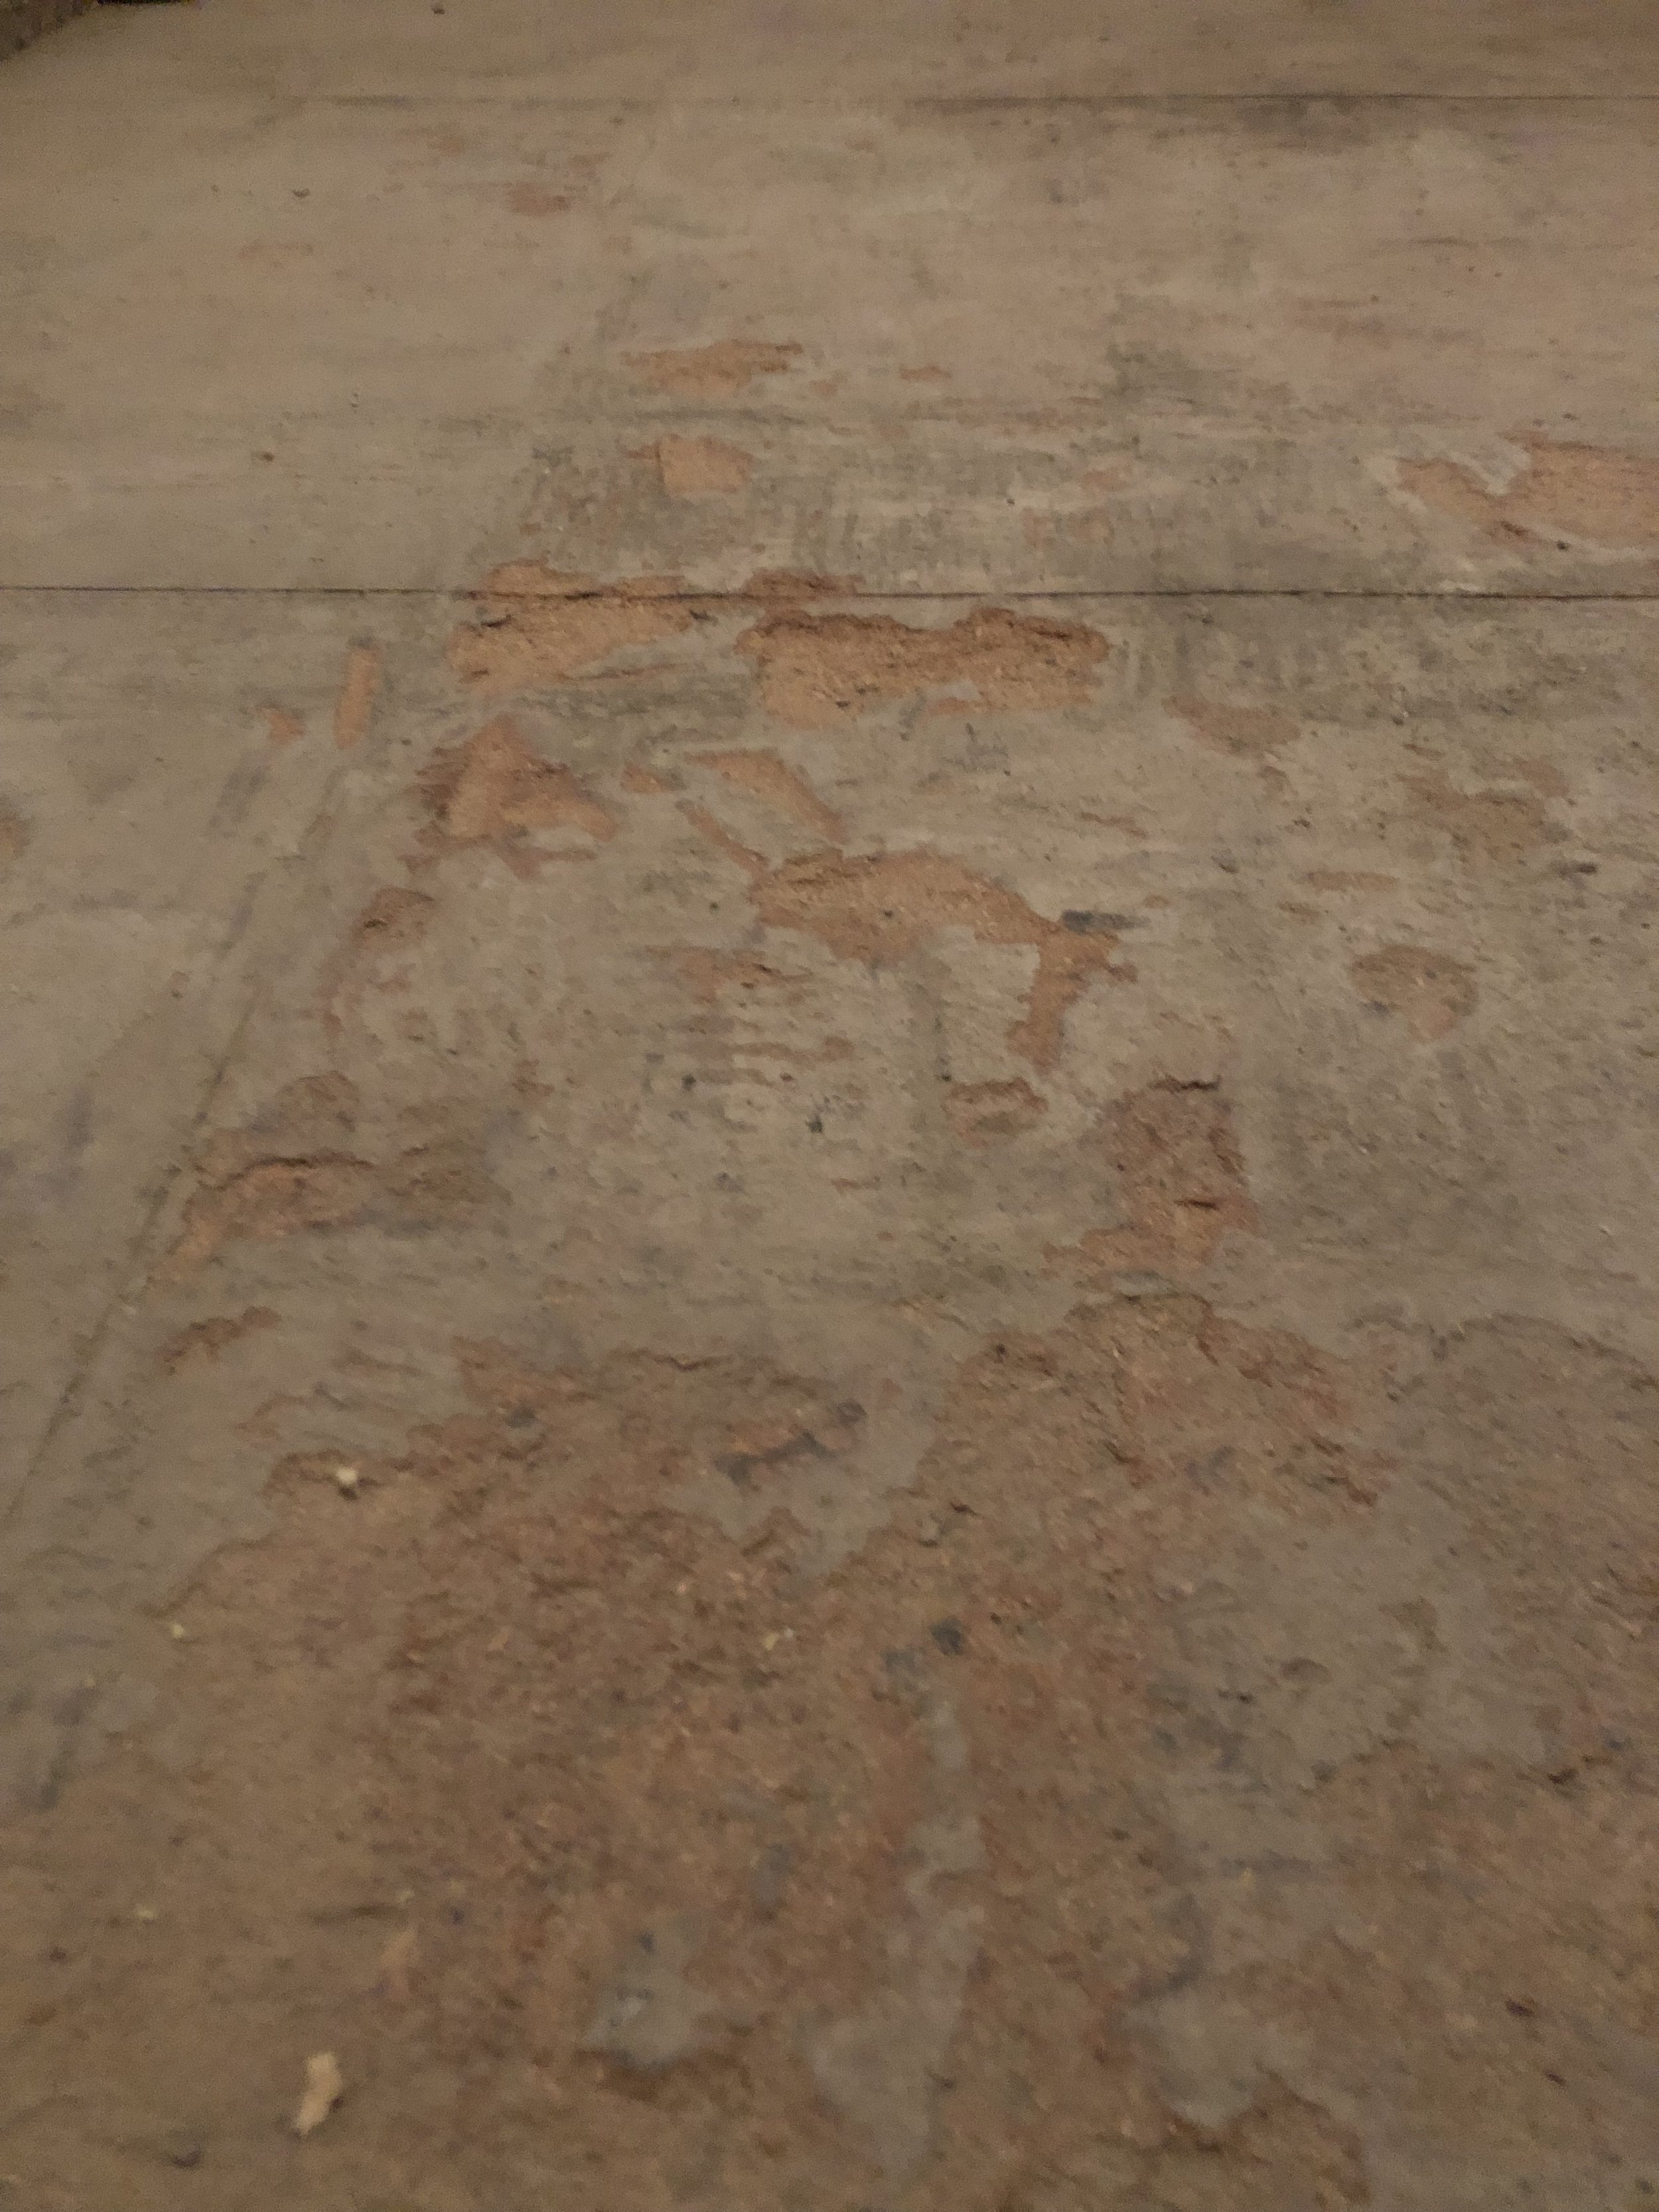
Floor:
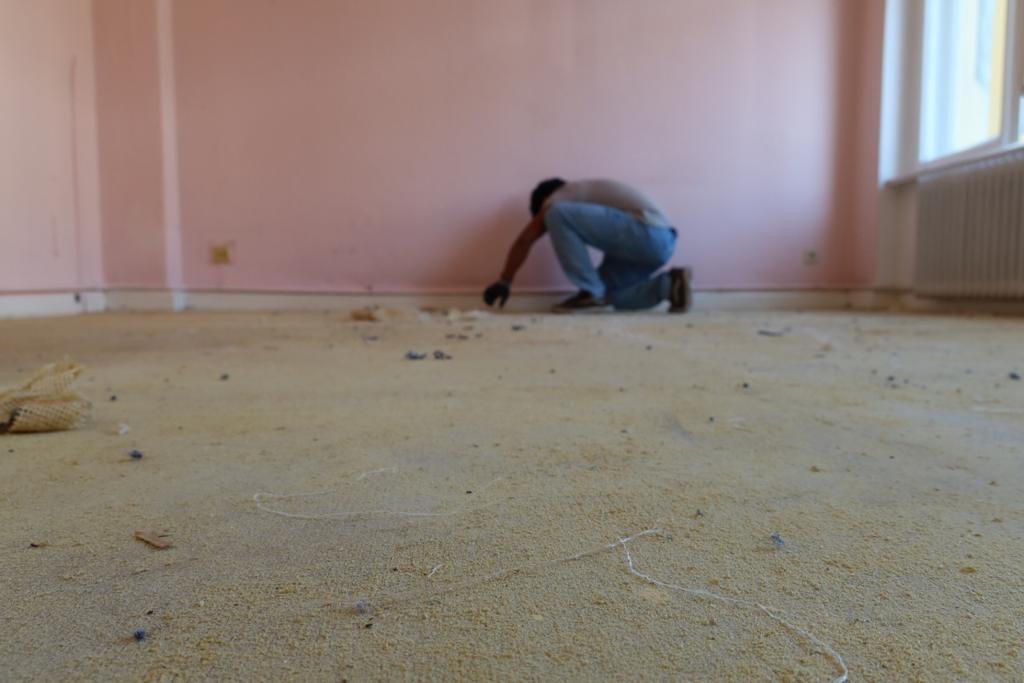
Taking out the broken laminate flooring was relatively easy since it was not glued but only clicked to each other. An unpleasant surprise was lying underneath - an old carpet heavily glued to the chipboard. Although quite old, the chipboard was in a reusable shape. However, removing the rug left some small scars (scratches and glue). Some light grinding was, therefore, necessary to prepare it for the new wooden floor.
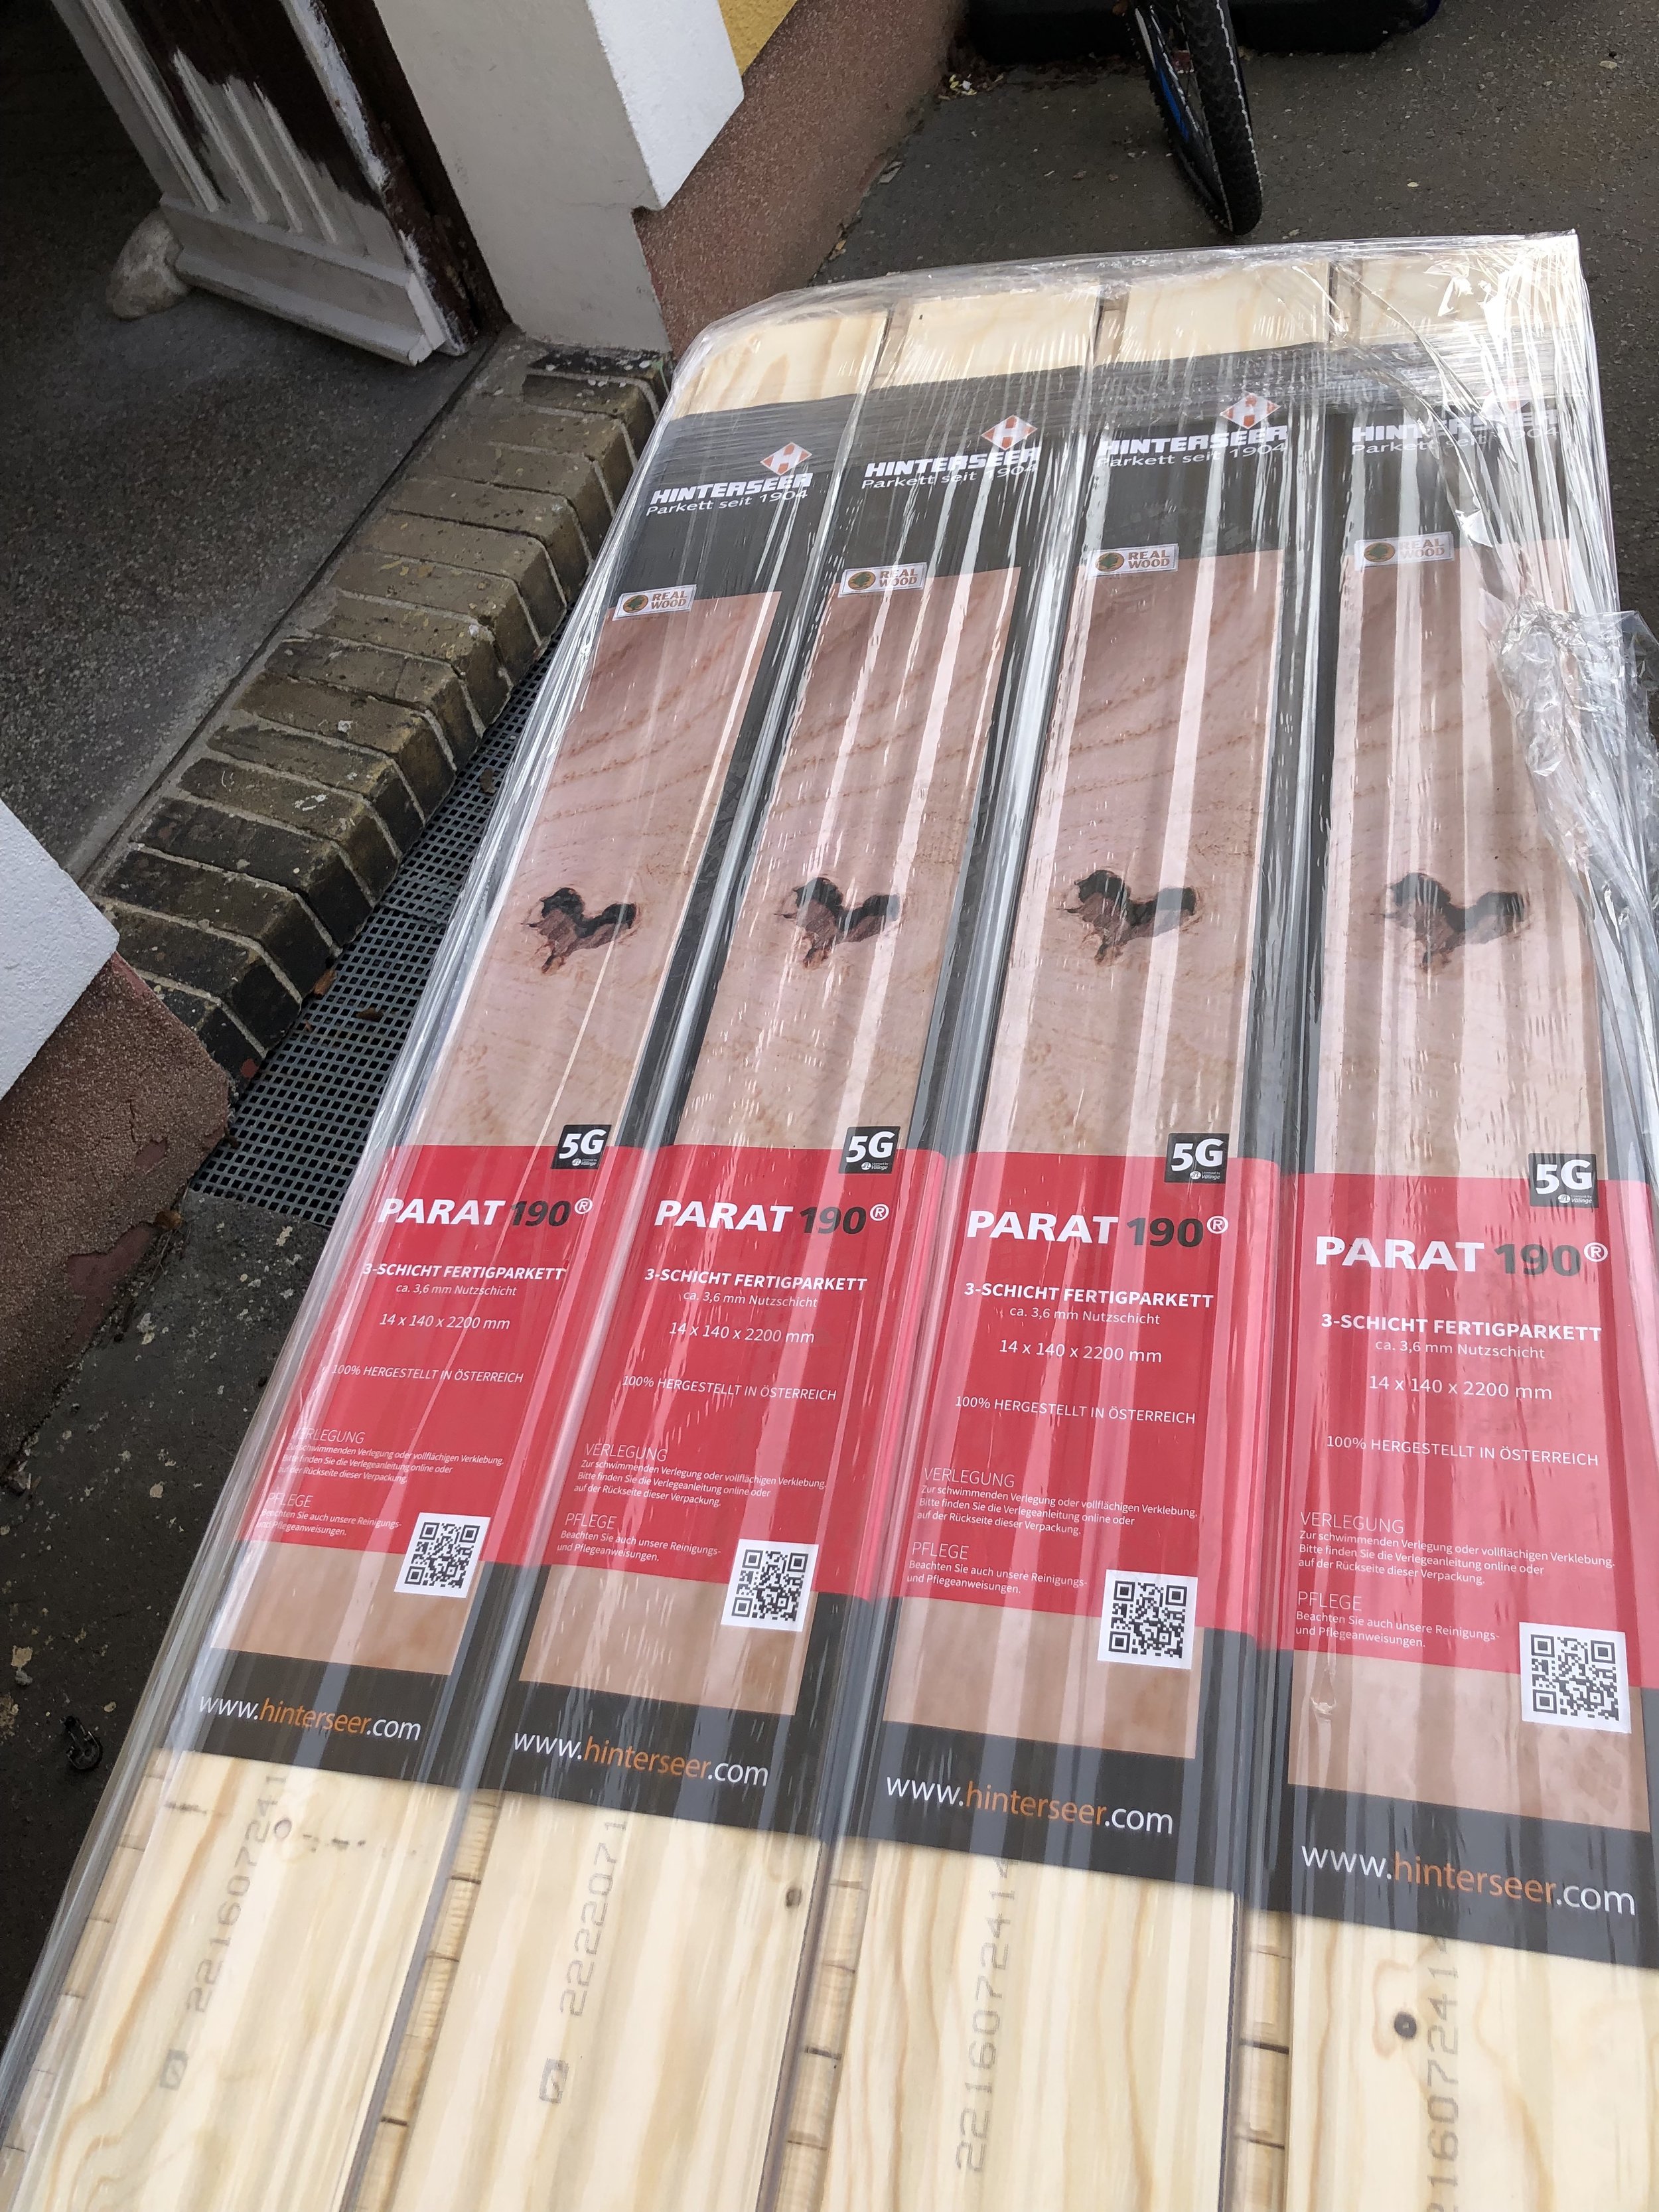
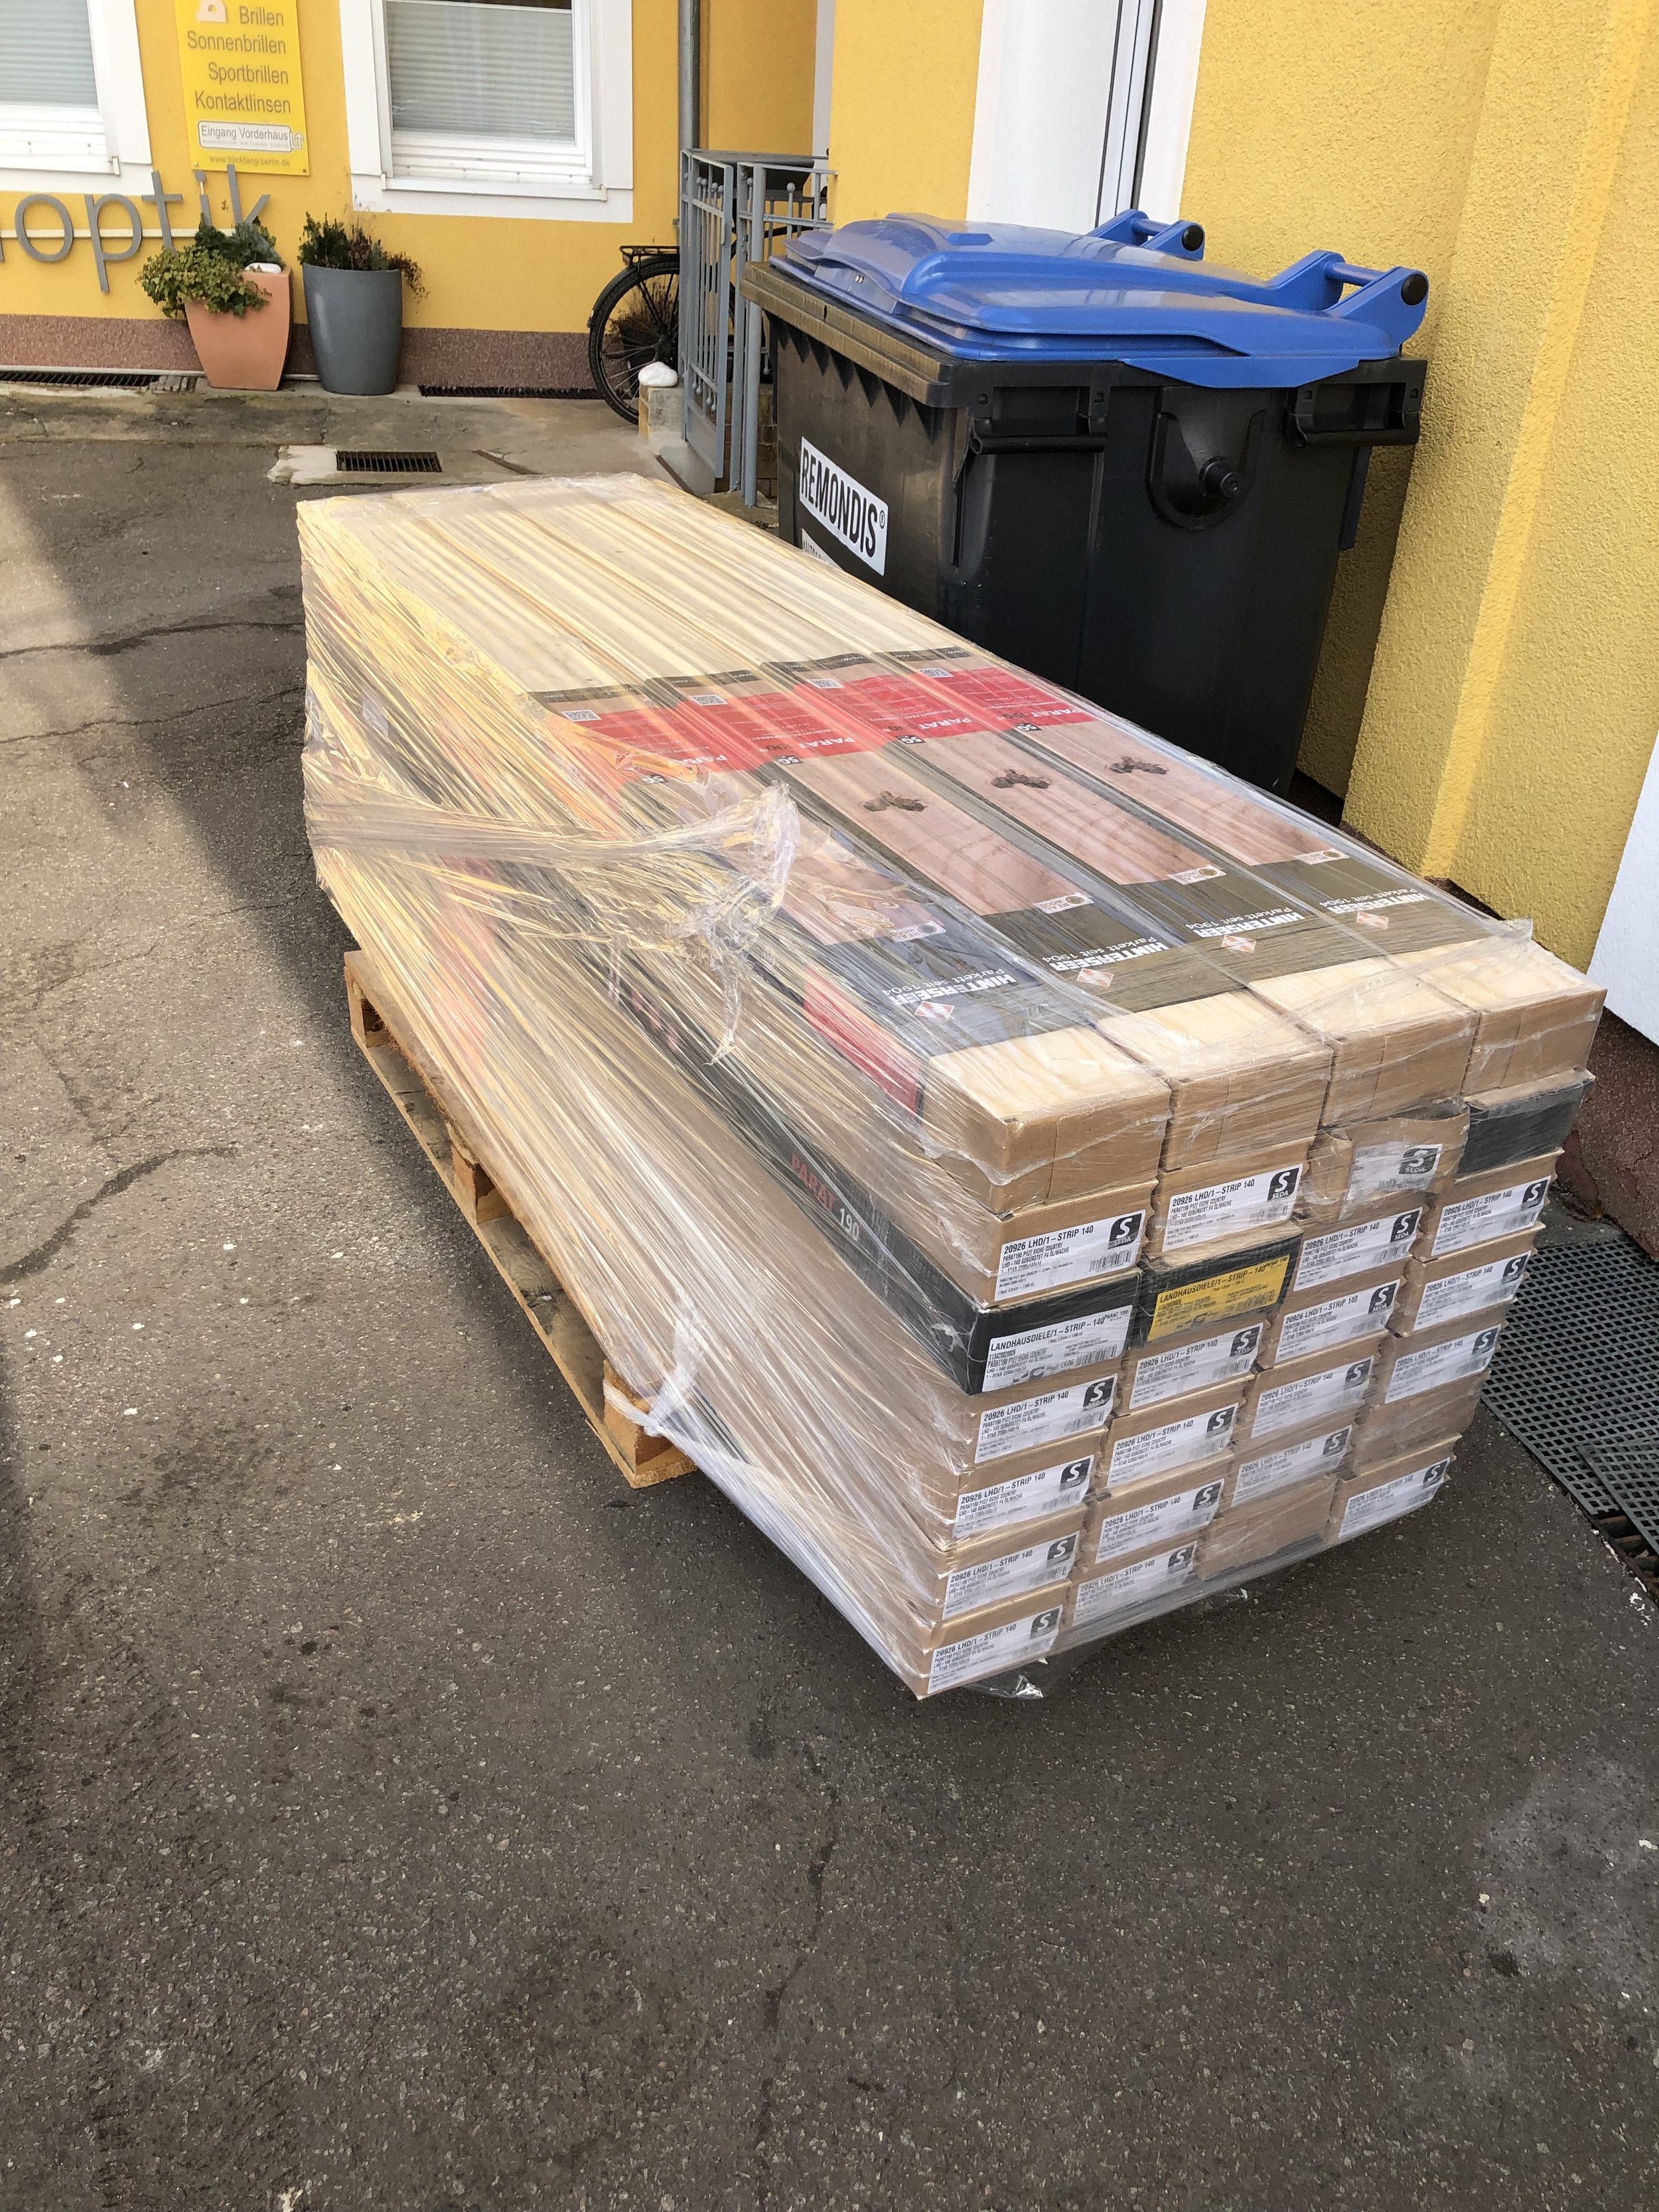
After tons of research and analysis, we decided on this product: https://www.hinterseer.com/de/parat-190-eiche-country-lhd-oel-wachs-15940191.
We will publish a whole article about our floor material research and why we choose this product soon. Check out the journal!


After